

Making fine jewelry requires years of special training in gemstones, precious metals, and jewelry design. Materials and tools are very expensive, and mistakes can be very costly. The invention of beaded jewelry created beautiful designs in a much more affordable way, and put the jewelry making possibilities into everyone’s hands. If you’ve ever wondered how to make a piece of jewelry, now is your chance.
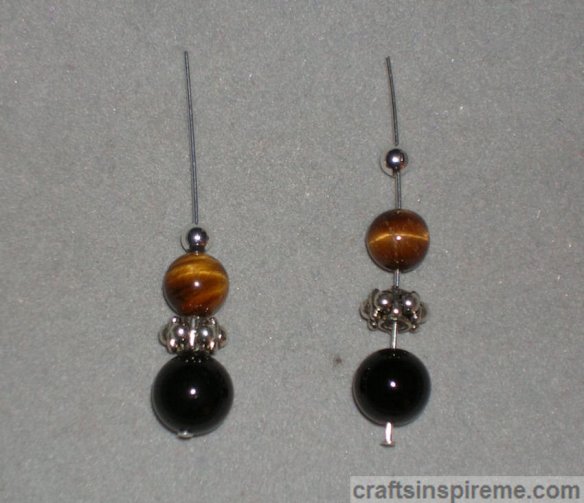
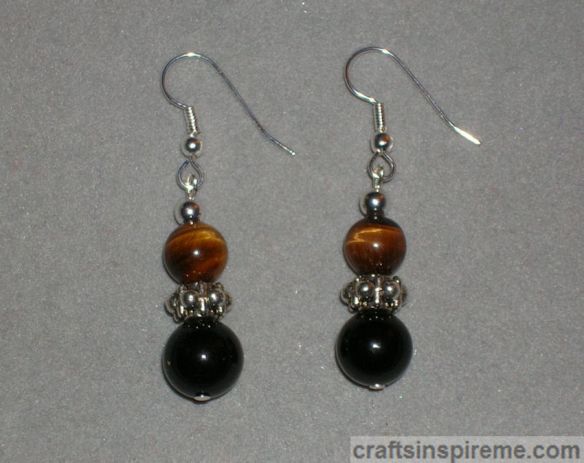
How to Make Black Onyx & Tigerseye Earrings
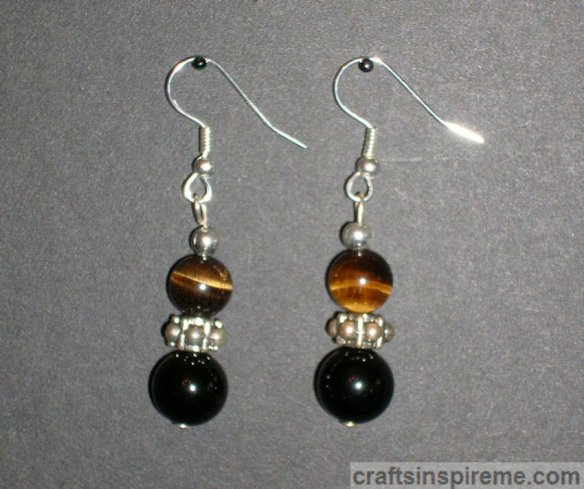
These 2” long gemstone earrings are fashionable and easy to make.
Required Beads & Findings:
Supplies:
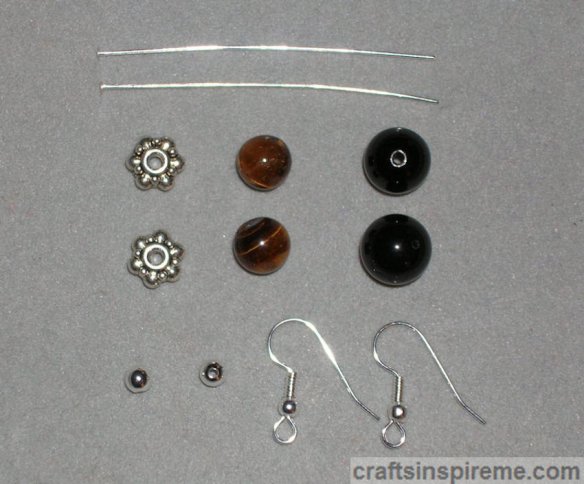
To make this pair of earrings you will need:
2) Silver plated Head Pins – 2” length,
2) 8.5mm Granulated Round Pewter Rondelles,
2) 8mm Tigerseye beads,
2) 10mm Black Onyx beads,
2) Silver plated Round 4mm Spacer beads
2) Silver plated Surgical Steel Fishhook Earwires with ball & coil
(Please note: Head pins are the foundation of these earrings. They are inexpensive and come in big packages. Be sure to have several on hand just in case. Craft stores carry jewelry making supplies, including beads, accents, and tools. If you get hooked on jewelry making and yearn for the ultimate selections, look no further than FireMountainGems.com)
Jewelry Making Tools:
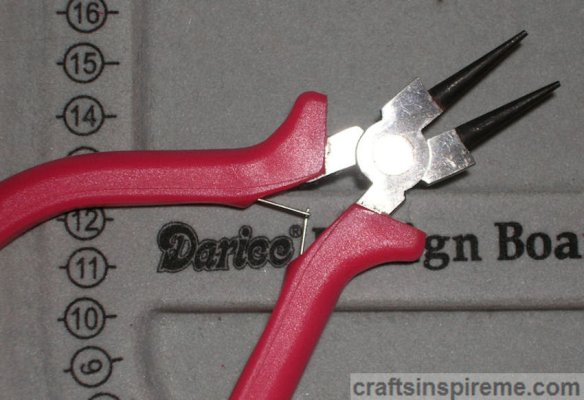
Round Nose Pliers – the smooth, round tips on these pliers make it easy and safe to manipulate wire, pins, and small jewelry metal pieces known as findings. Please don’t use standard pliers, which have teeth that will damage delicate precious metals.
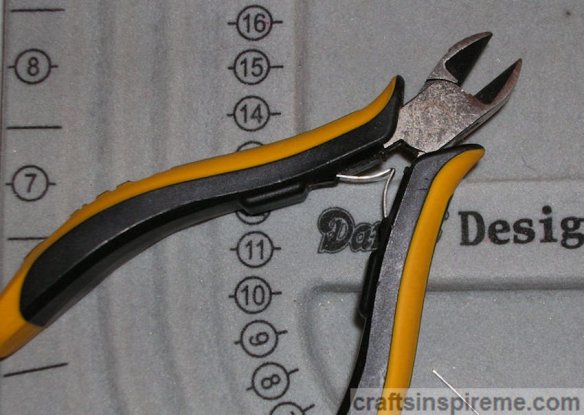
Jewelry Wire Cutters – a sharp pair of wire cutters makes jewelry making so much easier. Do not use them for other crafts, such as floral arranging, which can damage the blades.
Earring Making Instructions:
Step 1: Stack the beads in sequence on the head pin as shown. This is the dangle part of the earring.

Step 2: With the round nose pliers in your right hand, grip the wire just above the top silver bead. Be sure the beads are close together with no gaps in between. Hold the pliers in this position for the next step.
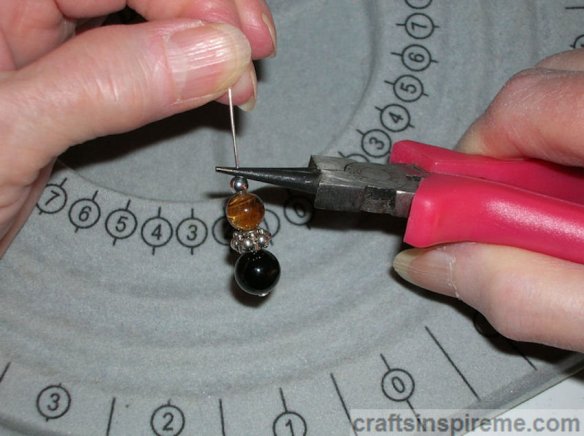
Step 3: Grasp the end of the head pin with your left thumb and index finger, and bend the wire toward you.
Continue bending the pin over the tip of the pliers until it touches the Black Onyx bead.

The reshaped pin will look like the photo above.
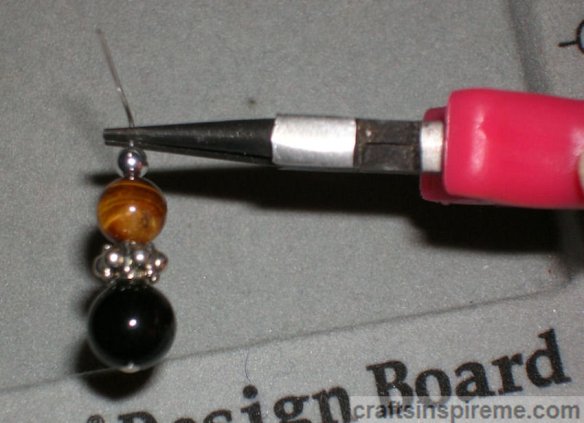
Step 4: Cut off the excess wire. Leave enough wire to form a small loop above the silver bead. This may take a few tries. Don’t worry if you cut it too short. Simply use a new head pin and repeat the steps.
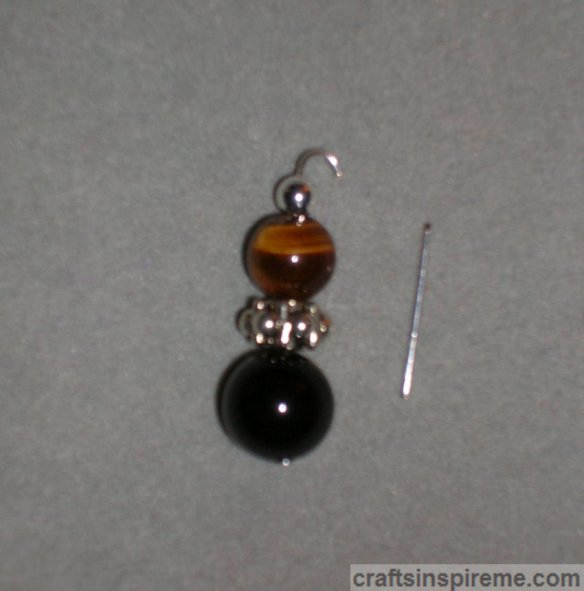
This photo shows the trimmed wire, and beside it is the scrap piece to be thrown away.
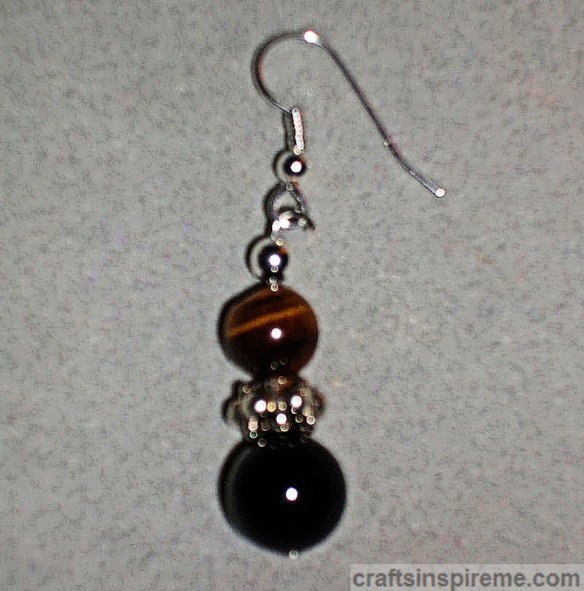
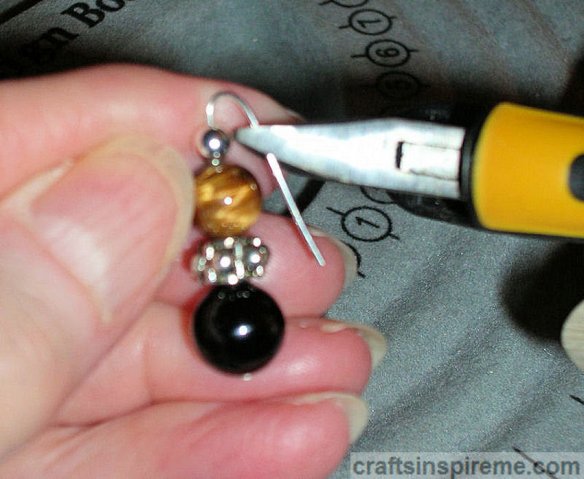
Step 5: Hook the dangle earring onto the loop on the bottom of the fishhook earwire,

and close the loop using the round nose pliers.
Congratulations! You have successfully made your first pair of earrings.
These skills can be used to create many styles, which at first may appear to be complex, but are actually fairly easy when broken down into basic steps. Let’s take a look at a few examples below.

Blue Bead & Pearl Earrings– If you look closely, you’ll notice the same elements we talked about before: head pins, stacked beads, and earwires. The choice of silver earwires and accents with faceted blue crystals and Mother of Pearl creates a cool, summery vibe. This pair of earrings utilizes a different type of earwire known as lever backs, which prevent the earring from falling off – no more lost earrings!
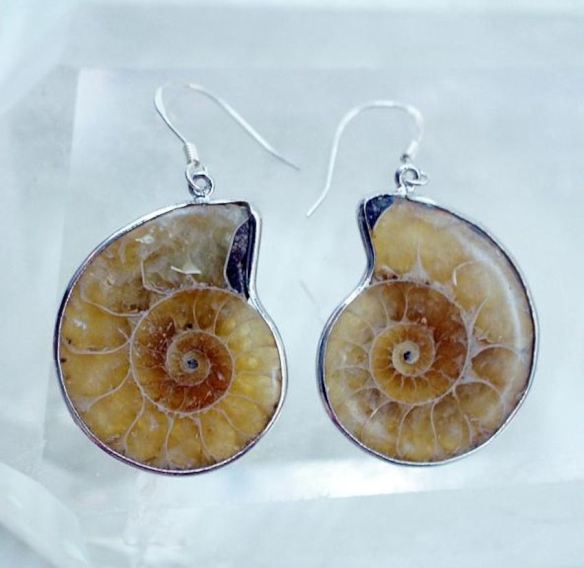
Fossil Earrings – The natural spiral design and intricate details of these fossils make great focal points for these earrings. You can purchase charms and pendants such as these and simply attach earwires to the provided loops on top. How easy is that?
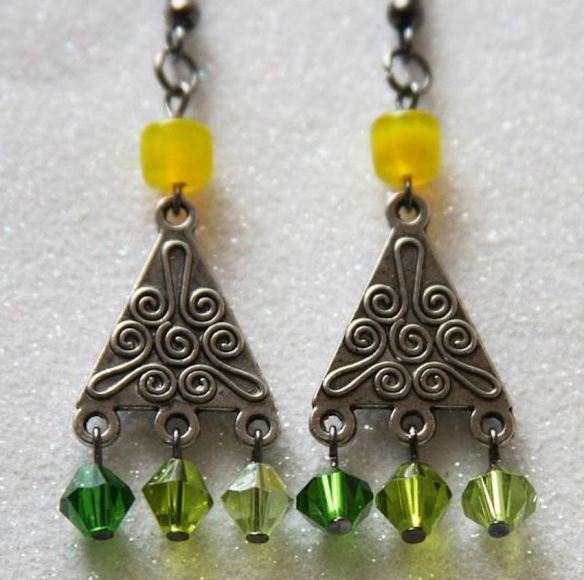
Triangle Earrings – These earrings are a simple progression from the fossil earrings above. The triangles are merely charms. Head pins, which are available in many lengths, are the keys to this design. Attach the three beads on the bottom of each triangle using pliers. The yellow beads are also attached with head pins. Cut the head off a pin, and use the pliers to make a loop above and below the yellow bead and then attach to the triangle on the bottom and to the earwire on the top.
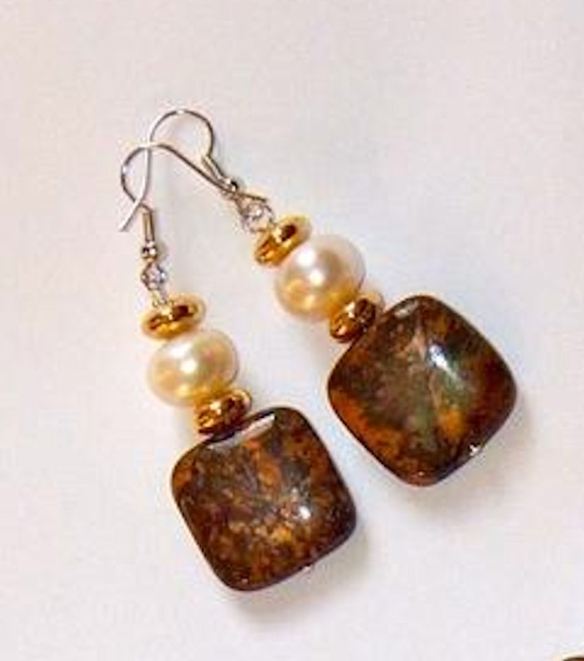
Jasper & Pearl Earrings – Gemstones come in an amazing array of colors and shapes. The accent beads can be mixed and matched in infinite combinations. Experiment by laying out the beads to test your options. The nice thing about earrings is that you can place the beads on a pin and hold them up to your ear to see how they look, with no commitment whatsoever. Don’t like what you see? Try another combo.
Jewelry making is a fun, creative hobby. Best of all you get to wear and share your creations with your family and friends. For more information on beaded jewelry, please read “Designing Beaded Jewelry.”
Thanks for Reading & Happy Crafting!

These are beautiful – great tutorial!
LikeLiked by 1 person
Thanks for the compliment. I enjoy making jewelry and hope you will too.
LikeLiked by 1 person