
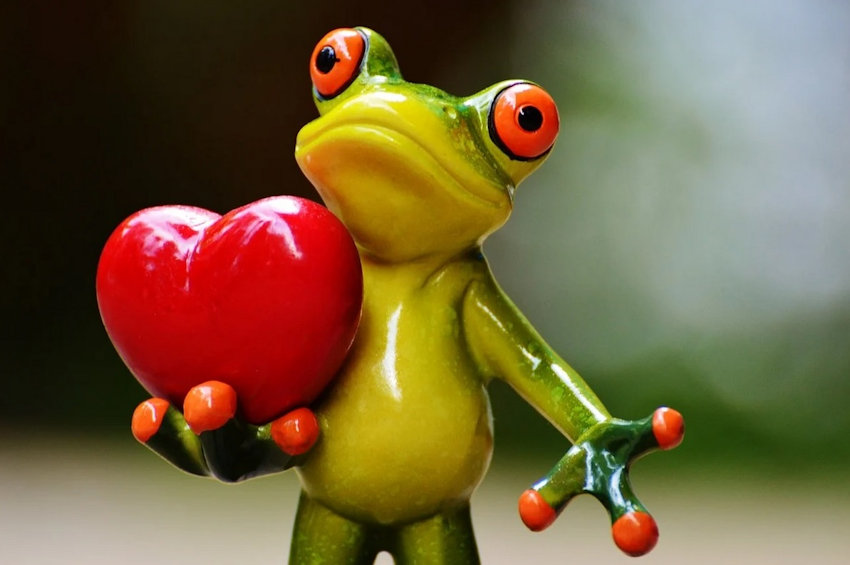
As a kid, I remember reading a book about a courting frog, which is still popular today. And who could forget the story of the Frog Prince? To this day, my mom kisses every frog figurine, ornament, or pendant, just in case it turns into a prince. Nothing so far, but she remains hopeful. This week we will be painting a frog in search of a mate. We will start with a couple of photos for inspiration:
Inspiration
This frog has great patterns, nice mixture of greens and browns, and cool eyes.
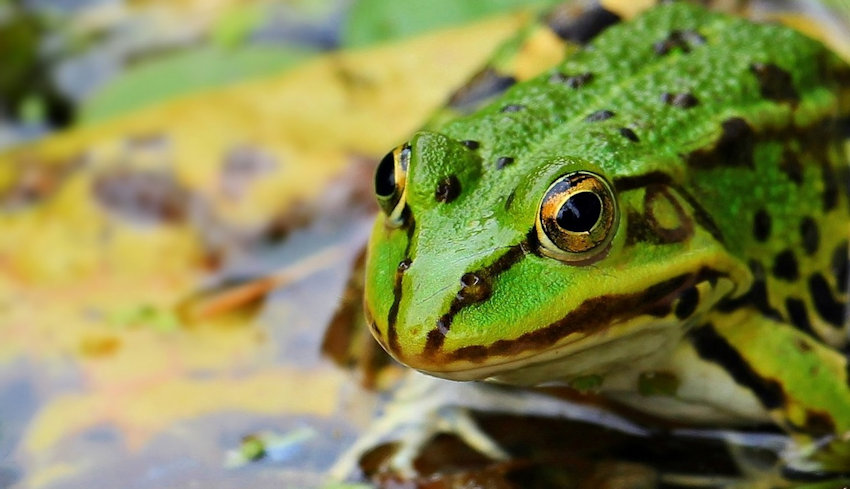
Inspiration

The spotted pattern on this frog would be easy to duplicate.
How to Paint a Resin Frog:
Original Gray Resin Frog – Front
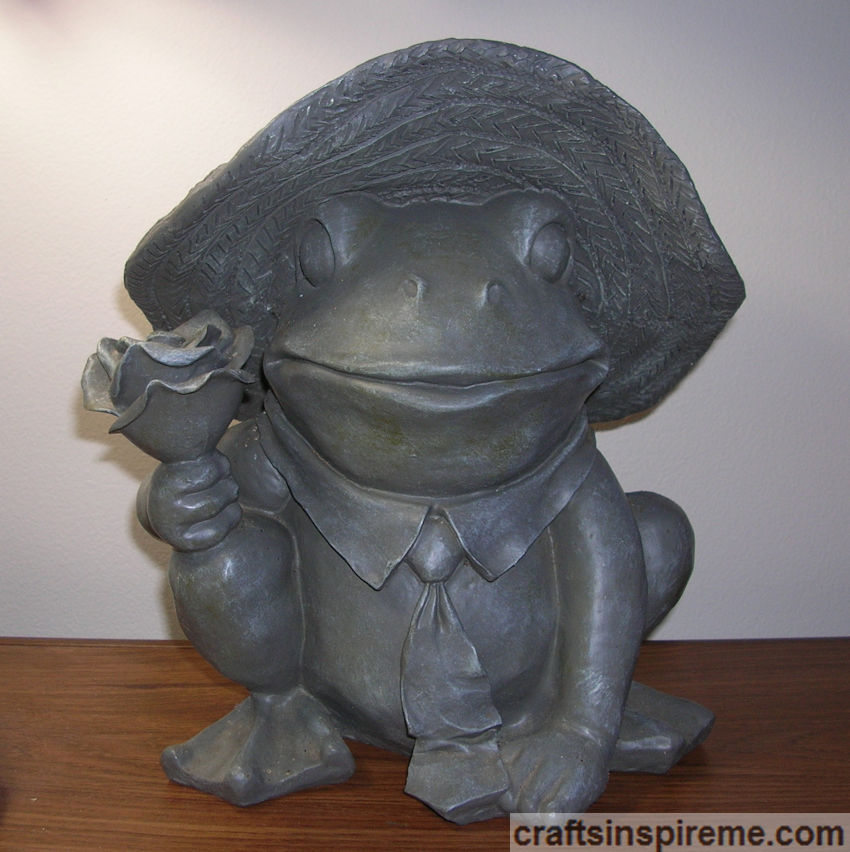
Talk about having a case of the blahs! This cute little frog has some nice details, such as the collar, tie and the intricately carved rose. We have been using it as a doorstop for years, and we never gave it a second thought. That changes today.
Original Gray Resin Frog – Profiles
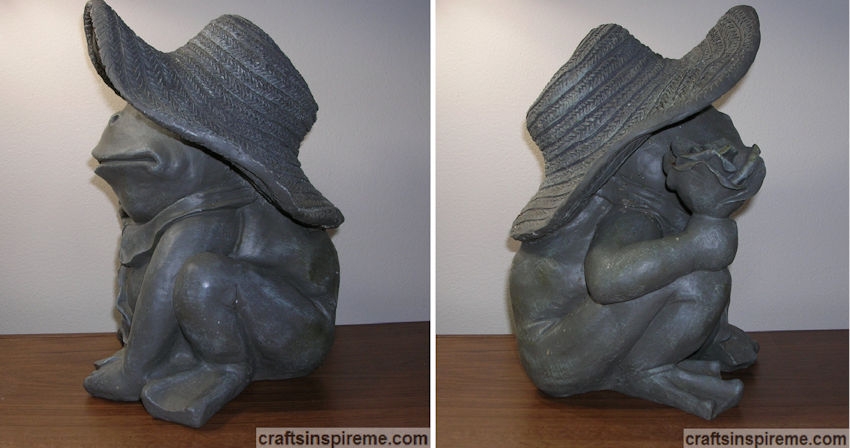
The sculptor did an amazing job defining the frog’s body from head to toe, including adorable, webbed feet. The rose has layer after layer of petals with curled edges like a living bloom.
Original Gray Resin Frog – Back

The textured straw hat has been accurately rendered and will need to be carefully painted to maintain its integrity. Be sure to apply a thin coat of paint, or those details may be lost.
Supplies
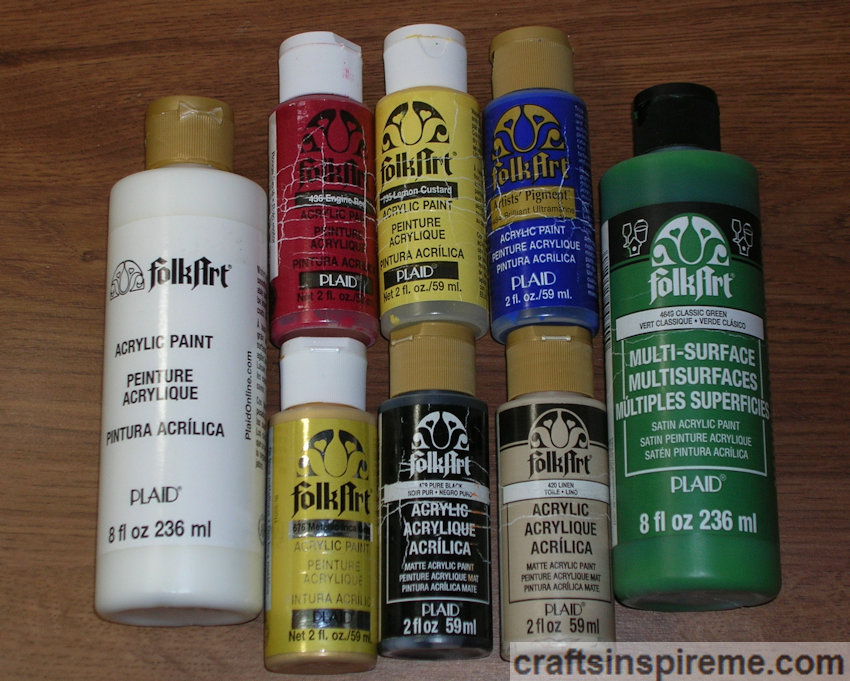
Supplies:
Resin Frog (11” high x 10” wide x 8” deep)
Acrylic Paints – white, red, yellow, blue, green, metallic gold, black, & tan
Small detail paintbrush and thicker brush for base coats
Clear Spray Paint – gloss or matte finish
Note: If you choose to blend several paints to create a special color, be sure to make enough to complete the project because it is difficult to duplicate. To keep wet paint fresh on a palette or dish for later use, cover the surface with plastic wrap.
Painted Straw Hat – Front

Paint the straw hat yellow, one rough coat to preserve texture. My mom painted the hat. And yes, she kissed the frog too! (lol)
Painted Straw Hat – Back
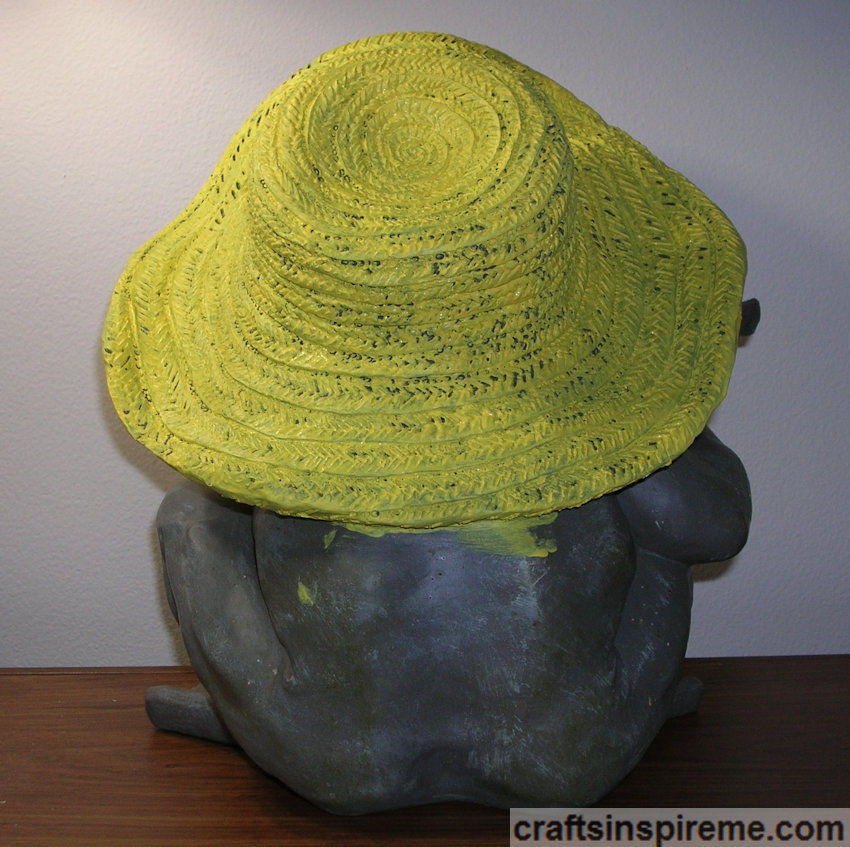
As you can see the straw texture is still visible.
Painted Frog – Front

Paint the frog’s entire body green.
Painted Frog – Profiles

You will need to use a fine brush in areas close to the hat to prevent green paint from marring the yellow.
Painted Frog – Back

Be sure to paint green all the way around, even in the tight curves and at the edges of the collar, tie and rose.
Painted Collar & Tie

On the first attempt, the collar was painted white. I decided the contrast between the green and white was too harsh and should be softened.
Repainted Collar & Rose
The collar was repainted tan, which has a much softer effect. Paint the tie blue and the red rose. The pupils are painted black and will be completed in the next step.
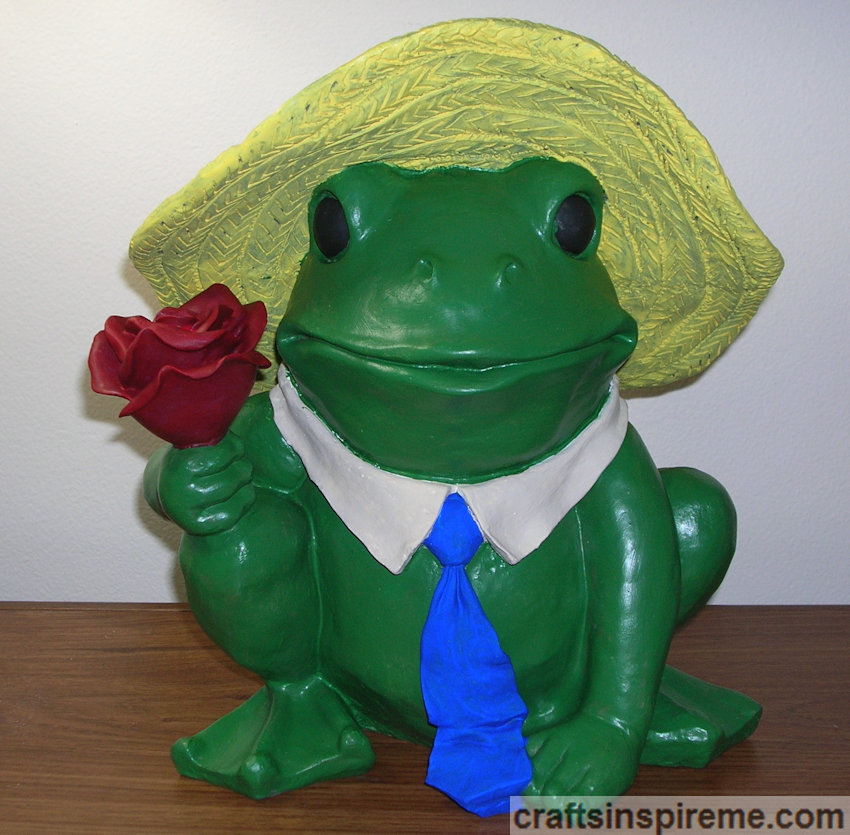
Completed Painting

Finish the eyes by outlining them with metallic gold. I experimented with a patterned iris, but he looked scary instead of cute, so I repainted the black. Add white highlights to give this little guy twinkles in his eyes. Look over the frog and touch up any areas as needed.
Frog Ready for his Close-Up
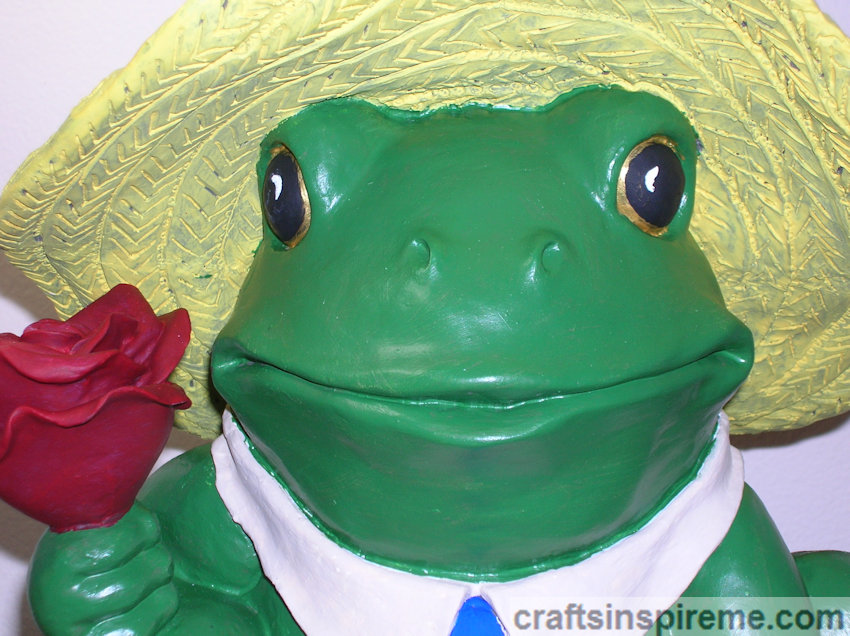
This is the close-up of our leading man. All he needs now is to find the love of his life.
Clear Coat Protection
To protect the acrylic, I recommend sealing the paint with two coats of clear spray paint. Notice how much richer the colors become after being sealed.
Frog Before & After
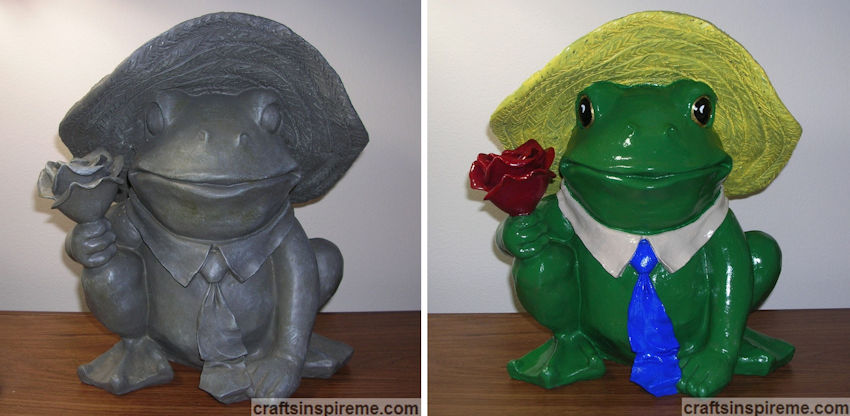
This froggy’s makeover is complete! He went from bland gray to fashionably colorful in a few easy steps.
Frog Royalty
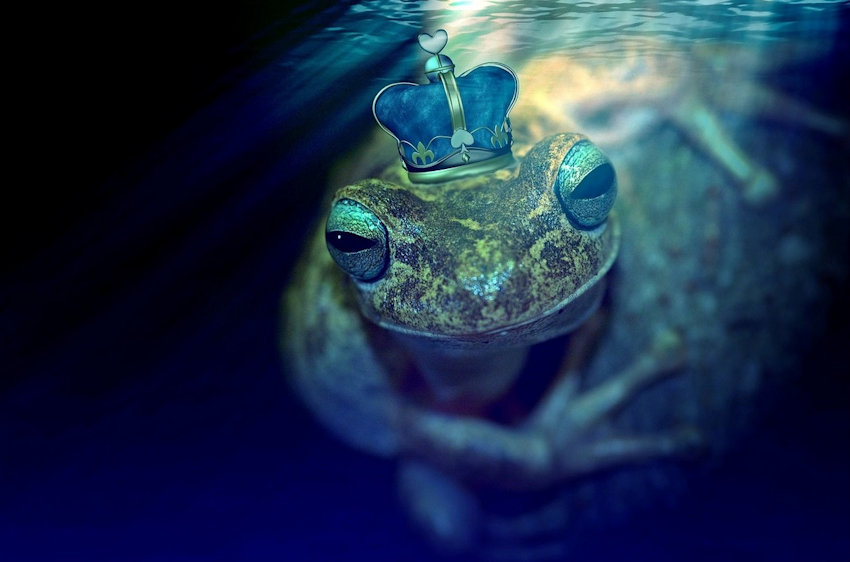
If one day in your travels, you encounter a frog like this one, it might just be worth risking a kiss to find a true frog prince or princess. Good luck painting your next project, and I hope you find that special someone!
Thanks for Reading & Happy Crafting!

I saw a frog as a statue on a tombstone, the first time I saw it. Now I will look on travels for a frog, perhaps I find a true frog prince or princess while risking a kiss. I
LikeLike
Good luck in your search! Let me know if you find one. Thanks for reading and commenting! Have a great week!
LikeLike