

One of the most easily identifiable animals upon the face of the earth is the giraffe. There is nothing else like it – that long neck, towering legs and a fur pattern that resembles mosaics. Giraffes are so tall, that the babies are born at a minimum height of six-feet tall to feed from the mother.

Each subspecies has unique fur patterns and colors. There is a ridge on the forehead and two horn-like protrusions on top of the head.

Some have spots down the length of their legs, while others have solid tan or white below the knee. For this project, you will need to look at giraffe photos and decide which pattern you prefer.
How to Paint a Wooden Giraffe:
Raw Wood Giraffe
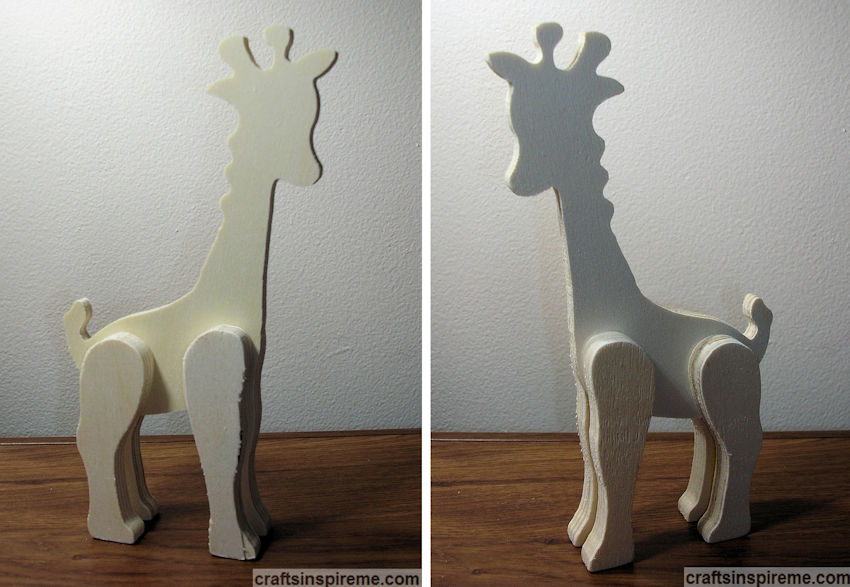
Both sides and all the edges will need to be sanded and painted. Ensure the giraffe stands without wobbling. If needed, restore balance by gluing pieces of thin cardstock to the bottom the feet.
Supplies

Supplies:
Wooden Giraffe (8-1/4” high x 4-1/4” wide x 1-1/4” thick)
Acrylic Paints – red, brown, orange, black, tan
Bottles Fabric Paint – brown, black
Paintbrushes
Sandpaper
Pencil
Sand & Paint Base Color

After sanding, paint the entire body tan.
Reference – Giraffe’s Face

I bet you didn’t expect to have a Giraffe anatomy lesson! Typically, wood craft animals stand facing forward. If you look at the close-up photos above, you will notice this giraffe is turning his head to the side. This effects both sides of the head. Both eyes need to be on the same side. We will address the back of the head in a later step.
Hand Draw Details
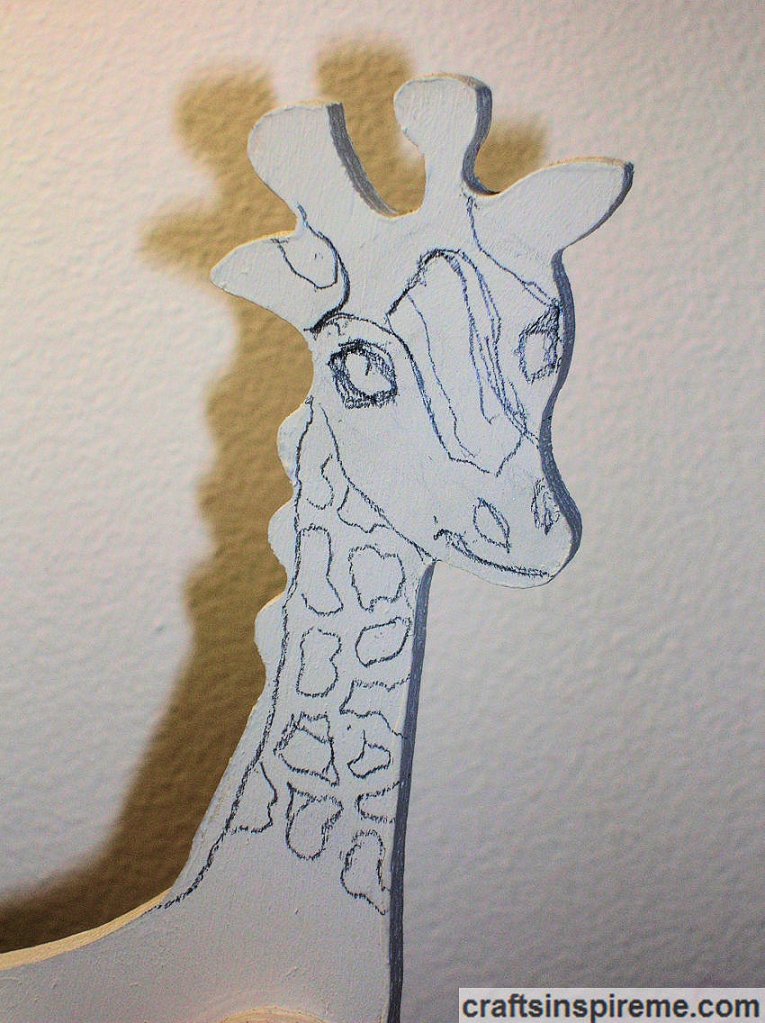
Because this appears to be a baby giraffe, the facial features are cute but small, including the ridge between the eyes. I began drawing some of the spots to understand what the layout should be. To keep the pencil lines to a minimum, the remainder of the spots were freehanded with the paint brush.
Mix Custom Paint Color

Be sure to mix enough paint for the giraffe’s spots to last throughout the project. To keep the paint moist on a paint palette, cover it with plastic wrap, ensuring the plastic is pressed down upon the paint surface and the edges are sealed. You may need to moisten the paint, but the color will be preserved. I created a reddish-brown by mixing brown, red and orange acrylic paints.
Paint the Spots on the Neck

Use a fine brush for the spots. Be sure to leave space in between, which resembles mosaic tile set in grout.
Paint Spots – Right Side

As you work your way down the body, the size of the spots diminishes. Be sure to paint spots on the edges, including the front and back of each leg and the neck too.
Paint Spots – Left Side

For this step, the following areas will remain tan: the back of the head, the mane, the inside of each leg, the feet, and the tail.
Defining the Details – Right Side

Paint the head and facial details, except for the eyes, which will be completed in a later step. Paint the tail and hooves black. The muzzle and fur between the eyes are darker, while the cheeks are lightly spotted. The “horns” are a combination of black and brown.
Reference – Back of Giraffe’s Head

Figuring out the back of the head was difficult. Because our giraffe is looking off to the side, you will only see a portion of the face.
Reference – Back of Head & Mane

When the giraffe moves his head and neck, the mane twists and turns.
Reference – Back of Head & Mane

There are no spots on the ears. Notice how the mane twists as the neck shifts.
Defining the Details – Left Side

Draw the details on the back of the head. Be sure to show the twisting mane. Paint all the details except for the mane.
Paint 3D Details – Right Side

The eyes are painted with brown fabric paint for a 3D effect and outlined in black. After it dries, add black pupils and white dots in the center to bring life to the eyes. Using brown fabric paint, create a raised mane, centered down the entire length of the neck. It will take two coats to make the furry mane to stand upright. Create fur on the “horns” with black fabric paint.
Paint 3D Details – Left Side

Paint the eye with brown fabric paint and outline with black. Using brown fabric paint, complete the twisted mane on the back of the head. Create fur on the “horns” with black fabric paint. Allow it to dry overnight.
Finished Close Up – Face

The following steps apply to both sides: Because fabric paint is shiny, paint over the mane with brown acrylic and then highlight it with reddish brown and tan. Paint the horns with black acrylic. Some reddish-brown paint was brushed into the ears and up onto the furry horns.
Finished Close Up – Back of Head

Touch up any details as needed. The spots on the left side of the neck, closest to the face, curve toward the face to give a three-dimensional roundness to the upper portion of the neck.
Giraffe – Before & After

Here is a side-by-side comparison of the original raw wood giraffe and the fully detailed project at completion.
I had a lot of fun painting this little guy. Figuring out the anatomy was challenging and rewarding. There are many wooden animal crafts waiting for good homes. Check out your local craft stores or the internet to find one you will love. Good luck!
Thanks for Reading & Happy Crafting!

How lovely, I like giraffes. Thank you for sharing. LG Marie
LikeLiked by 1 person
Thanks for your kind words. All the best!
LikeLiked by 1 person
Fun tutorial! Giraffes are so beautiful. I would definitely struggle with the face!
LikeLiked by 1 person
Thanks for reading and commenting! Enjoy the rest of the week!
LikeLike
Wow! Amazing! I love Giraffes! Great share, you are so creative!
I owe you an apology, I don’t understand why but this post didn’t appear, that’s why I didn’t see it before. Thank’s for share.
Nice day!
LikeLiked by 1 person
Thanks for your kind words. No apology needed. Sometimes posts and comments don’t show up right away. All the best!
LikeLiked by 1 person
Aww! Thank you very much.
You are so kind, appreciate it.
All the best too!
LikeLiked by 1 person