Wrapping gifts can be fun or stressful depending upon how many presents and how much time you have. I have posted previous articles on the typical gift-wrapping options, but this time I thought it would be nice to see several “outside the box” ideas. Let’s go….
Bottle & Jar Wrapping
Bird’s Nest Bottle Topper
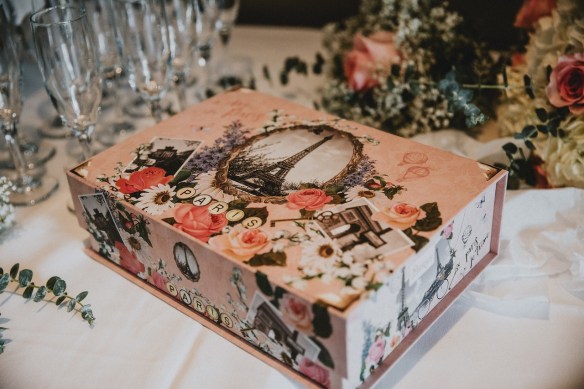
Homemade Chocolate Box for Candy
Homemade Chocolate Box for an Engagement Ring
Hinged Ornament for Gift Inside
Decorative Cigar Box
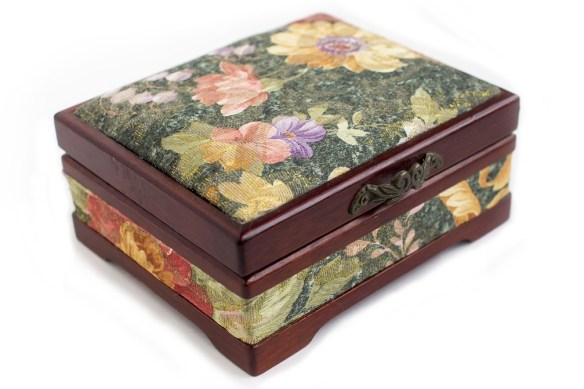
Cloisonne Box
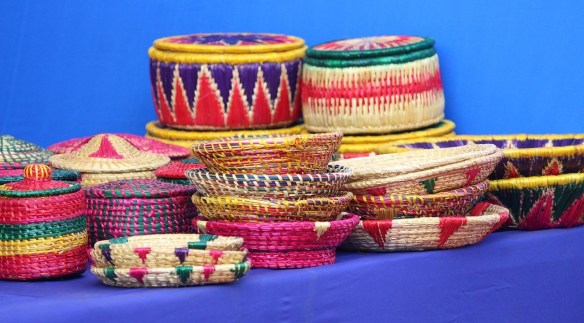
Hand Crafted Baskets
Specialty Flower Envelope
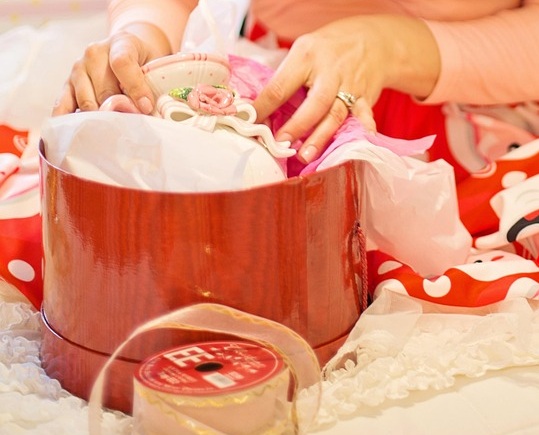
Hat Box
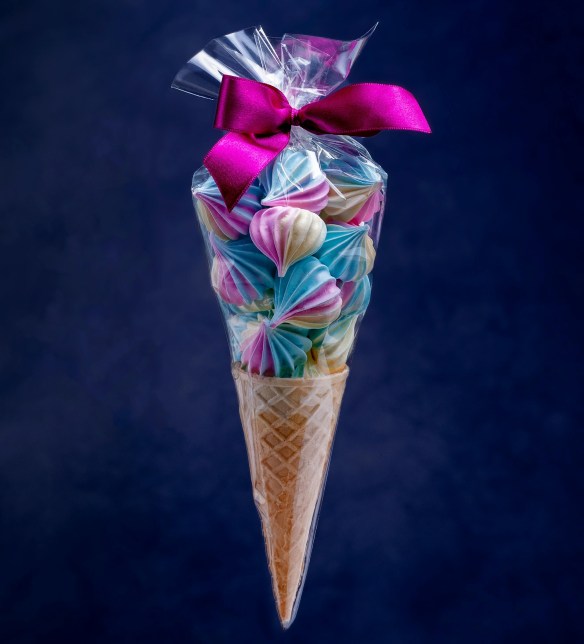
Ice Cream Waffle Cone for Homemade Candy
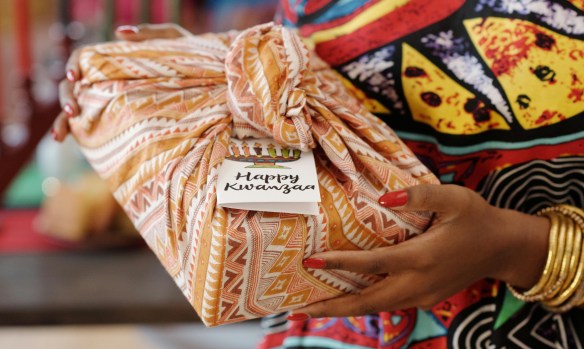
Kwanza Holiday Fabric Wrap
Novelty Lingerie Bag
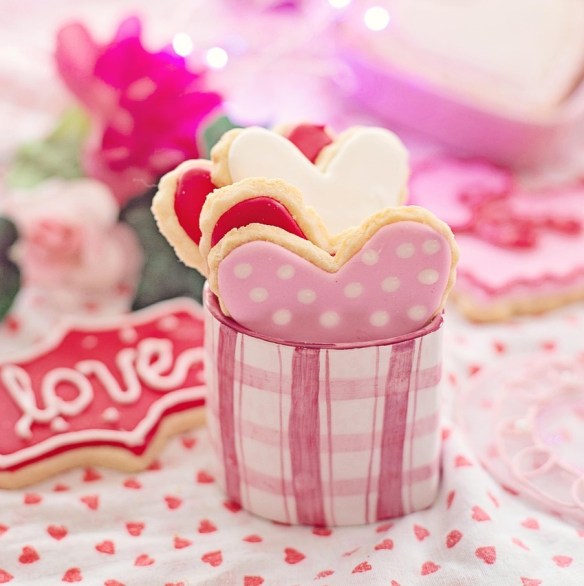
Mug for Baked Goods or Candy
Multi-Compartment Container for Serving Baked Goods or Candy
Nested Dolls
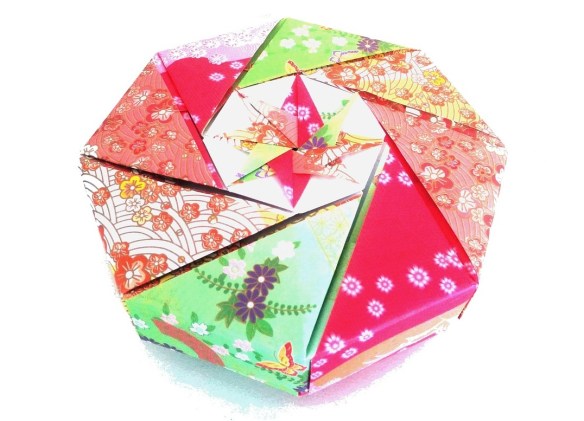
Origami Box
Puzzle Box
Santa Sack
Stuffed Animal with Zippered Compartment
Set the Stage – (e.g. Gnome on a Wall)
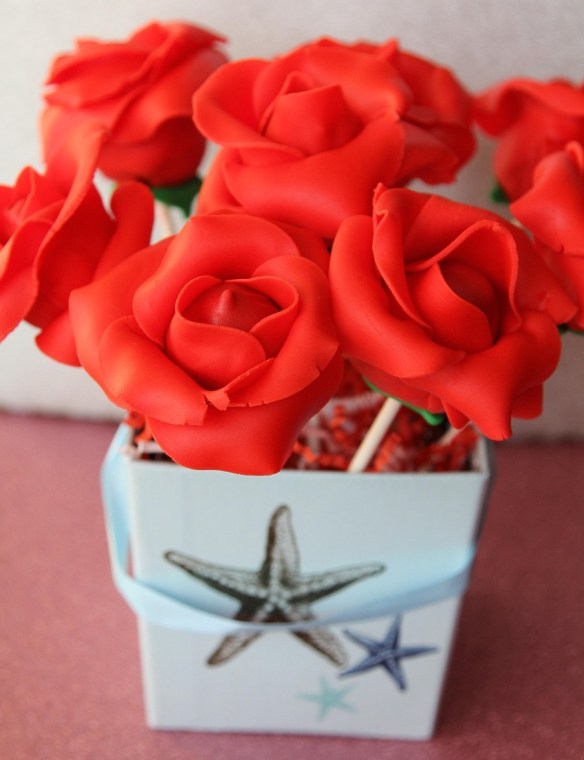
Decorative Take-Out Container with Edible Roses
Tissue Paper Wrap & Flower Topper
Mini Travel Trunk
Trinket Box
Umbrella Raining Money
This concludes our exploration of unusual gift wrapping/presentation ideas. Many of these can be reused, which is great for the environment. Please let me know your favorites. Have you come up with interesting ways to wrap gifts? Please share them in the comments.
Thanks for Reading, Happy Holidays & Happy Crafting!
Did you know that many of your favorite candies can be made at home? Recipes for those shown below can be easily found online, and I have included tips for making these delicious treats. Let’s get started!
The Basics of Candy Making:
Milk Chocolate Candy Melts
Homemade candy usually begins with candy melts, which come in many flavors, including milk, white and dark chocolate, strawberry, mint, and caramel. Melting can be done on the stove or in a microwave.
Hand Dipping Chocolate
Question – What can you dip in chocolate? Answer – Everything from marshmallows and strawberries to Oreos, potato chips and Twinkies. Many candy confections require dipping as the final step.
Candy Molds
Simply pour melted candy into the mold and refrigerate. Candy molds are available in an extraordinary variety, including those for making solid chocolates, truffles, candy bars, hard candies, and lollipops.
Solid Chocolates:
Halloween Candy
Solid chocolate candy is the best place to start for beginners. Seasonal candy molds are available for every holiday. You can change the color and flavor by choosing different candy melts.
Chocolate Lollipops
Colorful accents can be added to chocolate in two ways: Prior to pouring the melted chocolate, place small candies in the bottom of the mold, or hand-paint mold details with candy melts in alternate colors.
Filled Chocolates:
Rolos
To make Rolos, melt chocolate, and pour it into the mold, coating all sides and the bottom. Pour out the excess chocolate, add the caramel center, and top with more chocolate. Refrigerate, and enjoy.
Andes Mints
Andes Mints are made in shallow molds by alternating layers of dark chocolate and creamy mint filling.
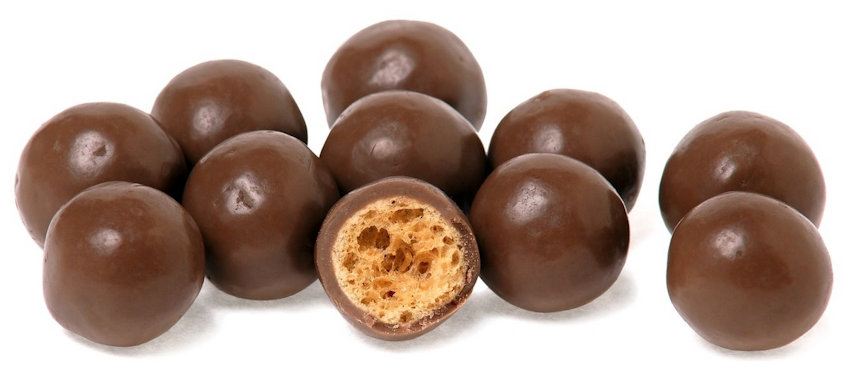
Malted Balls
Malted milk powder is the key ingredient in these poppable candies, which can be shaped by hand or with piping bag and then dip in melted chocolate
Peppermint Patty
Dark chocolate and peppermint extract are perfectly balanced. Shape the mint filling into balls, flatten them like coins, and then dip in chocolate.
Peanut Butter Cups
Peanut butter cups are made by coating the bottom and sides of the mold with chocolate. Add the peanut butter filling and seal the top with more chocolate. Refrigerate and enjoy this delicious combo.
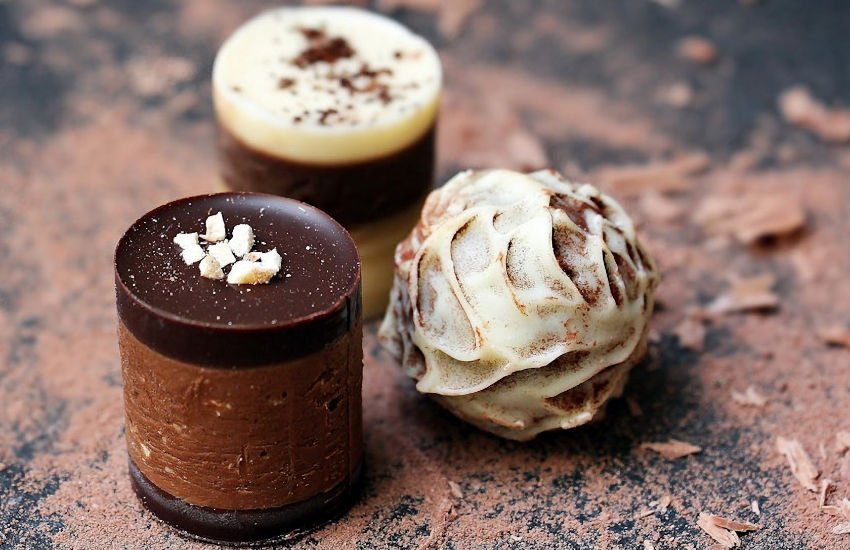
Chocolate Pralines
Chocolate pralines are a mixture of chocolate and cream with hazelnuts, almonds or pecans. Depending upon the recipe, you can drop spoonfuls onto parchment paper, or use candy molds.
Popular Candy Bars:
Hershey’s Chocolate Bar
Hershey bars have been favorites for ages. They are also the number one choice for making S’mores. Simply melt chocolate, pour into the mold and refrigerate.
Nestle Crunch
Mix melted chocolate with Rice Krispies, pour into mold and refrigerate. Yum!
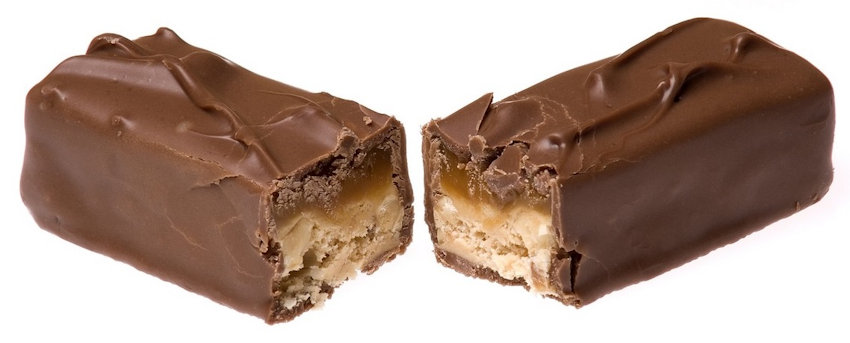
Milk Way Bars
These candy bars can be made using molds, or a parchment lined pan. In a mold, layer chocolate, caramel, and chocolate marshmallow. Top it off with more chocolate and refrigerate. If using a lined pan, layer caramel and chocolate marshmallow. Refrigerate, cut into bars, and dip in melted chocolate.
Three Musketeers Bars
Pour melted chocolate into a mold to coat bottom and sides. Mix chocolate marshmallow filling, press it into a mold and then top it off with a layer of chocolate. Refrigerate, release from mold and dip in melted chocolate. These can also be made in an 8×8 pan lined with parchment paper.
Butterfinger
Believe it or not, most recipes for homemade Butterfingers are made by melting candy corn and mixing it with peanut butter, which is pressed into a mold, and refrigerated. Dip in melted chocolate.
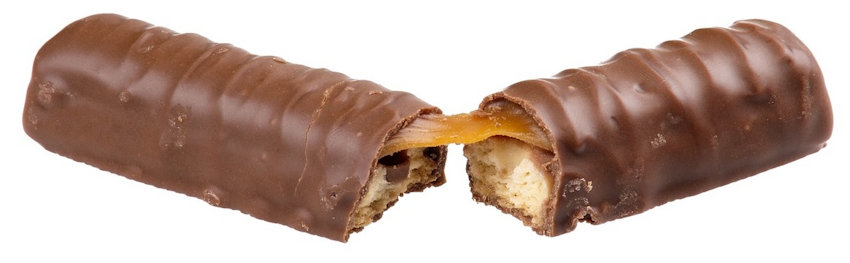
Twix Bars
For Twix bars, follow a shortbread cookie recipe and bake in a square pan. Allow it to cool and then cut into individual bars. Spread caramel over the top of each cookie and dip in melted chocolate.
Kit Kat Bars
Are Kit Kat bars your favorite? Dip crème filled vanilla sugar wafer cookies in melted chocolate. It’s easy and delicious!
Hard Candy & Lollipops:
Hard Candies
For homemade hard candies, most people use a cookie sheet instead of a mold. Change the flavor or color as desired. Flavors include various fruits, mints, and caramel.
Rock Candy
Rock Candy requires sugar, a jar, sticks, and lots of patience – it takes 1 to 2 weeks for crystals to form.
Swirled Lollipops
To make swirled lollipops, the warm candy mixture is worked by pulling and folding, creating ropes, which are twined together, and wrapped into spirals. Add sticks & enjoy.
Gummies:
Gummy Bears
Gummy bears appeal to kids and adults. They can be easily made at home with a gummy candy mold, and you can use fruit juice instead of sugar.
Presentation is Everything:
Chocolate Tulips
Just like bunches of fresh cut tulips, these multicolor chocolate blooms are haphazardly stacked in an eye-catching display to tempt your willpower.
Chocolate Tools
Creative chocolate molds, such as the ones used to make these tools, have strikingly realistic details, and the rectangular display resembles a toolbox. The chocolatiers have done an incredible job making these life-size “metal” tools, but I think the realism has been taken a bit too far. Although I know they have been dusted with cocoa powder for a well-worn appearance, rusty items do not appeal to my sweet tooth.
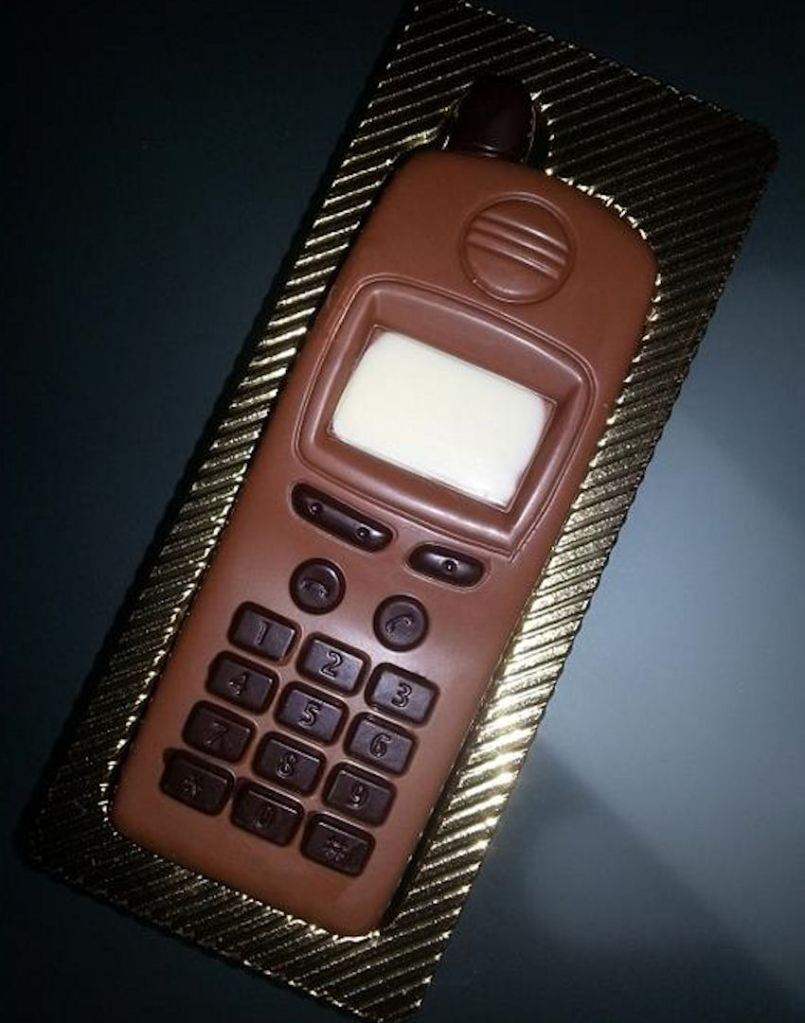
Chocolate Cell Phone
Want to know a stress reduction secret? Less technology and More chocolate! Remember, “stressed” spelled backwards is desserts! Enjoy!
Aside from stating the obvious, I’m sure you’re wondering where I’m going with this post. I have a funny family story to share…
When my brother and I were little, my mom took us to a department store to buy Christmas presents for her. Inside the store was a life-size Santa’s workshop, which looked like a log cabin with fake snow and icicles hanging from the roof. Parents brought their children to purchase gifts for individual family members, with the help of a store employee. To a kid, this was such a cool idea.
A salesperson walked each child around, helped select a gift, and wrapped it up to be placed under the Christmas tree. I went in first and found a lovely pair of earrings for my mom. I felt very proud of myself, shopping just like the grownups did.
While my mom and I waited, my younger brother went inside. For some reason, he was taking a very long time to choose a gift. When we discovered why, we were hysterically laughing. My brother did his very best to convince the salesgirl that my mom wanted a shiny red fire truck for Christmas! And being a thoughtful boy, he said he could play with it when she wasn’t using it!
Ever since, whenever someone receives a present that is really for the gift giver, we call it a “fire truck.”
So, on that special occasion, when you open your gifts, if you see something that reminds you of this post, just smile, say thanks and think… Fire Truck! lol