Arranging flowers is like painting a masterpiece. Instead of paints on canvas, you place fresh-cut or silk flowers and leaves in a vase, bottle, or bowl. Before you begin, you have some decisions to make. What colors will you choose? How will you create visual interest? Do you prefer balanced or abstract designs? What will be your focal point(s)? Do you have a container in mind? Would you like to include a few accents, such as berries, or butterflies? Feel overwhelmed? Below are several pointers on flower arranging to help you get started.
Complementary Colors:
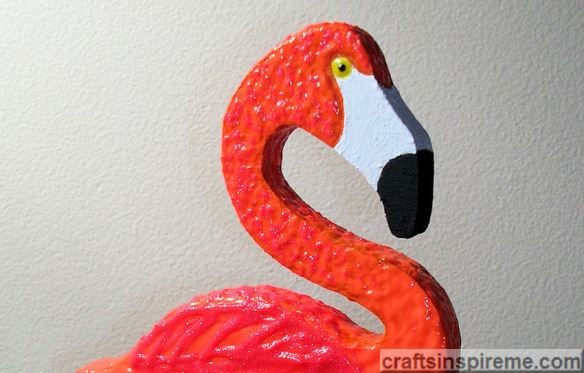
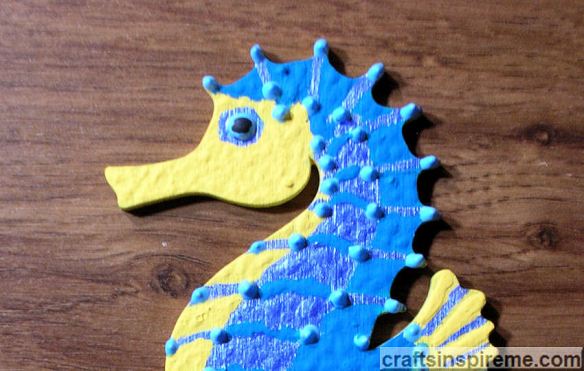
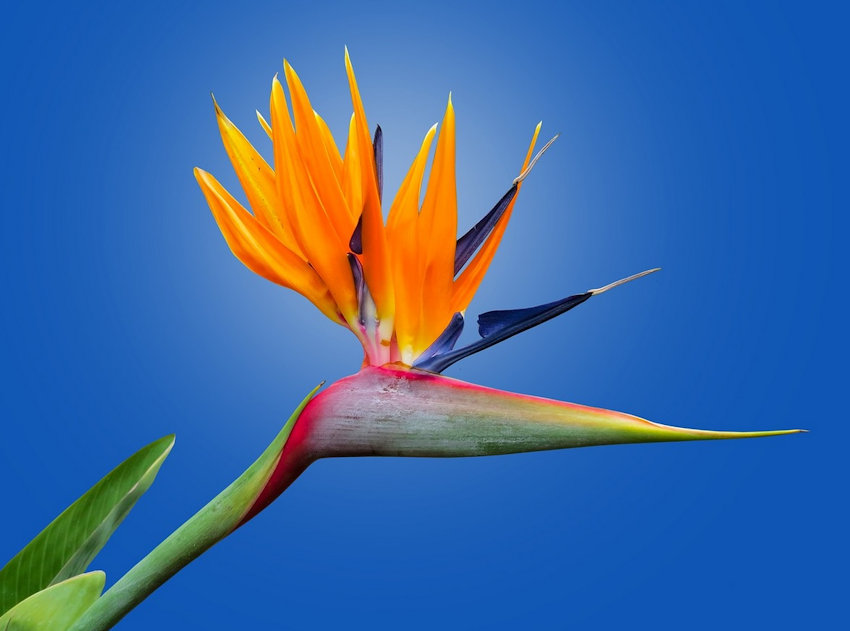
Orange & Blue
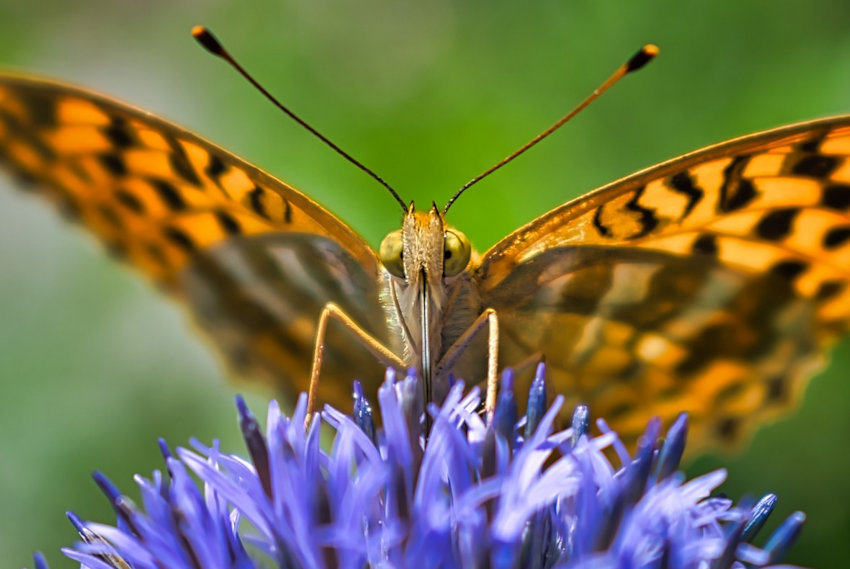
Complementary colors provide maximum contrast. They say opposites attract. Maybe that is why this orange butterfly found a blue flower irresistible.
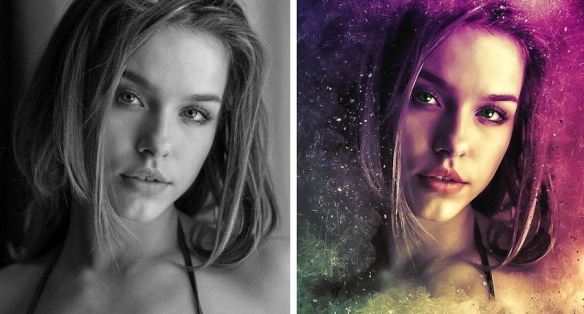
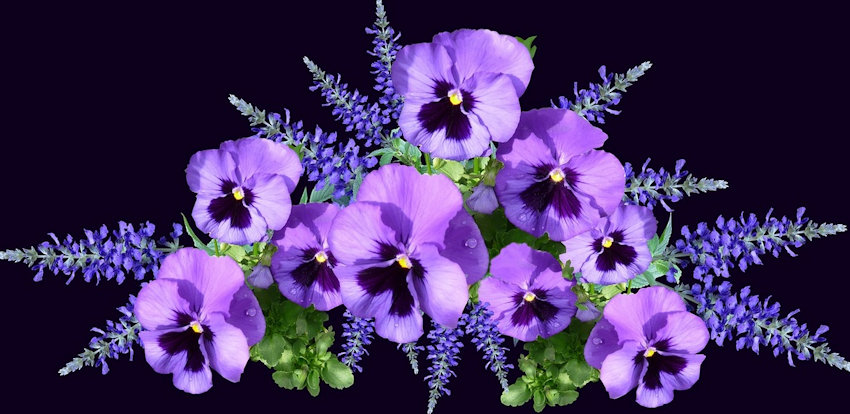
Yellow & Purple
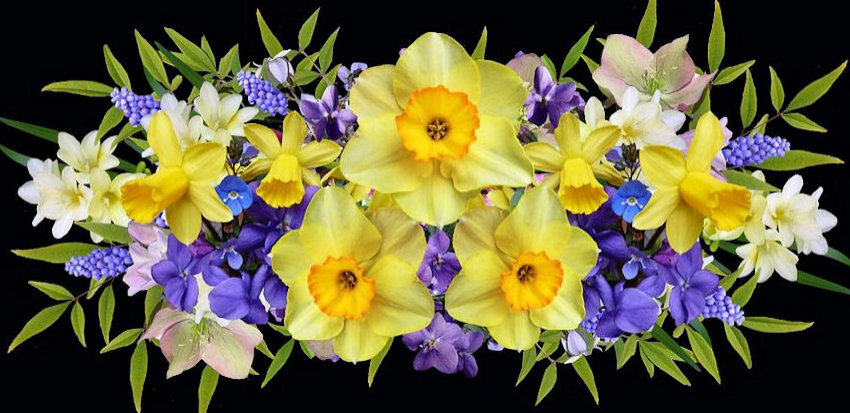
Yellow shines brilliantly alongside its complement, purple. This combination is associated with spring as well as Easter.
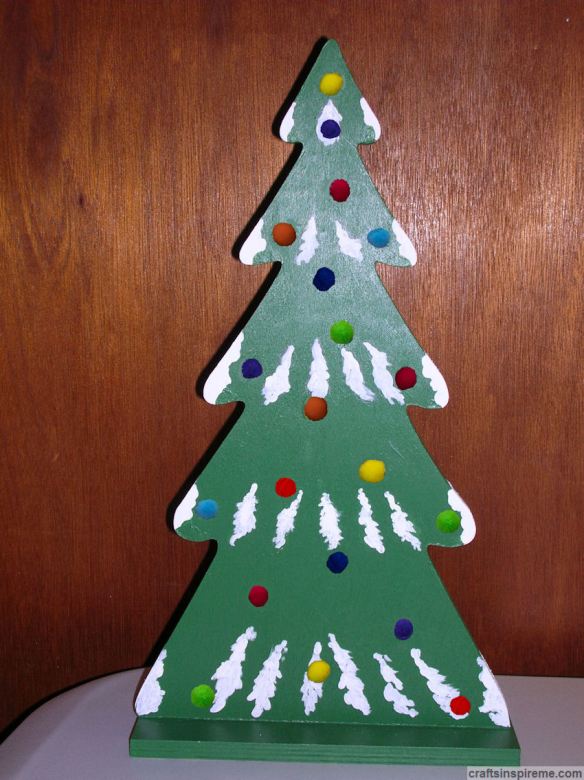
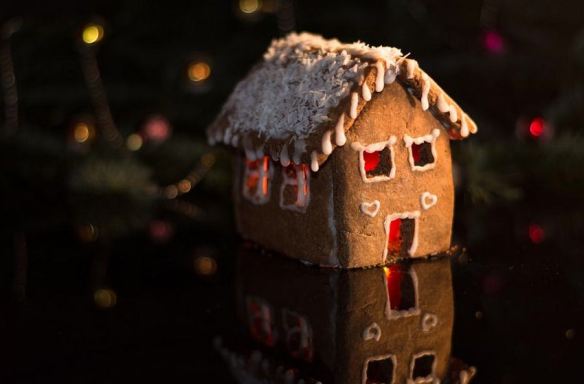
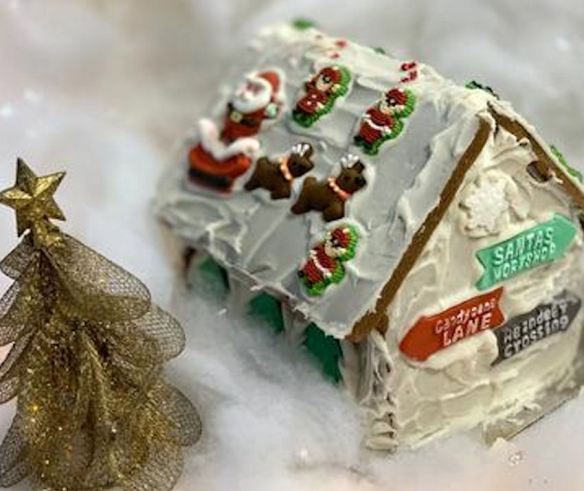
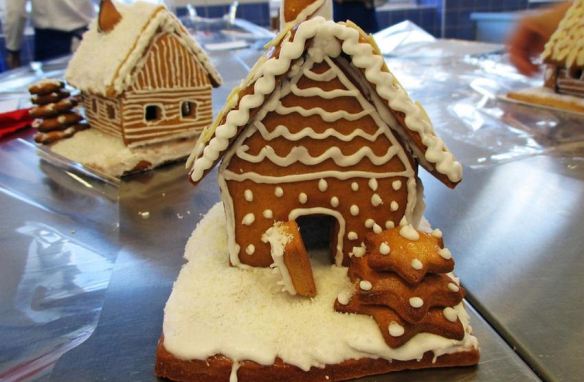
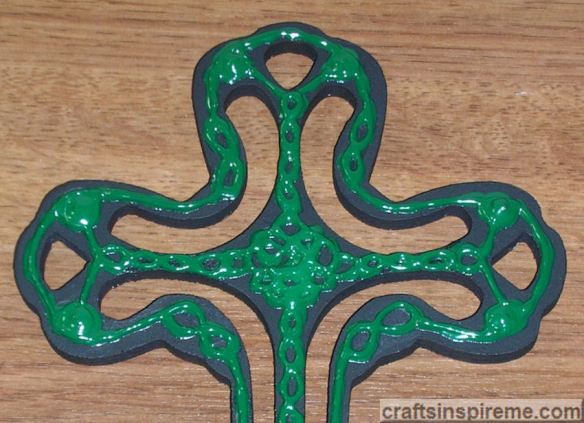
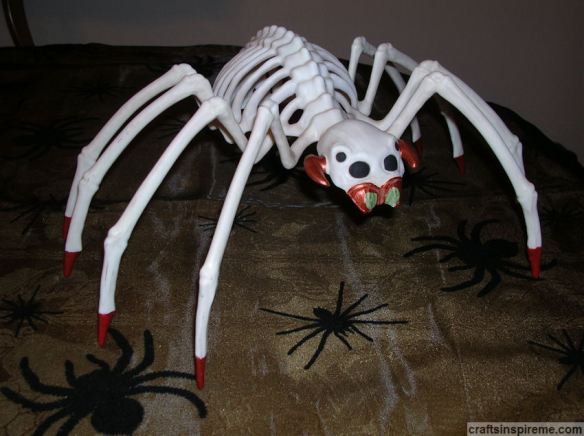
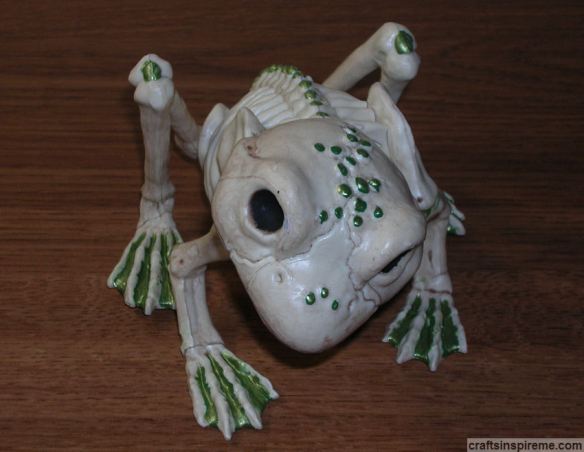
Red & Green

Red immediately grabs your attention. Set against green it really pops. Although red and green are hallmarks of Christmas, they are perfect any time of year, especially with other accent colors, as shown in the above photo.
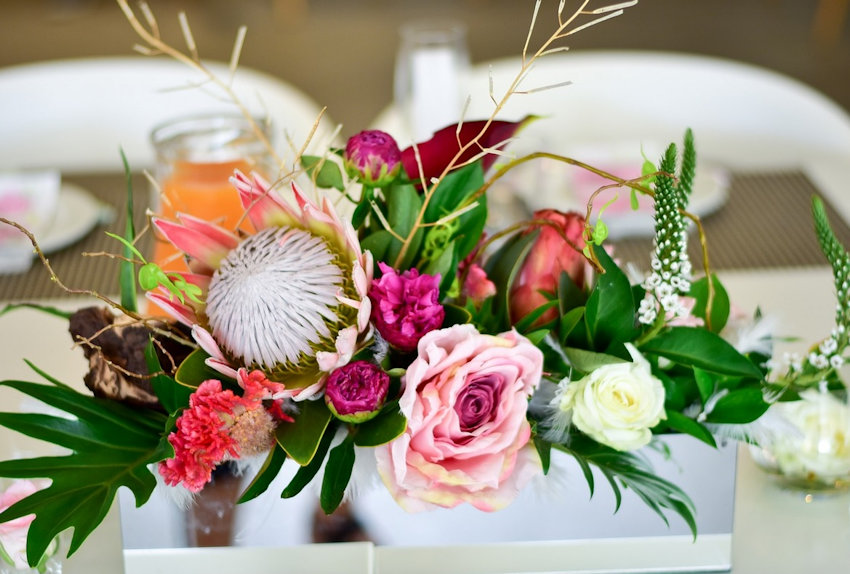
Exotic Focal Points:
Bird of Paradise
While you are selecting flowers for a new arrangement, consider your focal point(s). A few exotic flowers bring bold colors, shapes, and textures to your design.
Dahlias

Dahlias offer amazing variety. Check out the gorgeous pink and white dahlia in this photo. Many people believe the ombre-effect was manmade, but Mother Nature thought of it first.
Hibiscus

Although hibiscus is a readily available flower, the rich, blended colors and delicate details appear to be hand-painted by Mother Nature.
Monochromatic:
Pinks

Monochromatic designs do not have to be boring. Choose a variety of flowers in shades of your chosen color and arrange them in a visually pleasing way.
Purples
Dramatic contrasts in color as well as shape are the keys to this arrangement.
Multicolor:
Tulips

Jewel-tone tulips stand on their own as an easy and attractive centerpiece.
Assorted Flowers
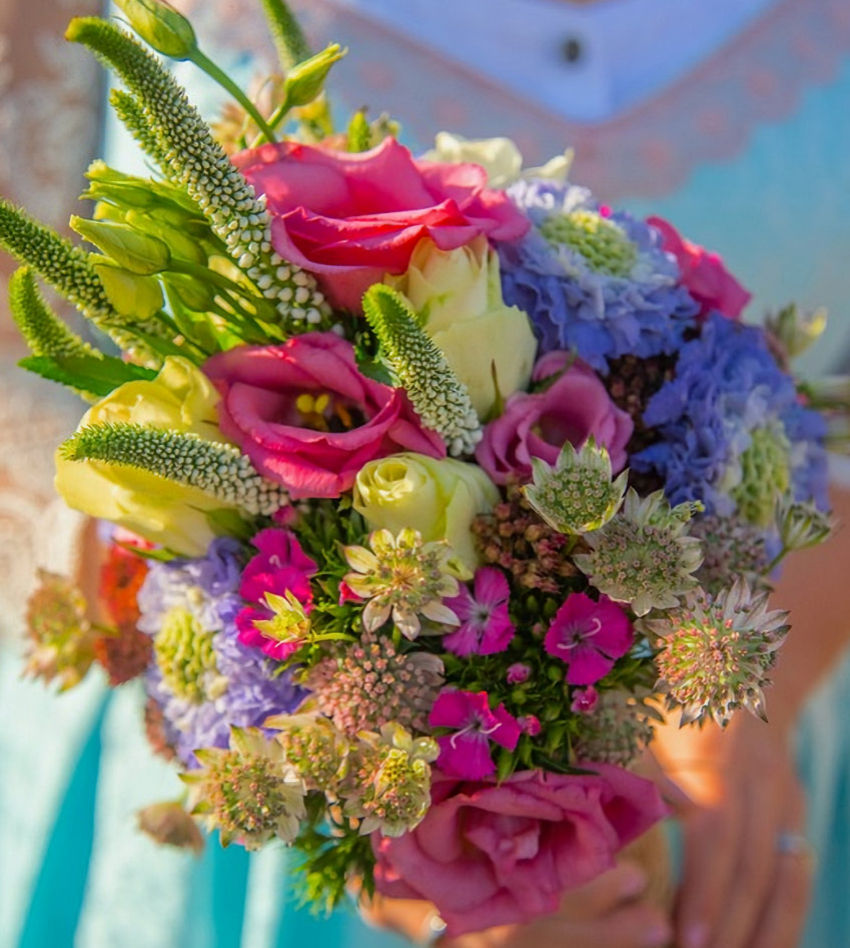
Pastel colors and small-scale blooms blend harmoniously in this lovely springtime bouquet.
Floral Design Balance:
Symmetry

This arrangement has elements of symmetry and asymmetry. The heart shape and three roses are symmetrically balanced, while the assorted perimeter flowers are asymmetrical and yet still fit within the overall heart shape.
Asymmetry
This asymmetrical centerpiece is an abstract art lover’s dream.
Floral Accessories:
Cute Critters

You might want to include a few well-chosen characters to adorn your floral creations, including birds, butterflies, ladybugs, geckos, and fairies.
Bouquet Holder

Give a floral bouquet an upgrade with a special themed holder, such as this heart for Valentine’s Day, which can be paired with a vase, and reused for years to come.
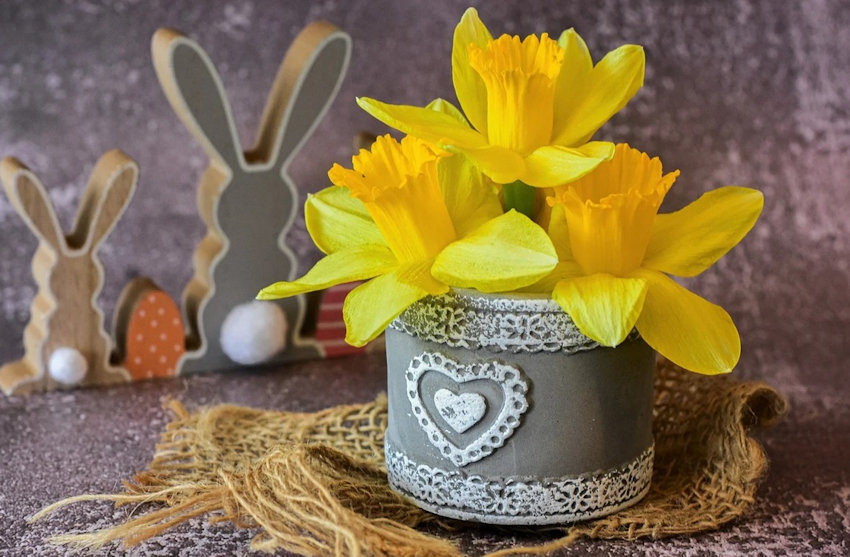
Ribbons & Twigs

The bright yellow daffodils contrast well with purple ribbon, woven with other blooms upon a twig base. In autumn, pinecones, and berries are attractive additions.
Floral Display Containers:
And the Envelope-Please…

Flowers look beautiful no matter how you choose to display them. For the cute arrangement above, you need to “think inside the box!” An envelope-shaped box is a sweet surprise and wonderful conversation starter.
Martini Glass

A new use for an old friend – this martini glass, with an extra-long stem, is a great idea for providing floral beauty, while still enabling guests to see each other across the table.
Old Fashioned Ceramic Jar
For country chic, choose the simplicity of a ceramic jar filled with a few fresh cut blooms.
Water Bowl

Who needs a vase when you have a water bowl? A floating mandala design sets a relaxing tone. If you are having a party, each table could have a unique floating centerpiece to show off your creativity.
Floral Design Influences:
Religious

This Balinese flower offering exhibits many of the design principles discussed in this post including symmetry, focal point, all six complementary colors, multicolor flowers, and a unique flat design display. A large outdoor table, in a shaded area, offers a great opportunity for a flat floral centerpiece.
Cultural (Before & After)

Tropical flowers grow in abundance in Hawaii and are an integral part of their cultural history and traditions. This beautiful arrangement has a nice selection of exotic flowers, but two elements throw off this design: 1) The red roses do not belong in a tropical arrangement. 2) The metallic silver vase is too contemporary. To fix it, add more red ginger and anthuriums, and use a Hawaiian drum to conceal the vase, unifying this Polynesian theme.
Architectural

A large interior space requires an equally strong floral display, and this one meets that challenge. These organ pipes have strong vertical lines, multiple levels, sculptural scrolls, and decorative arches, which are echoed in the grooved, scalloped urn, tiered flowers, curled leaves, and bell-shaped flowers. High contrast of complementary colors can be found in the purple flowers with bold yellow centers, and the blue flowers against the tall orange-red stalks. Exotic lilies serve as focal points, drawing the eye in toward the rich lush greens and purples and pulling your attention upward, much like the heavenly organ music floating upon the air.
Sculptural
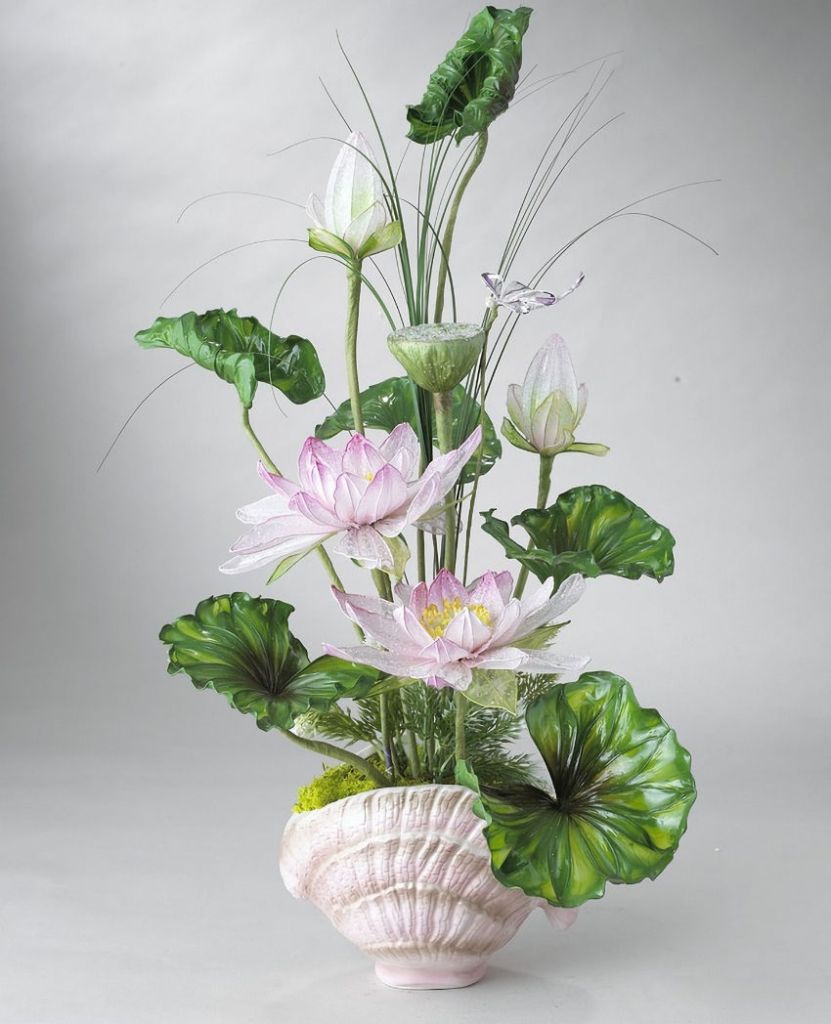
Seashells and lotus blossoms automatically make you think of water. Beginning at the top, invisible water flows diagonally, from leaf to leaf, making its way back and forth across the arrangement until it reaches the bottom, only to begin the journey anew. Textures in the seashell are repeated in the leaves. Whether you spend the day at a pampering spa or have a luxurious soak in the bathtub at home, this soft color palette and gentle flowing movement soothes away your cares bringing peaceful relaxation to body and mind.
Take your time finding inspiration, developing ideas, and planning your design. Choosing flowers and creating a unique floral display will shine with your artistic flair. Enjoy the process and best of luck!
Thanks for Reading & Happy Crafting!