Paper Flowers: Roses

Red Rose

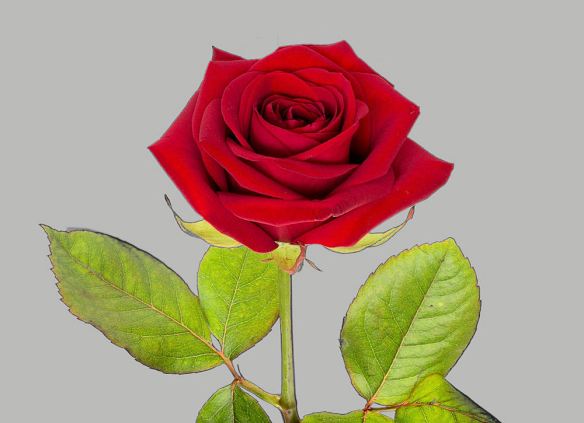
Welcome to part 2 of this paper flower tutorial. Roses are probably the most popular flower. This paper variety is easy to make, and many of the steps are the same as the Water Lily we made in part 1. Let’s try this together.

Inspiration – Red Rose

Red Rose

Supplies

Rose Supplies

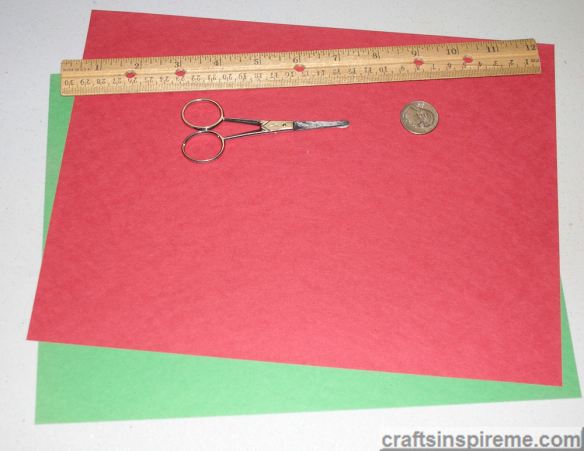
Supplies:
Construction Paper – 9” x 12” sheets in red & green
Stick Glue & Craft Glue
Scissors, Pencil & Ruler

Measure & Cut White Paper into a 9” x 9” Square
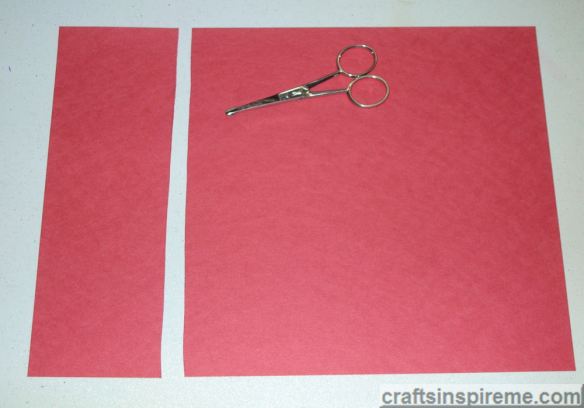
Cut 9x9 Red Square

The original sheet size is 9” x 12”. Cut 3” off the length, making a 9” x 9” square.

Fold Paper in Half
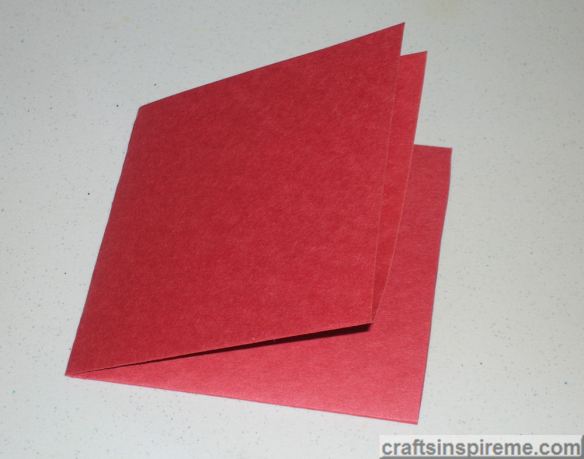
Fold in Half & Fold again

Fold the paper in half and then fold it in half again, creating a smaller square.

Draw Guidelines
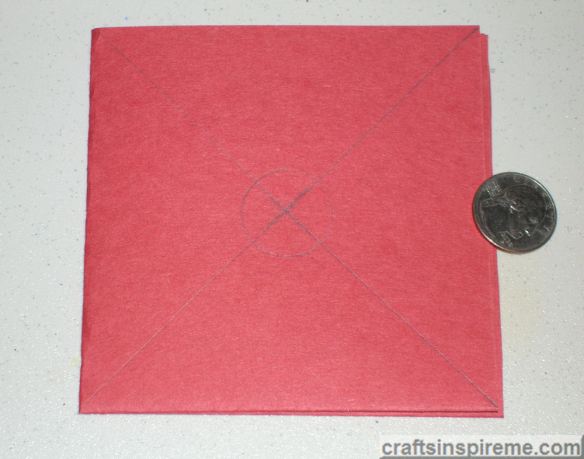
Draw an X & Trace Coin

Draw an “X” from corner to corner across the square. Trace a 1” coin (I used a quarter) in the center of the square.

Petal Experiment #1:
Draw Flower Petals
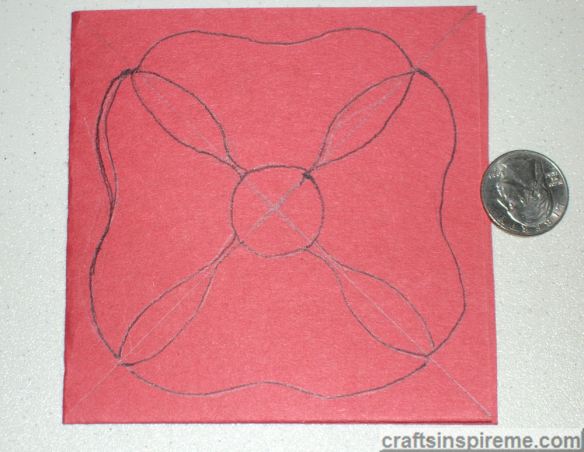
Draw Flower Petals

Lightly draw one petal in each quadrant, narrowing toward the center of the flower as shown.

Cut Out the Flowers
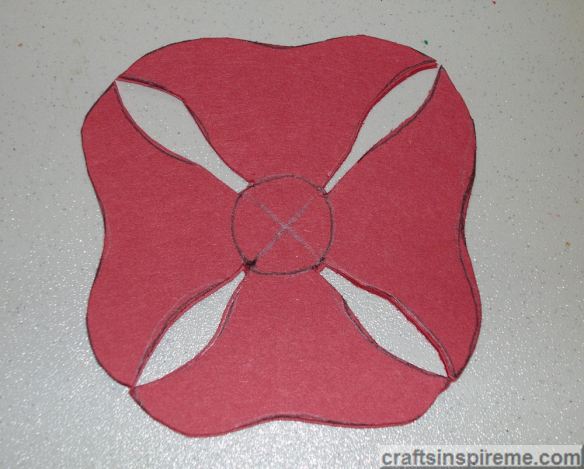
Cut Out Flowers

Carefully cut out the flowers, for a total of four. In the photo above, the flowers are stacked one on top of the other with four petals each. Please save the paper scraps for a future step.

Create a Support Ring for the Petals
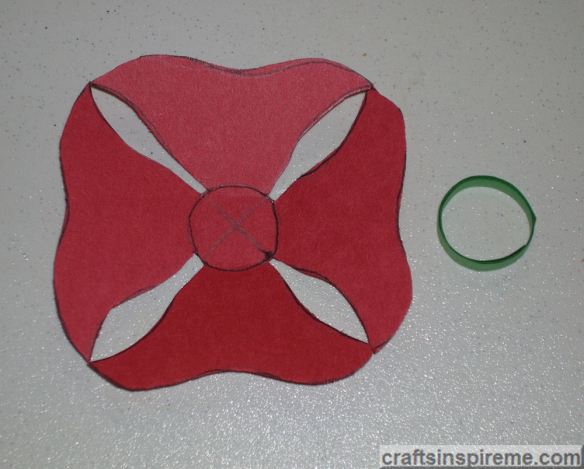
Make Green Support Ring

Cut a 9” long x 1/4″ high green strip to form a circle around the center of the flower. Glue the ring together using stick glue. Test-fit the first flower inside the ring. Upon doing this, I realized the petal shape would not work. This led to the next experiment.

Petal Experiment #2:
Reshape the Petals
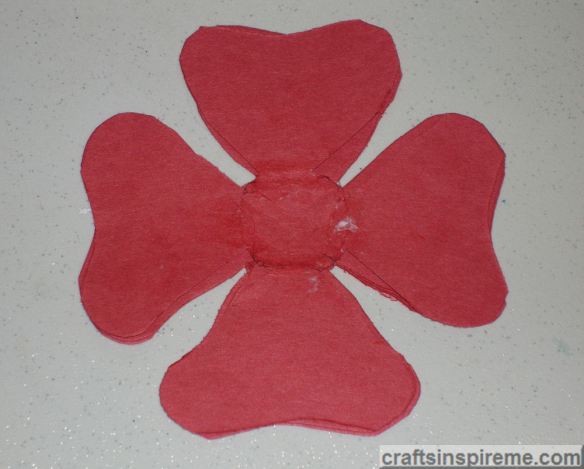
Reshape Flowers

Using scissors, round the ends of the petals, creating a four-leaf clover shape.

Test-Fit a Flower in the Support Ring
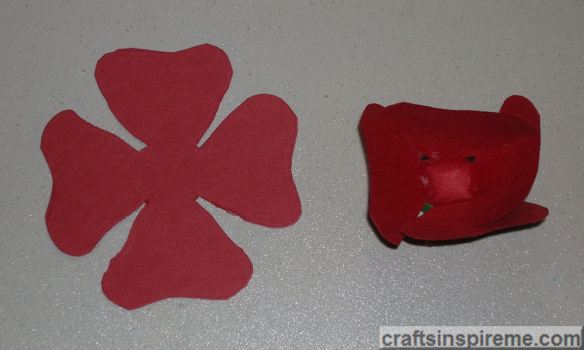
Test Flower Support Ring

This new shape works well in forming the layers of the rose. On the right is a test-fit of the first flower inside the green support ring.

Glue the Ring to the Base
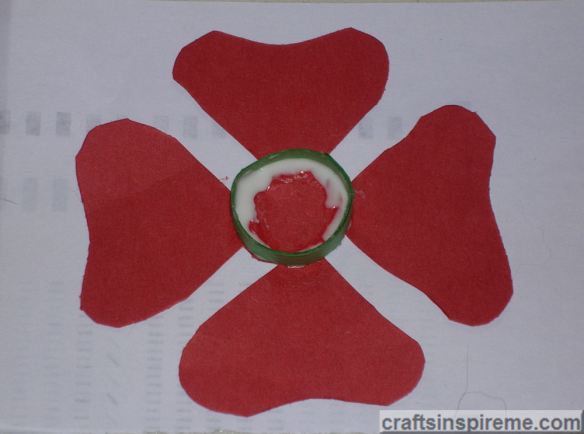
Glue Ring to Base

Using craft glue, attach the ring to the base flower.

Glue First Layer Inside Ring
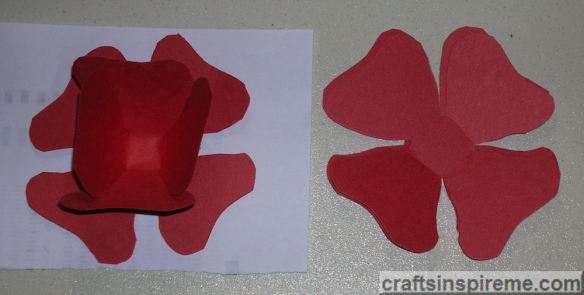
Glue Flower Inside Ring

Add craft glue to the center of the ring and push the flower down inside it. Turn the flower so the petals do not overlap.

Conceal Support Ring at Base of Flower
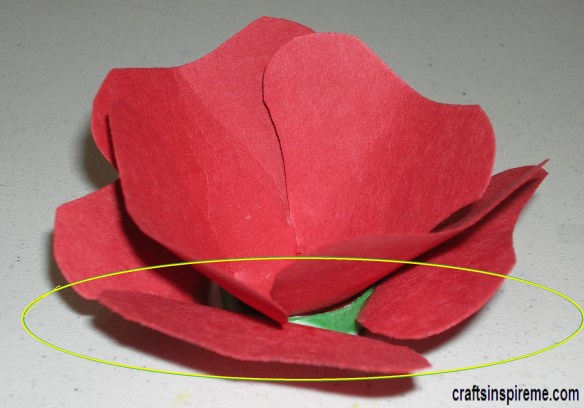
Conceal Ring & Curl Petals

Bend each of the four bottom petals up to cover the support ring. Glue in place with craft glue. After they dry, adjust petals as desired.

Top View of Rose in Progress
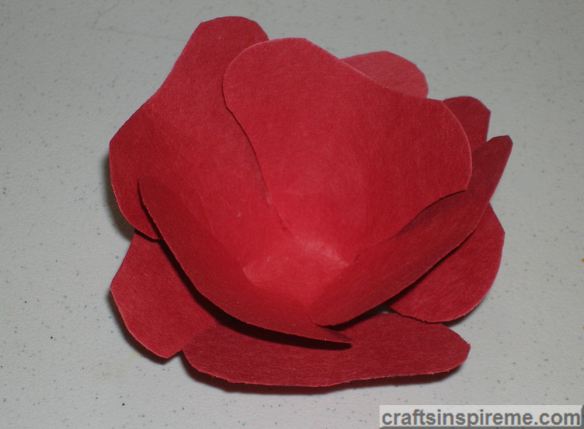
Top View Rose Progress

The petals form a pretty frame around the center of the flower.

Create the Flower Center
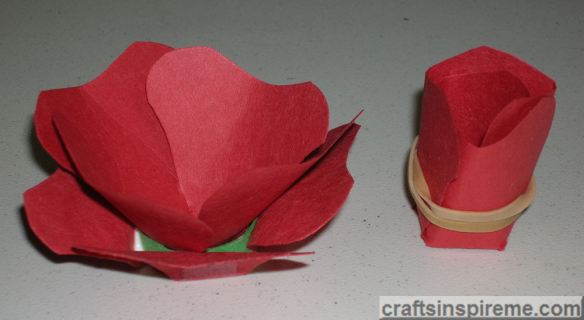
Create Flower Center

Create the center of the rose, shown on right, by bending the petals upward around the center, using a rubber band to temporarily hold its shape. Adjust the interior petals as needed for desired appearance. Most roses have a spiral center. Glue the petals together so they will stay in place after the rubber band is removed.

Test-Fit Flower Center
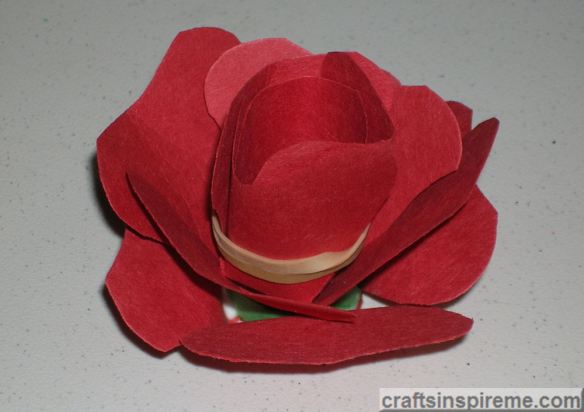
Test Fit flower Center

Set the new flower center in place and apply craft glue to the bottom. Allow glue to dry and then carefully remove rubber band.

Progress Photo
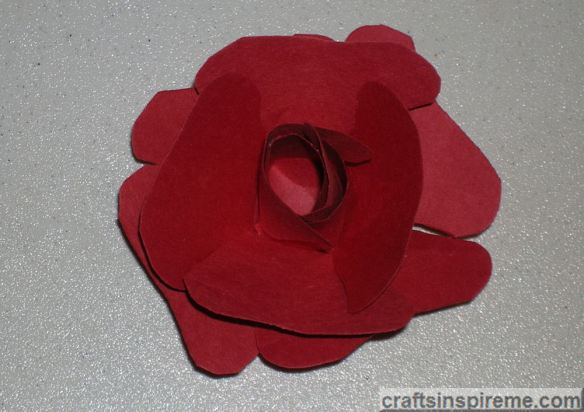
Progress Photo

Just to recap, this rose now consists of three layers – bottom, middle, and center. We still need petals to fill in around the center, and some at the base.

Use the Last Flower
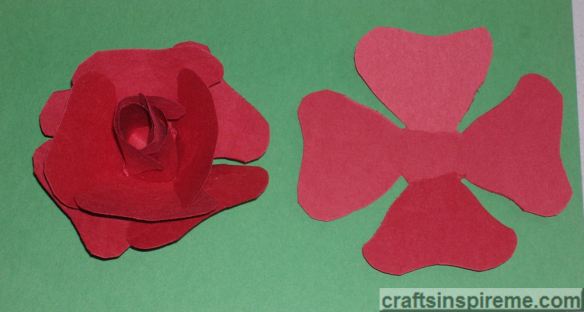
Use Last Flower

Glue the last flower to the bottom of the rose. Be sure to turn the flower so the petals will not overlap with the previous layer.

Leftover Paper Scraps
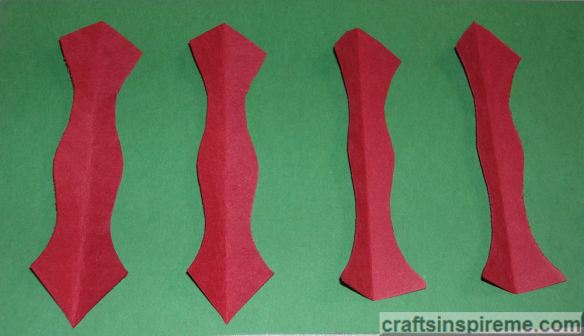
Leftover Paper Scraps

These paper scraps are leftovers from cutting the roses.

Round the Ends
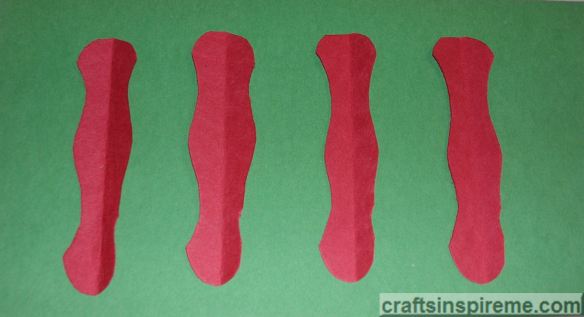
Round the Ends

Stack the four pieces on top of each other and then round both ends. Cut them in half for a total of eight petals, which we will use to fill in the center of the rose. The rounded ends are the tops of each petal.

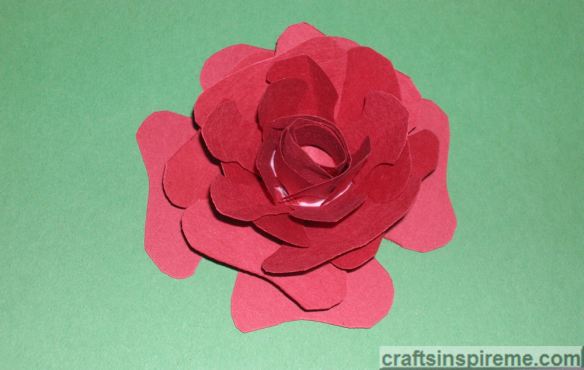
Complete Flower
Complete Flower

Add a little craft glue to the bottom of each petal and insert each around the central flower core. This completes the red portion of the rose. Now we need a few leaves.

Creating the Leaves:
Inspiration – Red Rose with Leaves
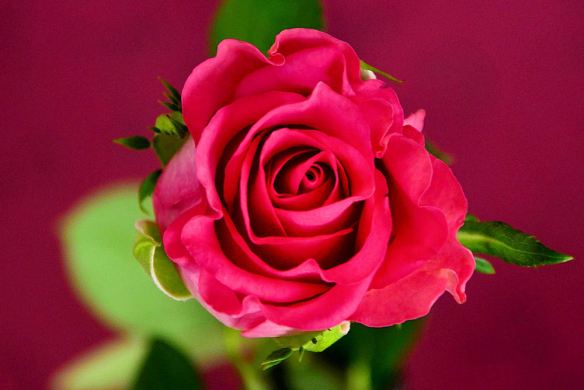
Red Rose with Leaves

We are going to make the small leaves, which wrap the rosebud before it opens.

Draw Guidelines
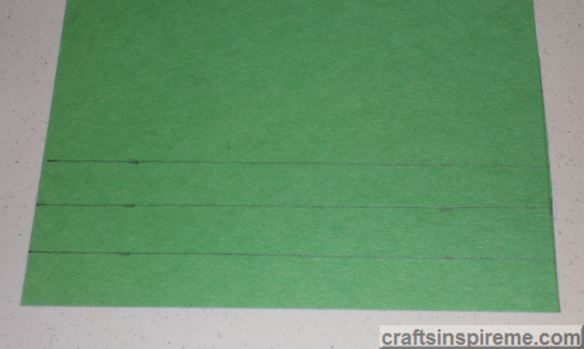
Guidelines for Leaves

Measure 1/2″ x 9” long strips and draw guidelines on green paper.

Accordion Fold the Paper
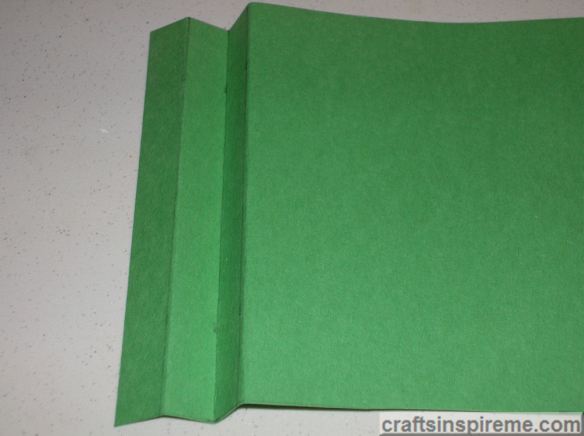
Accordion Fold Paper

Simply fold the paper accordion-style to create three layers of paper.

Draw the Leaves
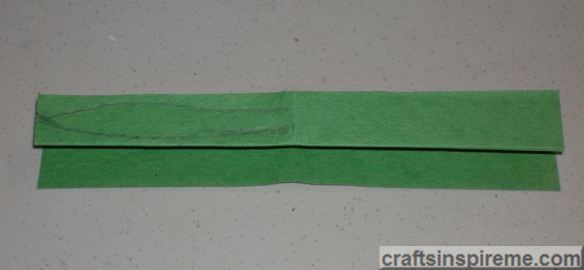
Draw Leaves

Draw a long, pointed leaf on half the folded green construction paper, as shown above. Fold the paper in half again and cut out the leaves for a total of six.

Fold the Leaves
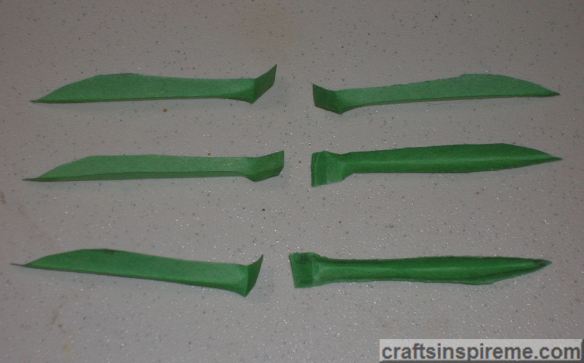
Cut and Shape Leaves

Fold each leaf lengthwise and then bend approximately 1/2″ of the bottom to attach to the underside of the rose.

Glue on the Leaves
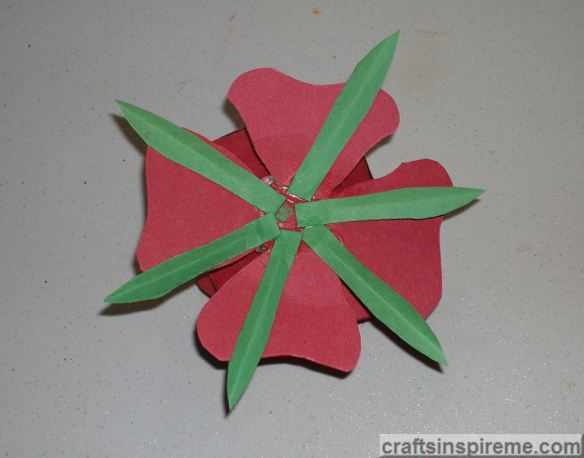
Attach the Leaves

Using craft glue, attach each leaf creating a star pattern on the bottom of the rose.

The Completed Paper Rose
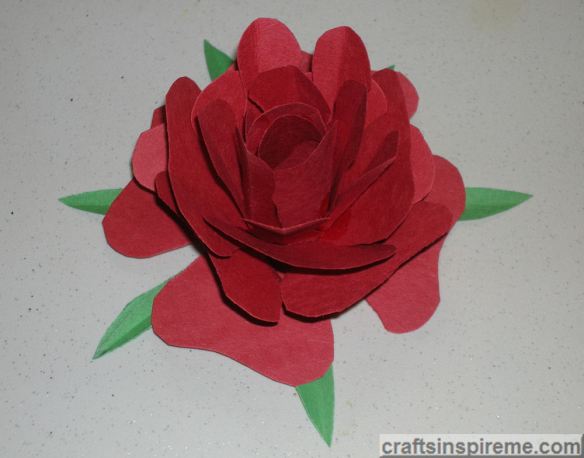
Completed Paper Rose

This completes our project, a bold and beautiful rose. You can place these on a table or attach them to a wall. If desired, you can paint skewers green and glue one to the bottom of each rose to create a lovely bouquet, which never needs watering. I hope you enjoyed learning how to make paper flowers and will give it a try. Good Luck!

In case you missed it, here’s a link to part 1, Paper Flowers: Water Lilies.

Thanks for Reading & Happy Crafting!

The Art of Quilling

Paper Strips

Quilling is a craft utilizing colorful precut strips of paper. After the paper has been rolled using a special slotted tool, the coils are shaped using your fingers to create teardrops, squares, diamonds, etc. and then glued into interesting compositions. Below are a few ideas to inspire your creativity…

Party Décor

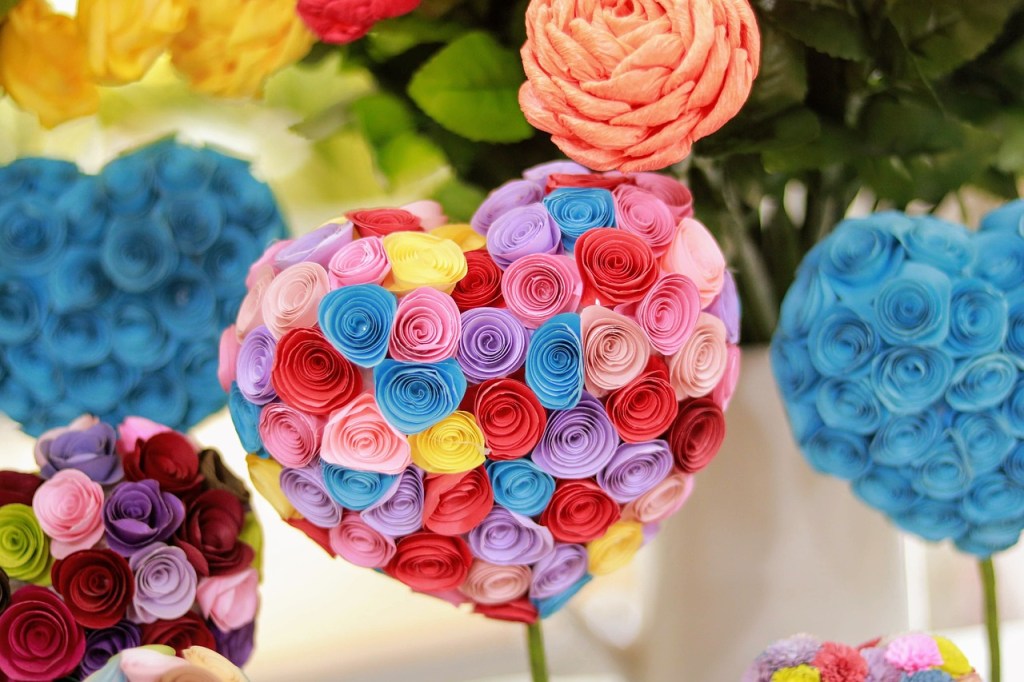
Floral Hearts

Handmade Envelope – (Quilled card shown below)

Gift Envelope

Greeting Card

Greeting Card

Edible Quilling

Quilling Cake

Ceramic Easter Eggs

Easter Eggs

Collector’s Egg

Collectors Egg

Intricate Quilling Design Detail

Quilling Details

Portraiture – (Quilling & Illustration)

Portrait of Two Women

Wall Art

Stag

Freestanding Sculpture – (Requires substrate for support)

Horse

Tropical Wall Art – (Quilling & Illustration)

Tropical Portrait

Fantasy Wall Art

Solar System

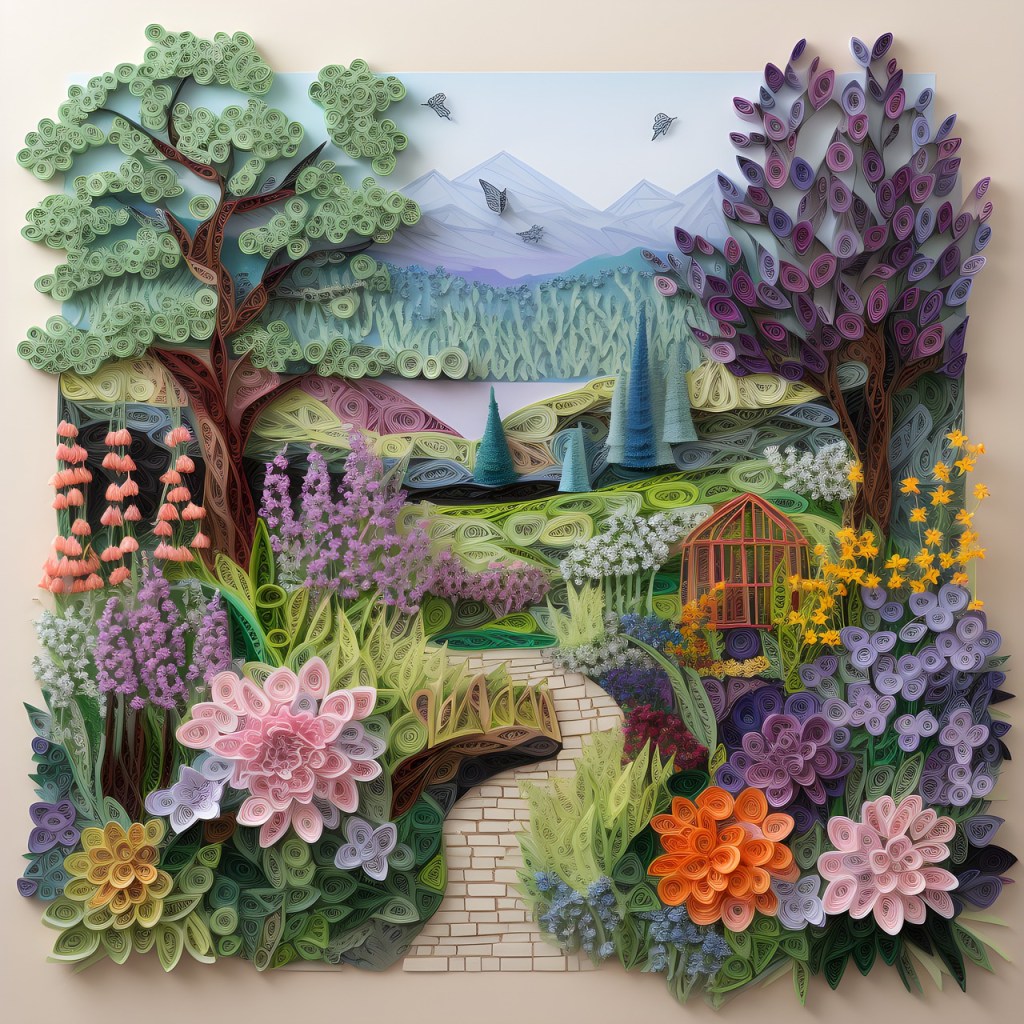
Springtime Garden Wall Art

Garden

I hope you enjoyed seeing these beautiful examples of quilling and will consider giving it a try. Kits are available with all the supplies you need. Please let me know your favorites in the comments.

Thanks for Reading & Happy Crafting!
Countdown -Top Six Posts 2023

Hourglass Countdown

It seems we are always keeping an eye on the time.  Busy schedules and ever-growing “To-Do” lists often prevent us from stopping to review our accomplishments.  Let us take a few minutes to look back at the highest ranked posts, as voted by you, the readers. Below is a list of the Top Six posts of 2023, in ascending order: (Likes for posts 4, 5 & 6 were tied)

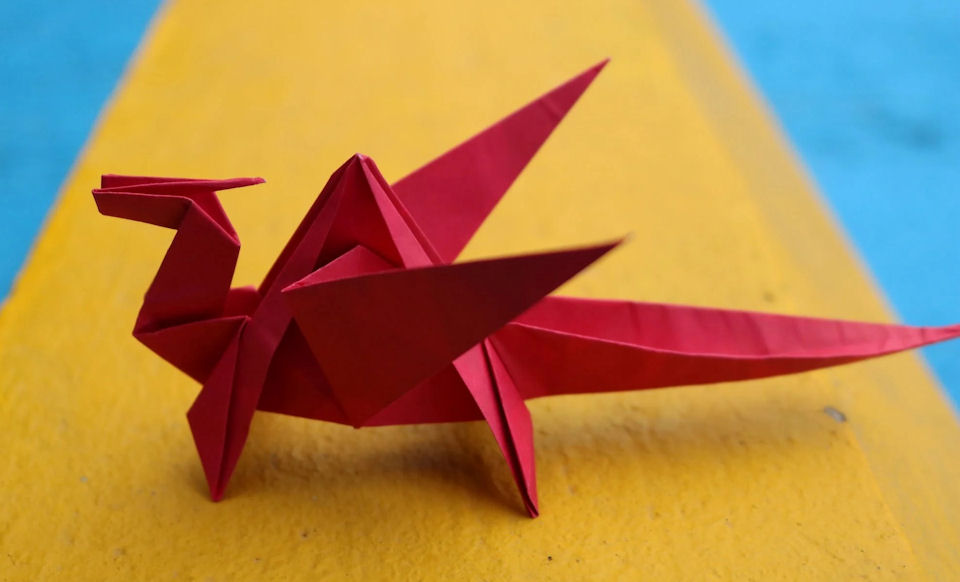
Number 6: The Beauty of Origami

Origami Dragon

Origami is an ancient art of paper folding. Boats are one of the more familiar forms, but there is a wide variety of shapes, including animals, trees, and flowers.  To read more, please click here. 

Number 5: Eternal Spring

Painted Wood Butterfly Garden

As new blooms of spring dazzle us with their beautiful pastel or jewel tone petals, equally attractive butterflies gather the sweet nectar and flutter away like fairies in the wind.  To read more, please click here.

Number 4: Table Décor – Elements

Table Decor Color Scheme Red & Gold

Earlier this year, one of my followers requested a post featuring table décor inspirations for year-round events.  To read more, please click here.

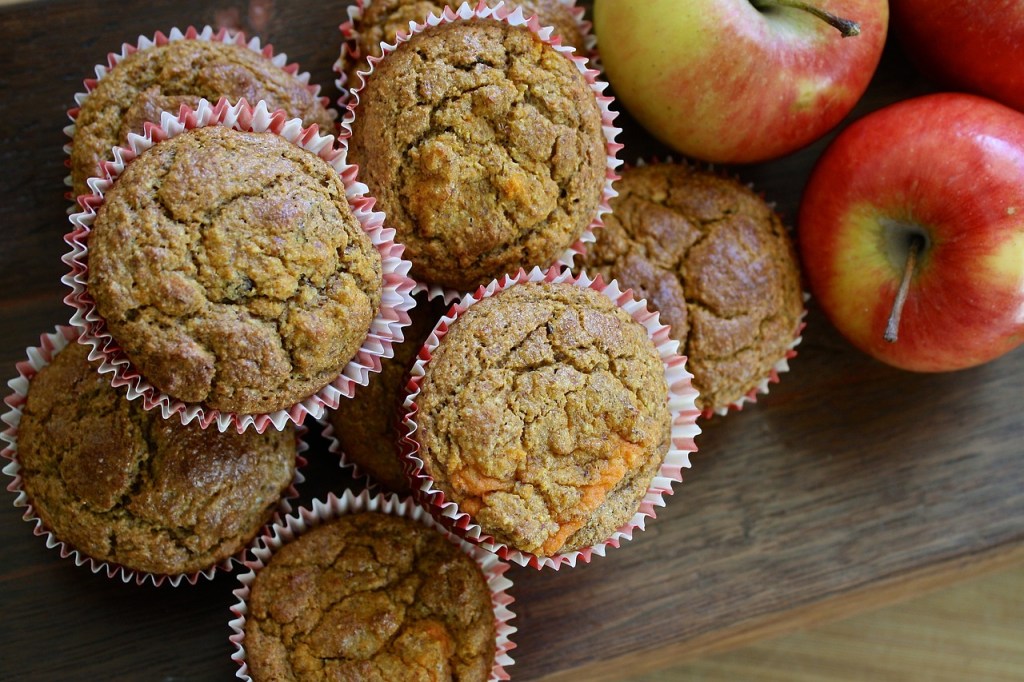
Number 3: Muffin Fest 2023

Apple Cheddar Muffins

This week’s post celebrates the many flavors of muffins. Of course, we have all heard and hopefully tasted some of the classics, such as corn or blueberry muffins, but you may also find some new ones here to tempt your taste buds.  To read more, please click here.

Number 2: Table Décor – Designs for All Occasions

Table Decor Color Theme Red & Gold

Welcome to part two of table décor. Last week we reviewed the basic elements used in decorating tables. Today, we will see table designs for most occasions celebrated throughout the year.  To read more, please click here.

Number 1: Inspiring Cake Design

Sewing Machine Cake

A well-designed cake sets the tone (e.g., romantic, playful, humorous), or complements the theme (e.g., fairytales, natural wonders, hobbies, holidays) for every celebration.  To read more, please click here.

Seasonal Craft Projects

And there we have it – the top 6 posts of 2023.  We have a new year to explore the world of creativity.  There are always new ideas and I’ll be sure to include more of your favorites.  Your opinions are greatly appreciated, and I look forward to so much more this year.  If you have any suggestions for future posts, please let me know. 

Thanks for Reading, Happy New Year & Happy Crafting! 

The Beauty of Origami

Boat

Boat

Origami is an ancient art of paper folding. Boats are one of the more familiar forms, but there is a wide variety of shapes, including animals, trees, and flowers. Let’s explore this beautiful form of art.

Traditional Origami:

Bird

Bird

Butterflies

Butterflies

Crane in Flight

Crane

Dragon

Dragon

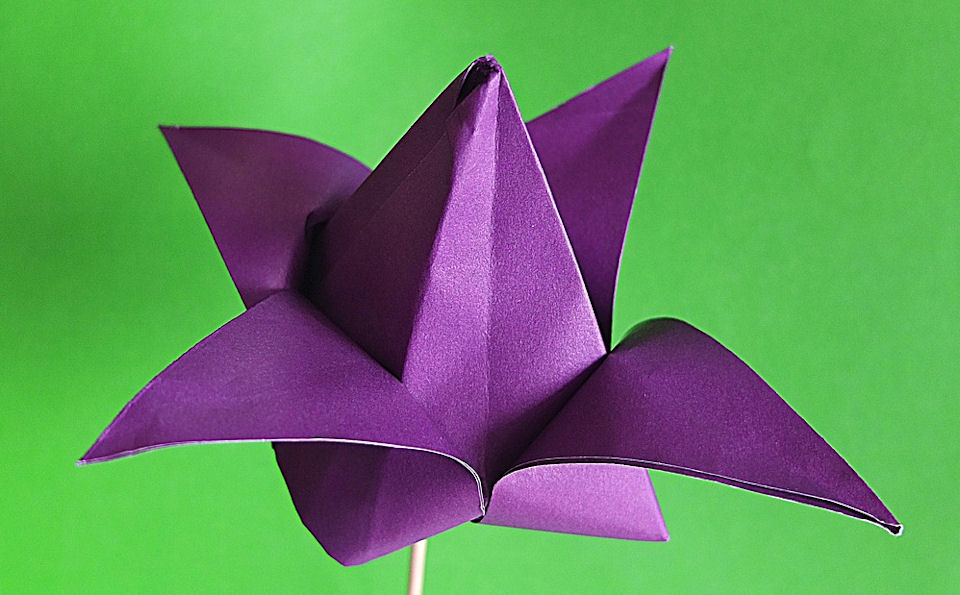
Flower

Flower - Iris

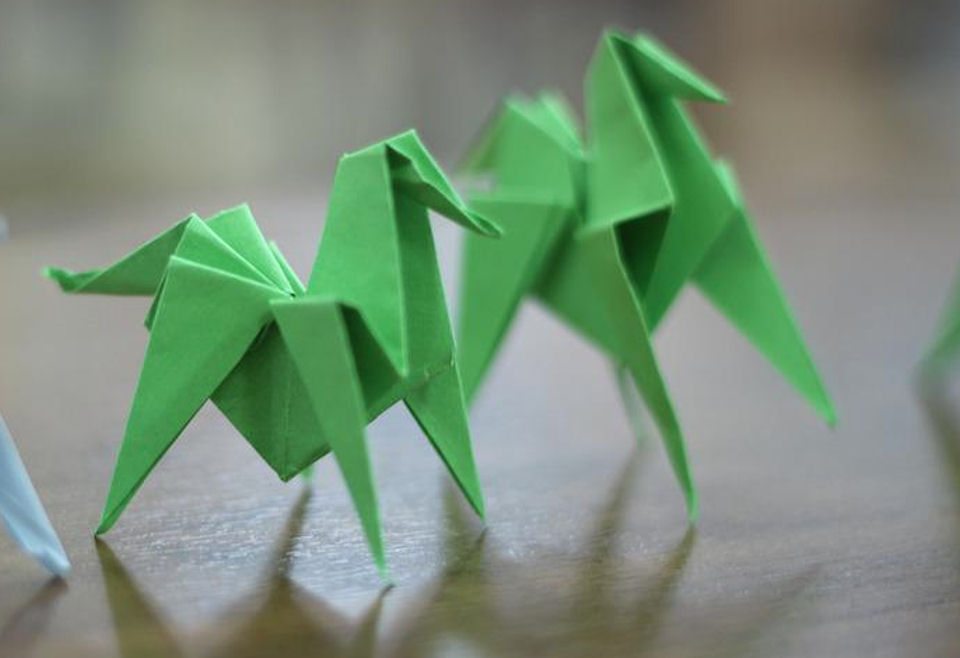
Horses

Horses

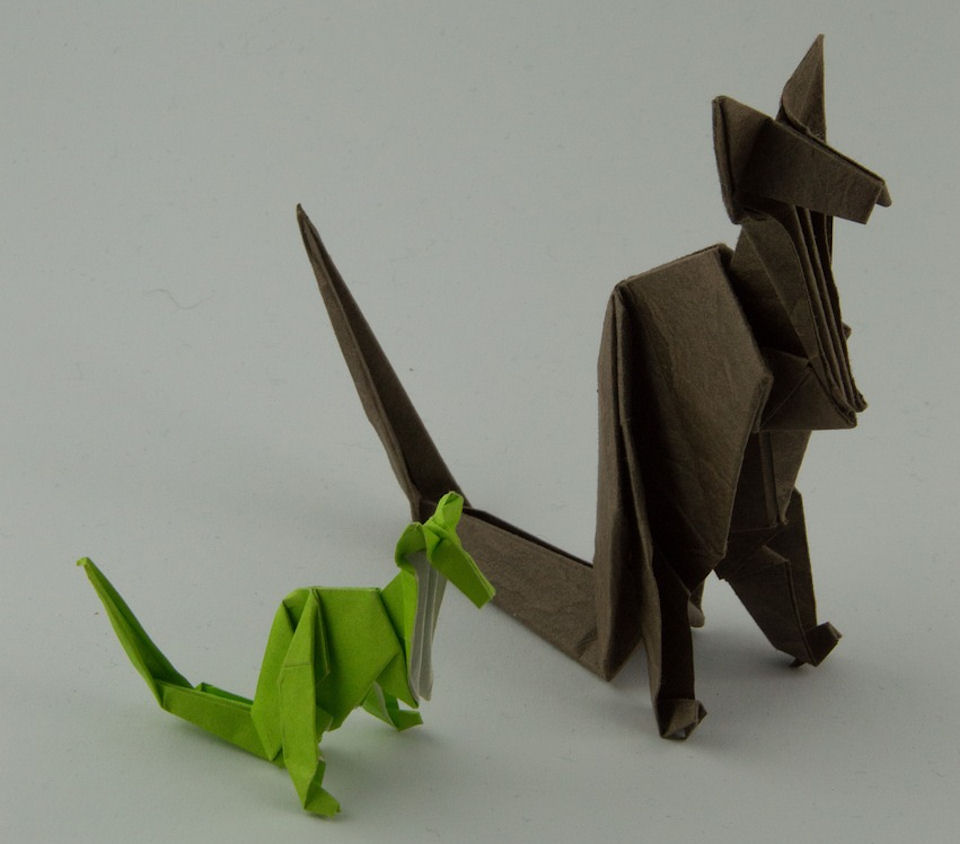
Kangaroos

Kangaroos

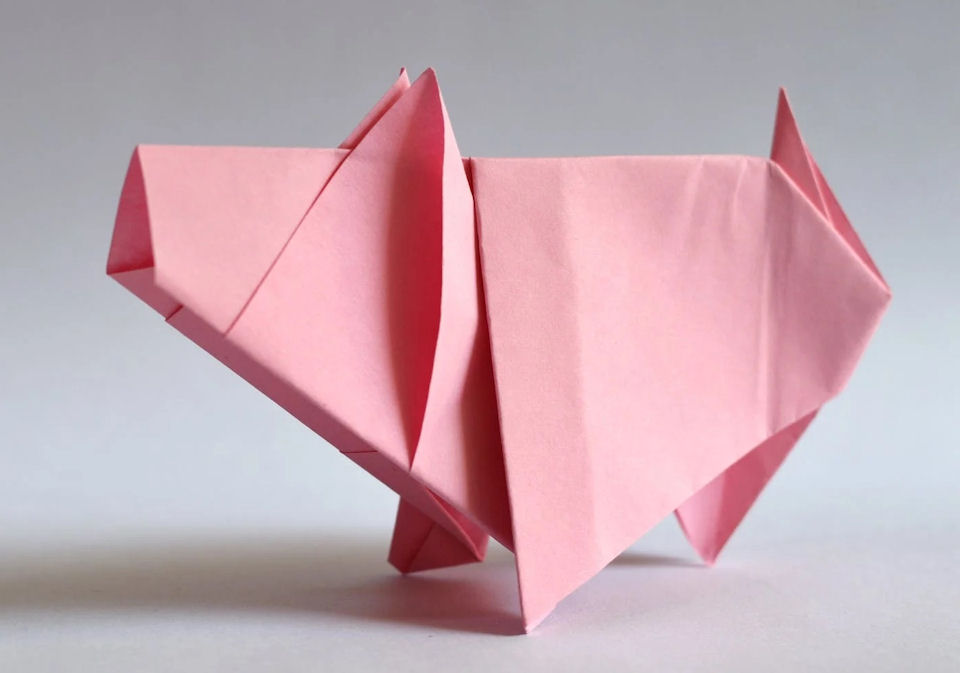
Pig

Pig

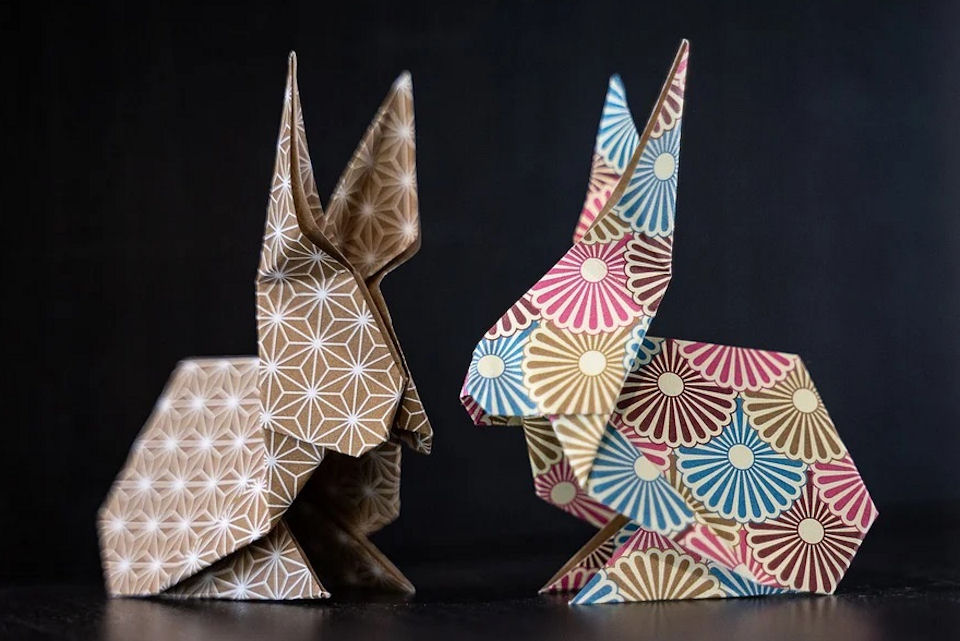
Rabbits

Rabbits

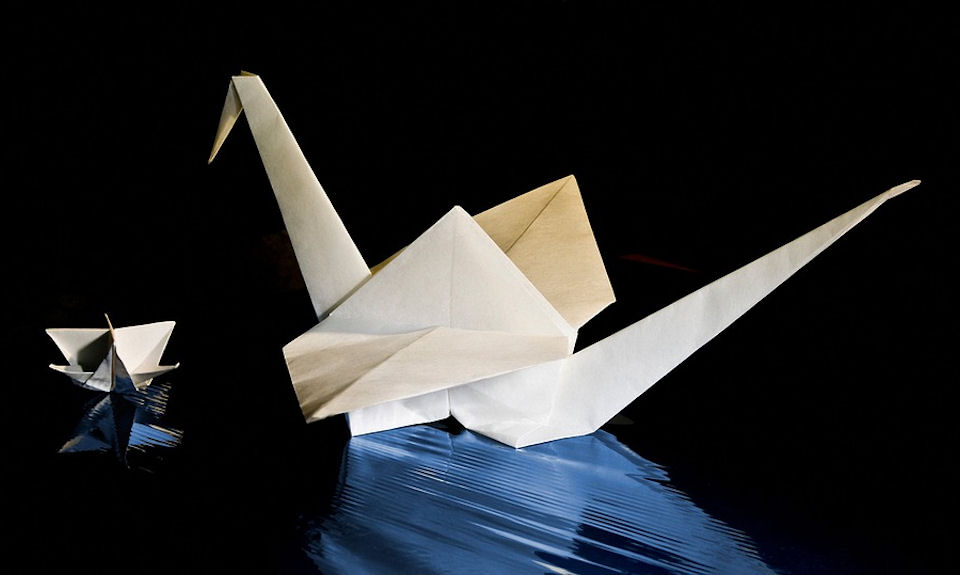
Swan

Swan

Vulture

Vulture

Golden Venture Origami:

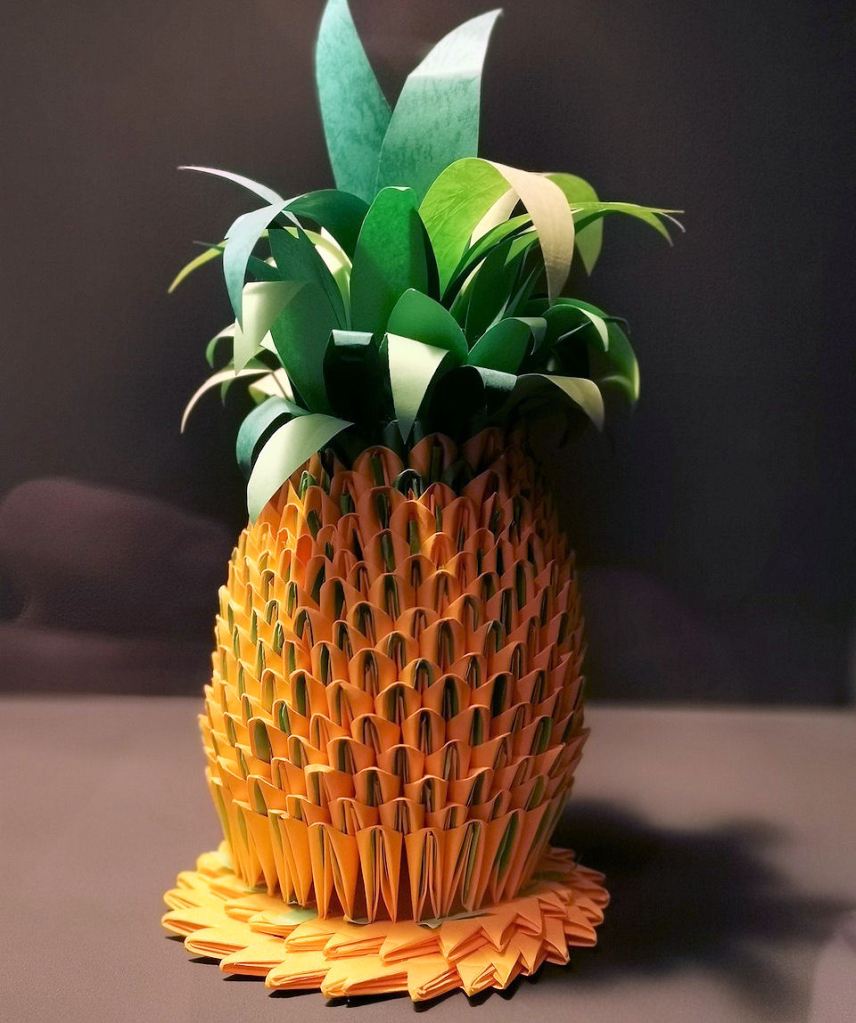
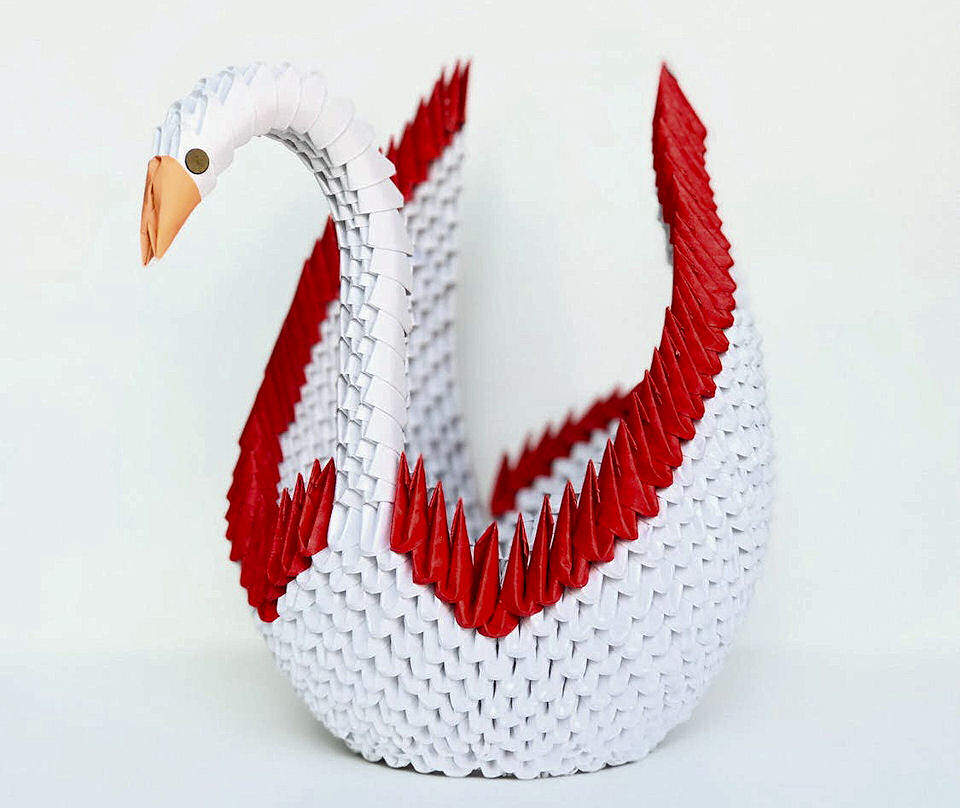
Did you know there are several types of origami? Golden Venture origami uses multiple pieces of paper to create three-dimensional freestanding sculptures. This was new to me. I love it and I hope you will too.

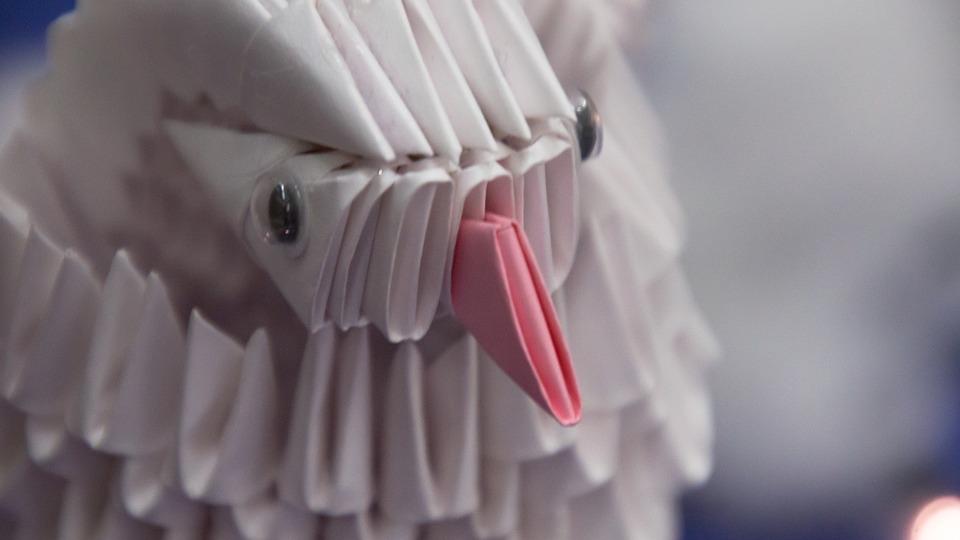
Closeup Detail of Bird’s Face

3D Bird Close Up

Easter Basket with Eggs

3D Easter Basket

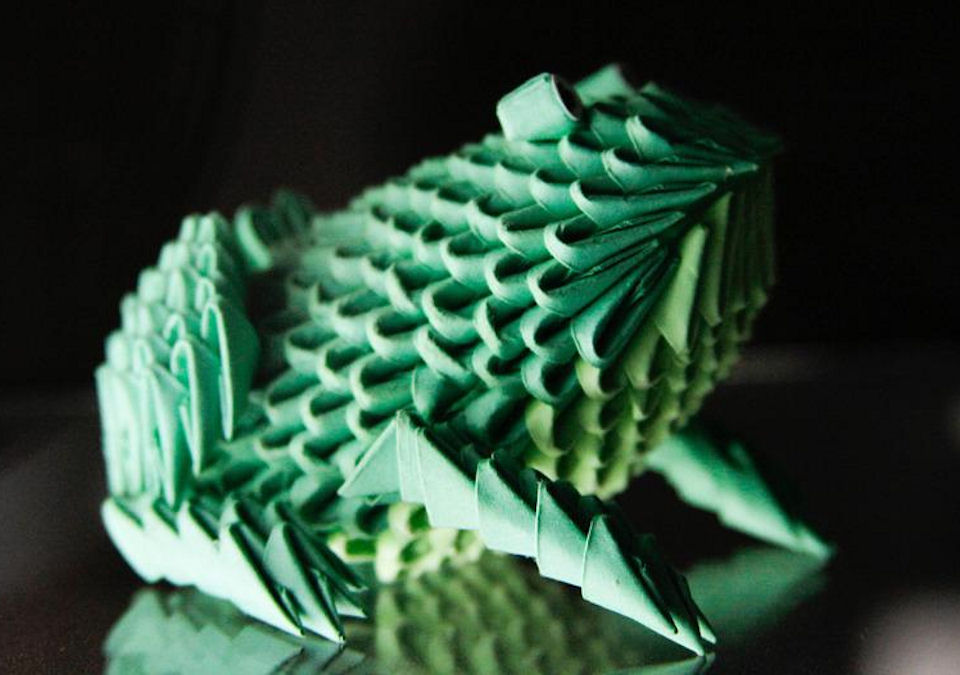
Frog

3D Frog

Pineapple

3D Pineapple

Swan

3D Swan

Origami Gifts & Décor:

In addition to being an impressive form of art to be displayed in your home or office, origami also makes a great choice for gifts and home décor.

Diorama

Wildlife Diorama

Birthday Gifts

Dress Shirt 20-Euro

Toys

Boats Floating on a Pond

Home Décor – Garland or Wreath

Cranes

Party/Holiday Decorations

Decoration

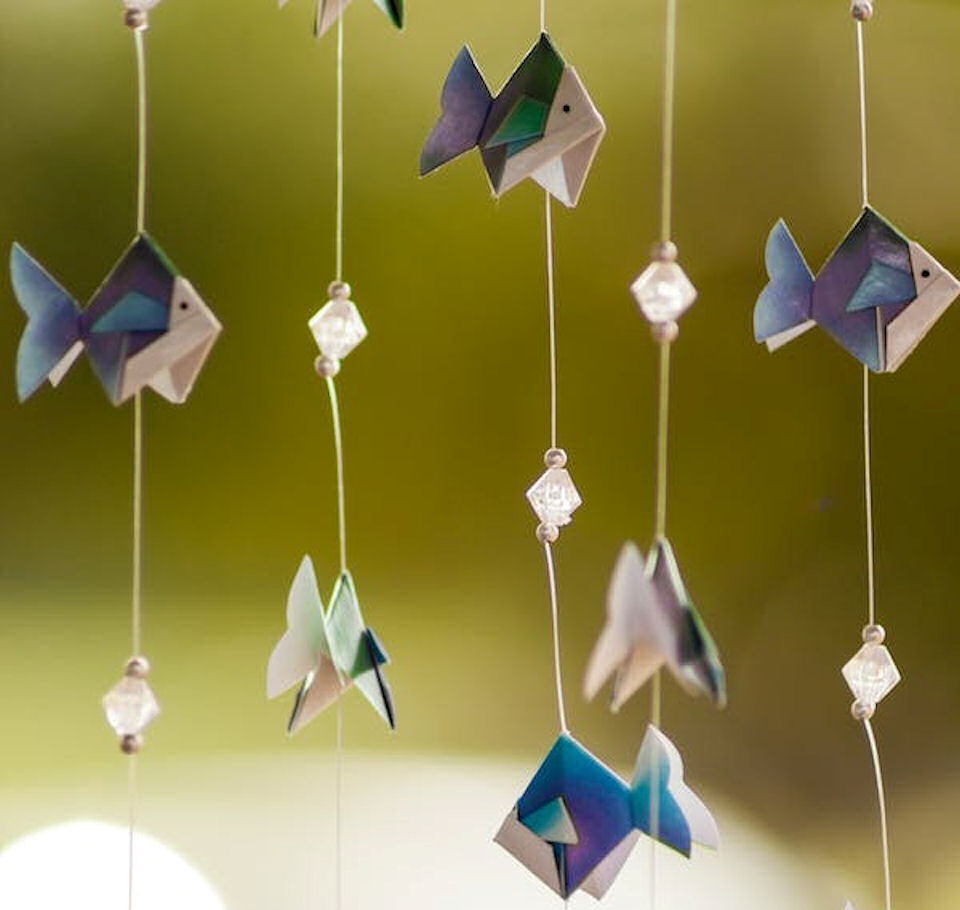
Mobiles

Goldfish Mobile

Accent Lighting

Poinsettia Light

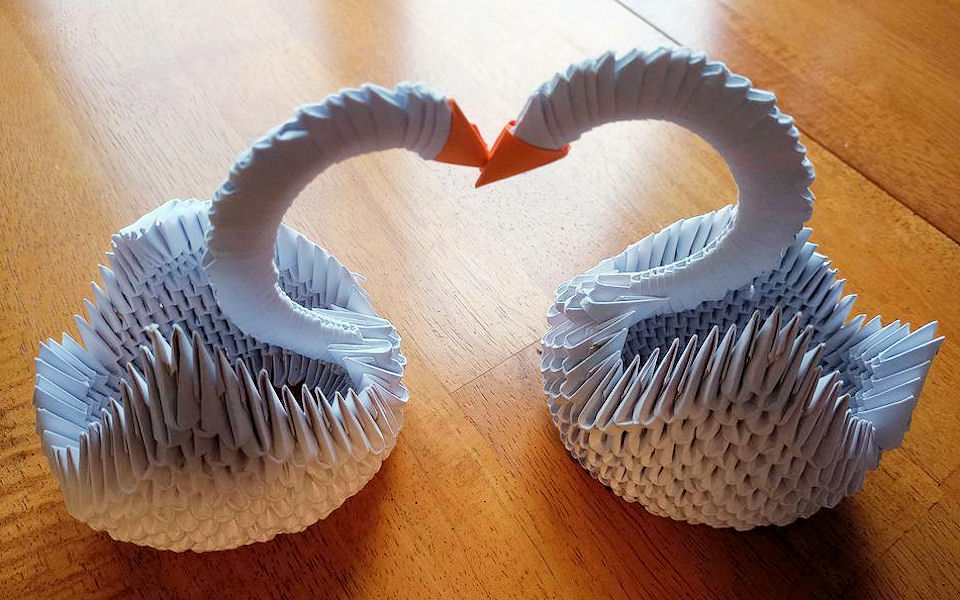
Wedding Décor

Wedding Swans

I hope you have been inspired to give paper crafting a try. There are a multitude of books, websites, videos, and classes to learn more about the many facets of origami. Do you have any favorites? Please let me know in the comments.

Thanks for Reading & Happy Crafting!