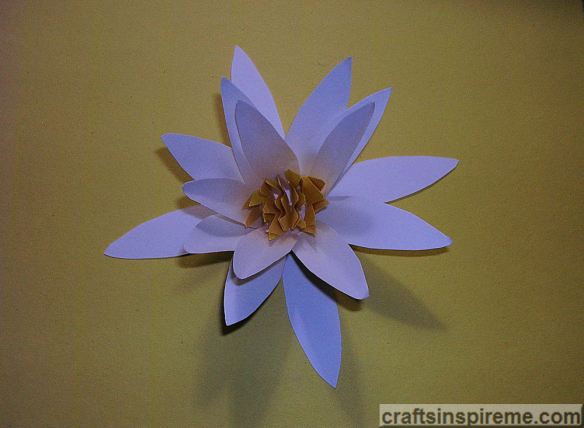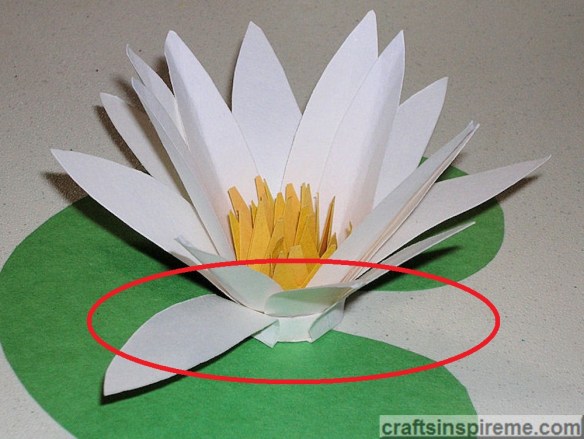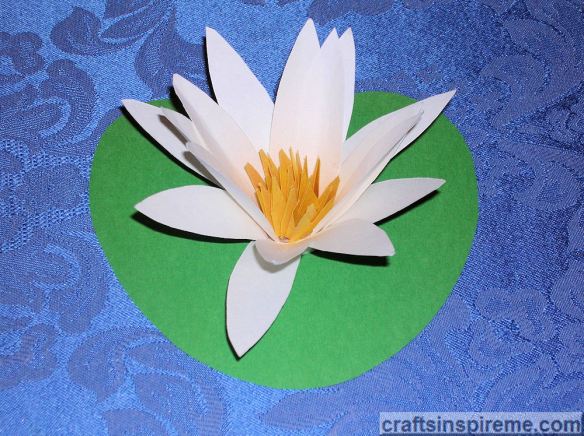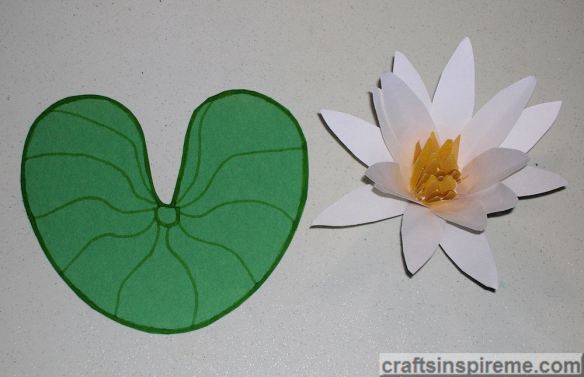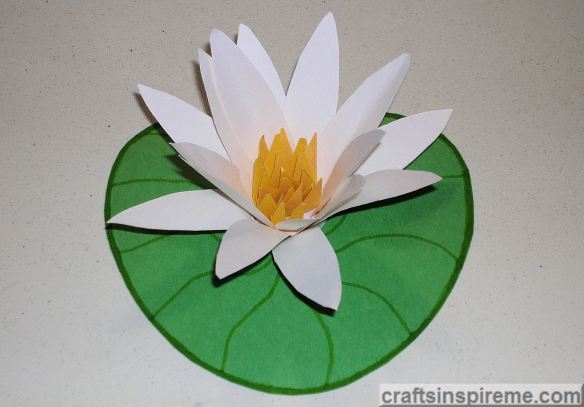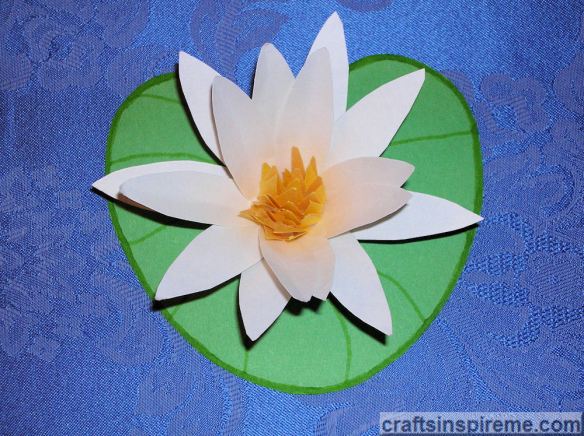
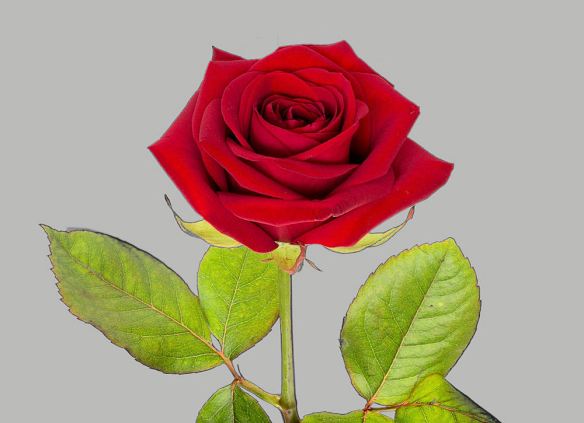
Welcome to part 2 of this paper flower tutorial. Roses are probably the most popular flower. This paper variety is easy to make, and many of the steps are the same as the Water Lily we made in part 1. Let’s try this together.
Inspiration – Red Rose

Supplies
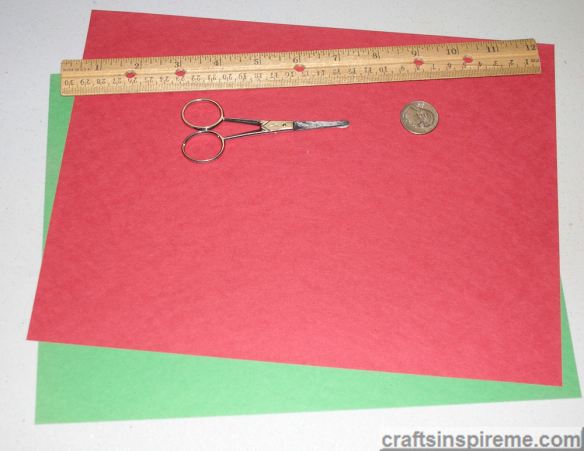
Supplies:
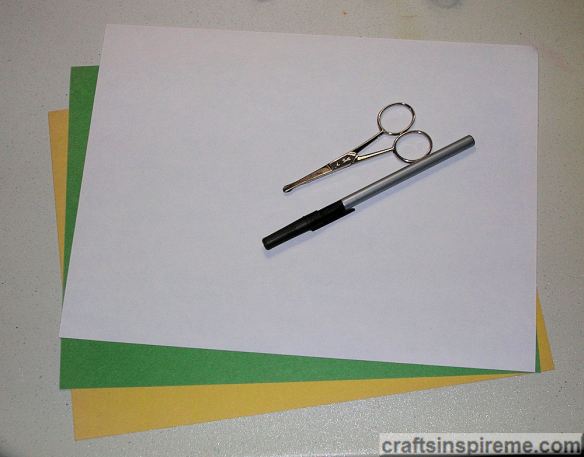
Construction Paper – 9” x 12” sheets in red & green
Stick Glue & Craft Glue
Scissors, Pencil & Ruler
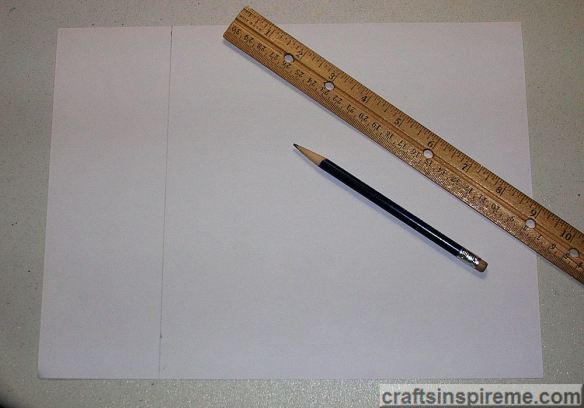
Measure & Cut White Paper into a 9” x 9” Square
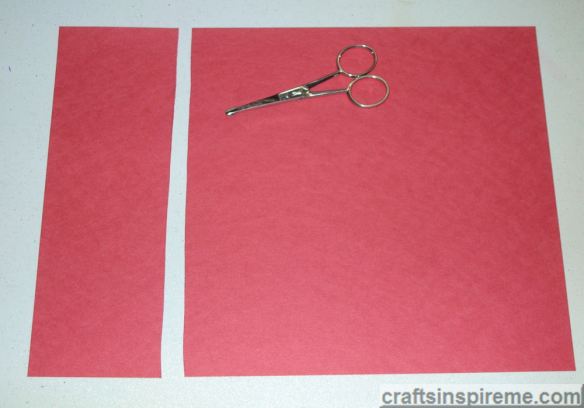
The original sheet size is 9” x 12”. Cut 3” off the length, making a 9” x 9” square.
Fold Paper in Half
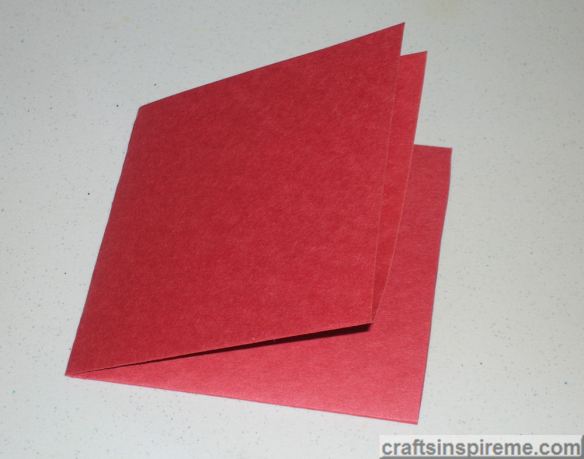
Fold the paper in half and then fold it in half again, creating a smaller square.
Draw Guidelines
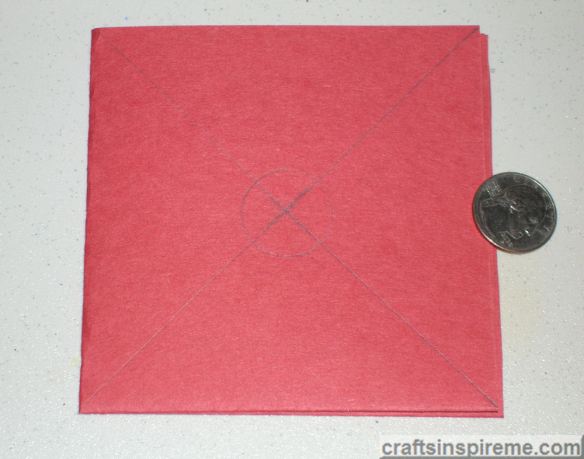
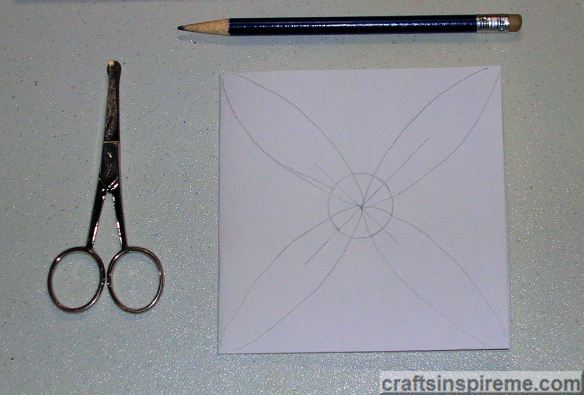
Draw an “X” from corner to corner across the square. Trace a 1” coin (I used a quarter) in the center of the square.
Petal Experiment #1:
Draw Flower Petals
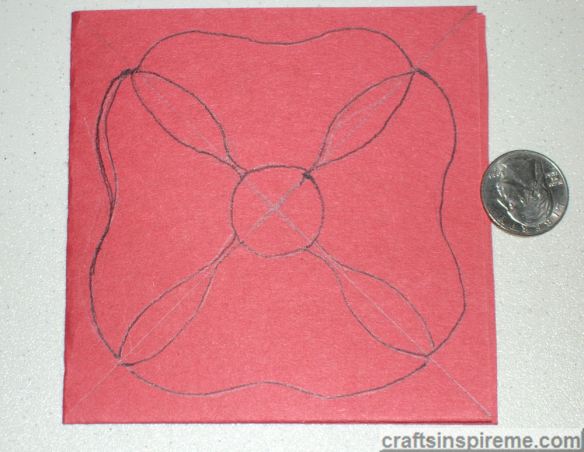
Lightly draw one petal in each quadrant, narrowing toward the center of the flower as shown.
Cut Out the Flowers
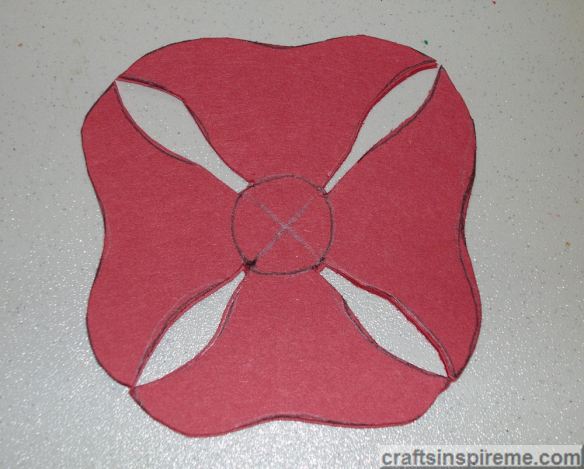
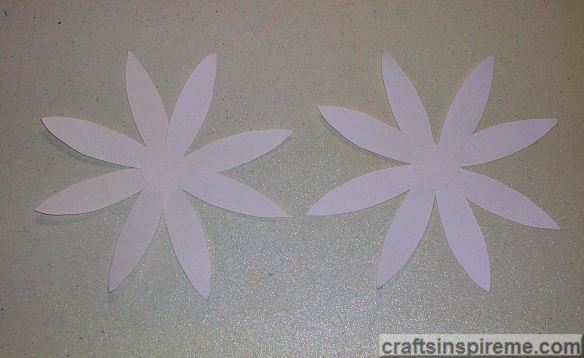
Carefully cut out the flowers, for a total of four. In the photo above, the flowers are stacked one on top of the other with four petals each. Please save the paper scraps for a future step.
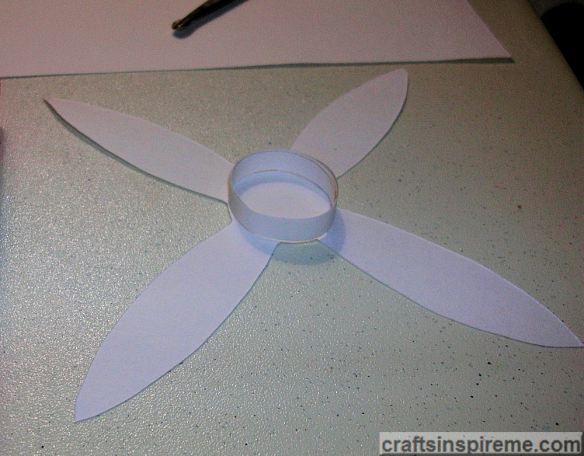
Create a Support Ring for the Petals
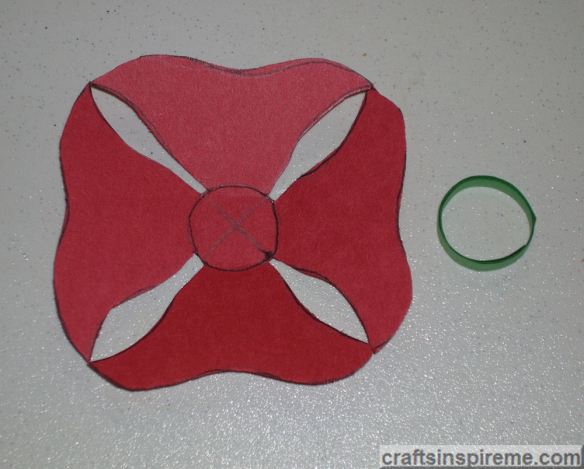
Cut a 9” long x 1/4″ high green strip to form a circle around the center of the flower. Glue the ring together using stick glue. Test-fit the first flower inside the ring. Upon doing this, I realized the petal shape would not work. This led to the next experiment.
Petal Experiment #2:
Reshape the Petals
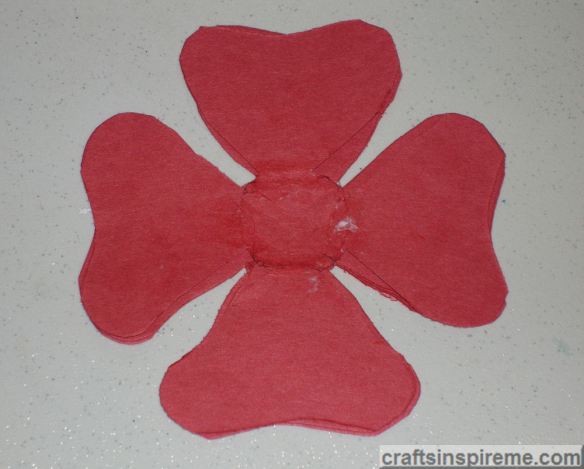
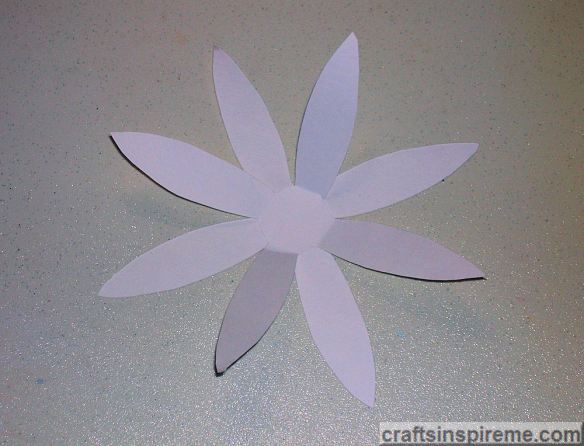
Using scissors, round the ends of the petals, creating a four-leaf clover shape.
Test-Fit a Flower in the Support Ring
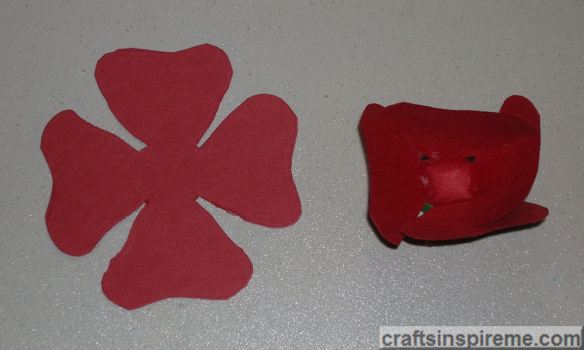
This new shape works well in forming the layers of the rose. On the right is a test-fit of the first flower inside the green support ring.
Glue the Ring to the Base
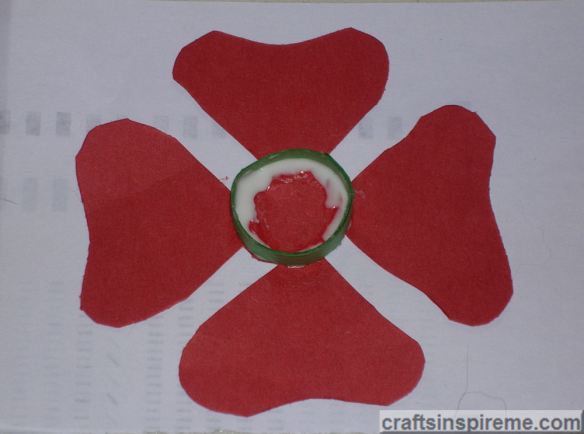
Using craft glue, attach the ring to the base flower.
Glue First Layer Inside Ring
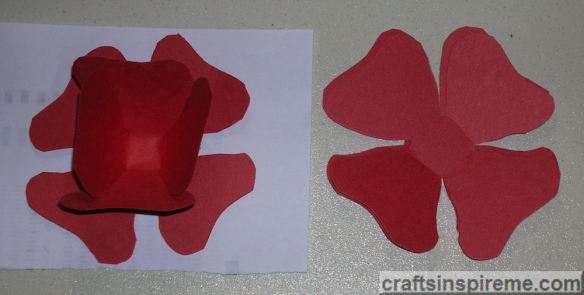
Add craft glue to the center of the ring and push the flower down inside it. Turn the flower so the petals do not overlap.
Conceal Support Ring at Base of Flower
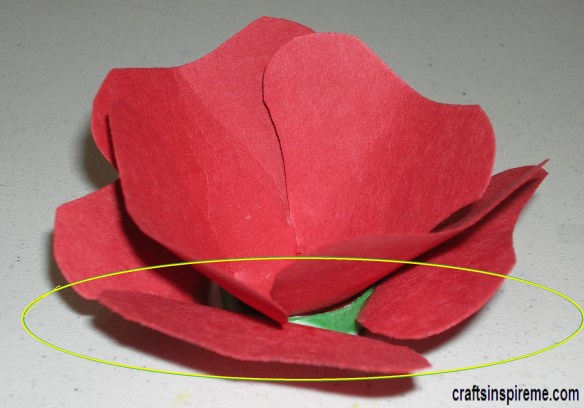
Bend each of the four bottom petals up to cover the support ring. Glue in place with craft glue. After they dry, adjust petals as desired.
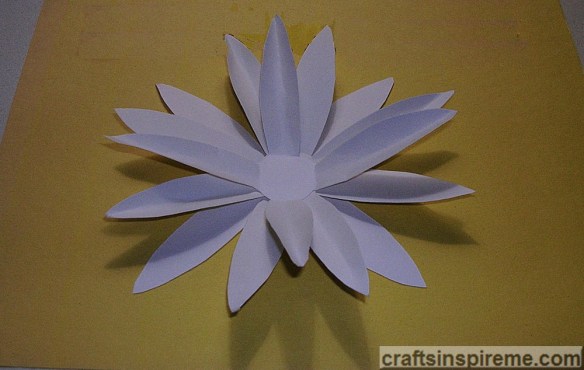
Top View of Rose in Progress
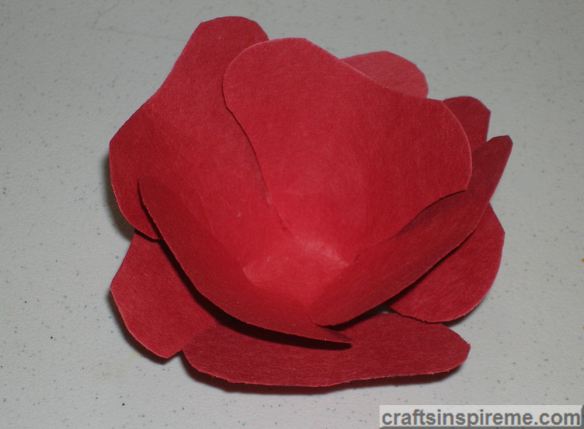
The petals form a pretty frame around the center of the flower.
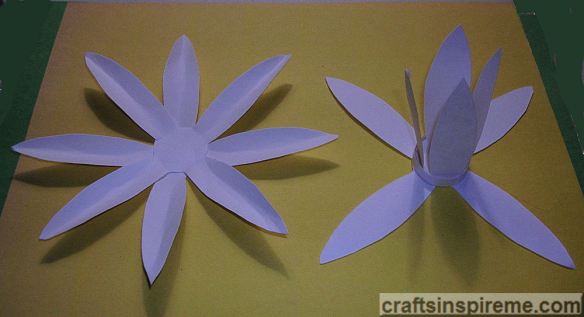
Create the Flower Center
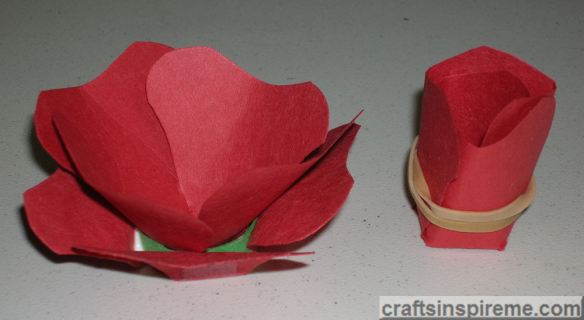
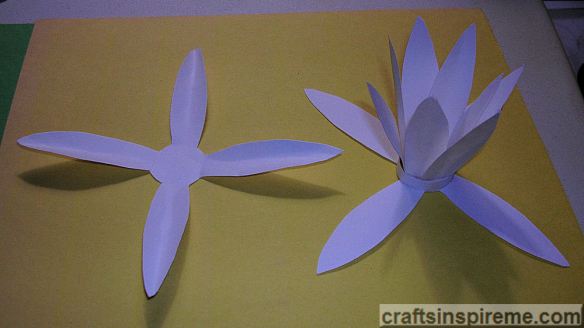
Create the center of the rose, shown on right, by bending the petals upward around the center, using a rubber band to temporarily hold its shape. Adjust the interior petals as needed for desired appearance. Most roses have a spiral center. Glue the petals together so they will stay in place after the rubber band is removed.
Test-Fit Flower Center
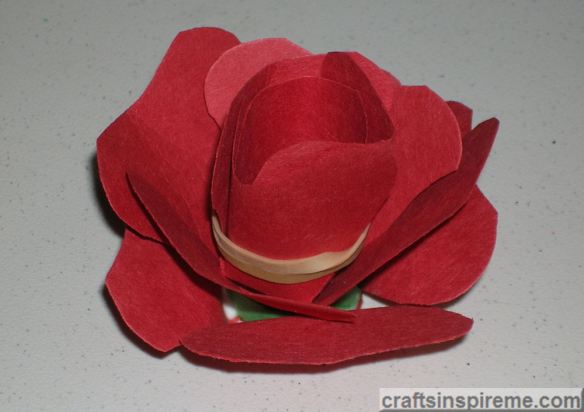
Set the new flower center in place and apply craft glue to the bottom. Allow glue to dry and then carefully remove rubber band.
Progress Photo
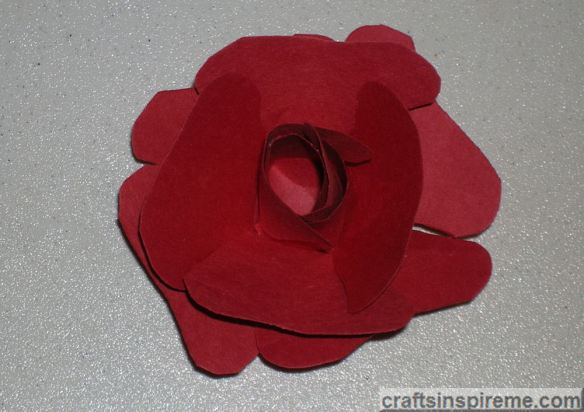
Just to recap, this rose now consists of three layers – bottom, middle, and center. We still need petals to fill in around the center, and some at the base.
Use the Last Flower
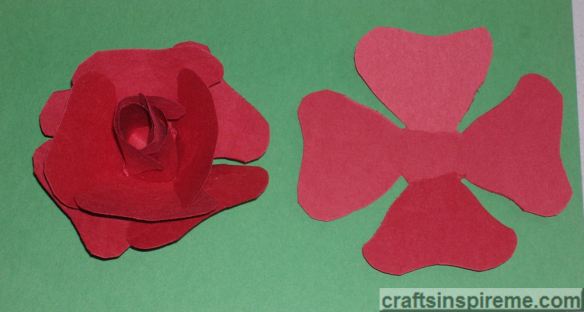
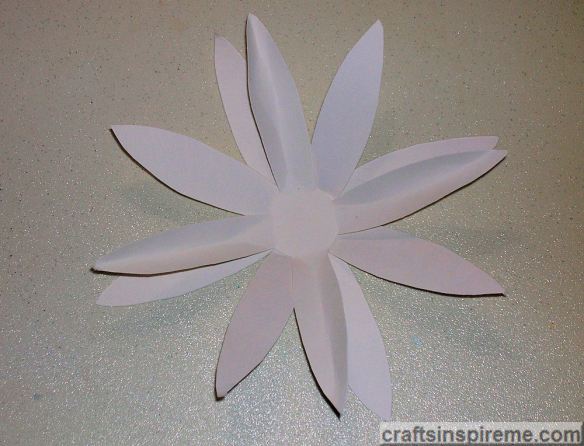
Glue the last flower to the bottom of the rose. Be sure to turn the flower so the petals will not overlap with the previous layer.
Leftover Paper Scraps
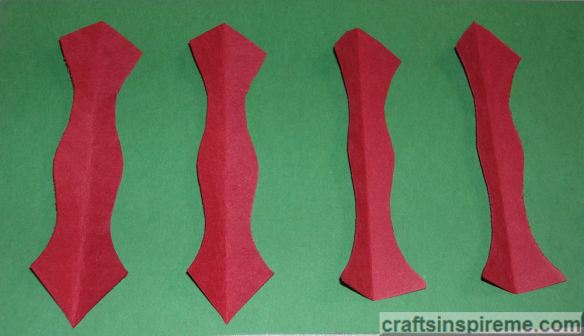
These paper scraps are leftovers from cutting the roses.
Round the Ends
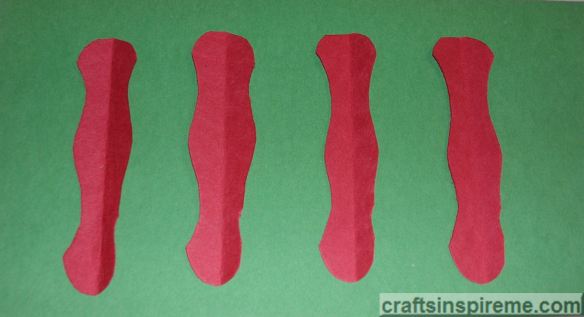
Stack the four pieces on top of each other and then round both ends. Cut them in half for a total of eight petals, which we will use to fill in the center of the rose. The rounded ends are the tops of each petal.
Complete Flower
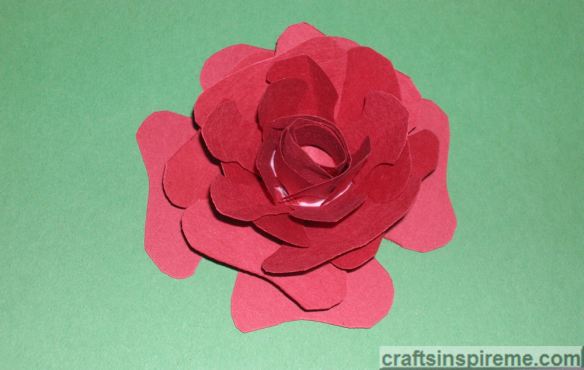
Add a little craft glue to the bottom of each petal and insert each around the central flower core. This completes the red portion of the rose. Now we need a few leaves.
Creating the Leaves:
Inspiration – Red Rose with Leaves
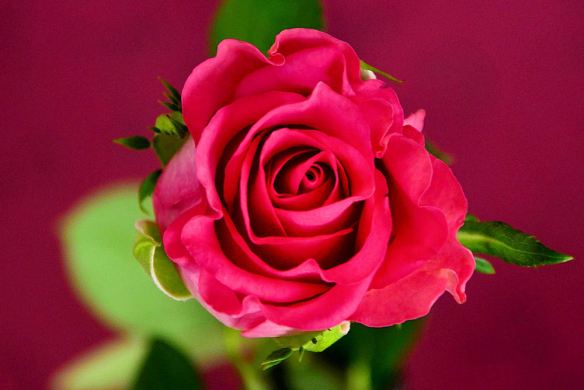
We are going to make the small leaves, which wrap the rosebud before it opens.
Draw Guidelines
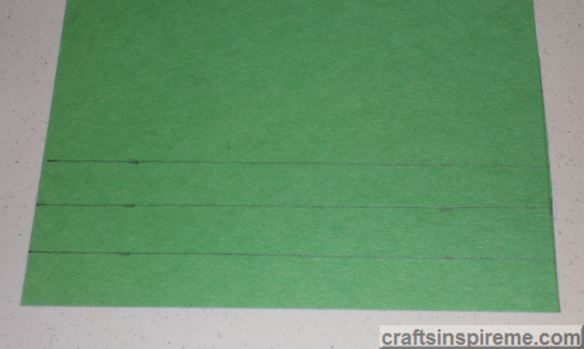
Measure 1/2″ x 9” long strips and draw guidelines on green paper.
Accordion Fold the Paper
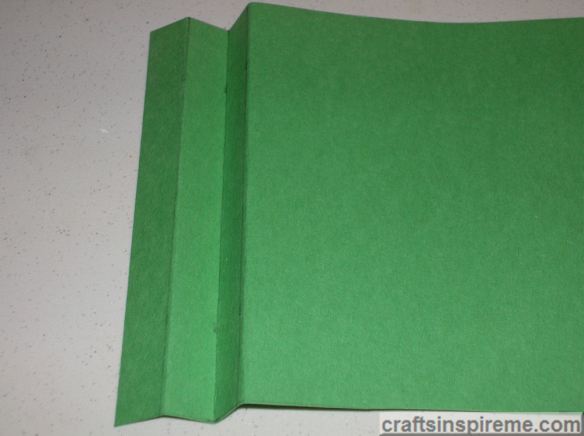
Simply fold the paper accordion-style to create three layers of paper.
Draw the Leaves
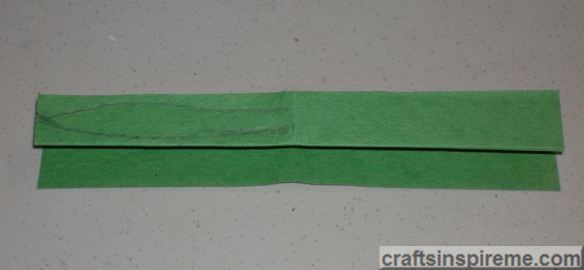
Draw a long, pointed leaf on half the folded green construction paper, as shown above. Fold the paper in half again and cut out the leaves for a total of six.
Fold the Leaves
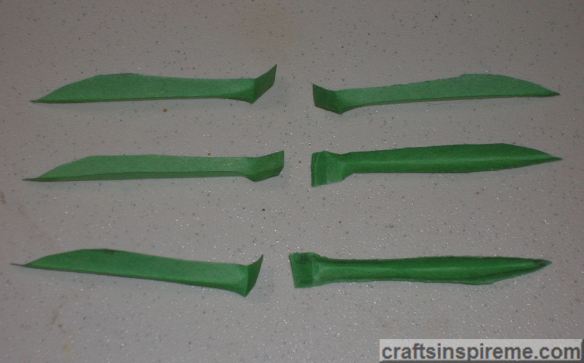
Fold each leaf lengthwise and then bend approximately 1/2″ of the bottom to attach to the underside of the rose.
Glue on the Leaves
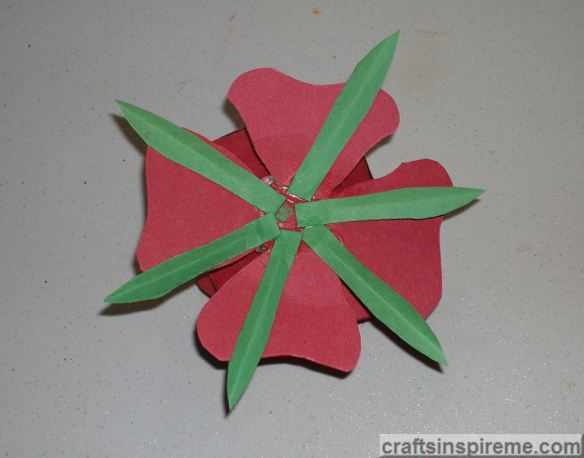
Using craft glue, attach each leaf creating a star pattern on the bottom of the rose.
The Completed Paper Rose
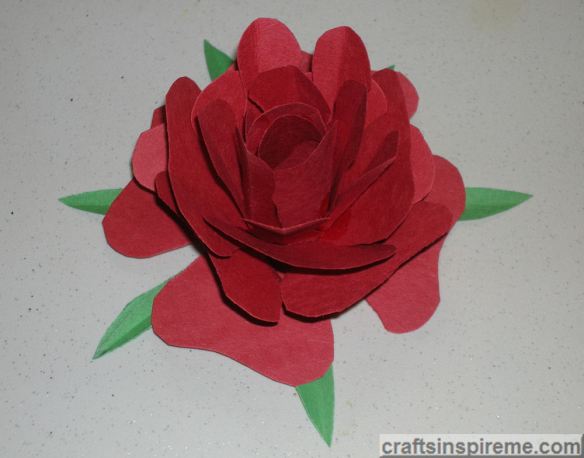
This completes our project, a bold and beautiful rose. You can place these on a table or attach them to a wall. If desired, you can paint skewers green and glue one to the bottom of each rose to create a lovely bouquet, which never needs watering. I hope you enjoyed learning how to make paper flowers and will give it a try. Good Luck!
In case you missed it, here’s a link to part 1, Paper Flowers: Water Lilies.
Thanks for Reading & Happy Crafting!