Thanksgiving is celebrated by everyone across the United States. It is a time of family gatherings and delicious food. Planning is the key to preparing a feast for a crowd, which can be a daunting task. There are so many decisions to be made, starting with the dining table.
Traditional Dining Room Table

Is there enough room for your guests and the food? Should you serve a sit-down dinner or buffet style? How can you create a festive atmosphere?
Contemporary Dining Room Table

Just as artists are faced with a blank canvas, what can you do with an empty table? Let’s look at a few options…
Tablecloths & Placemats:
Tablecloths
Placemats

Centerpieces:
Table Runners, Candles & Flowers

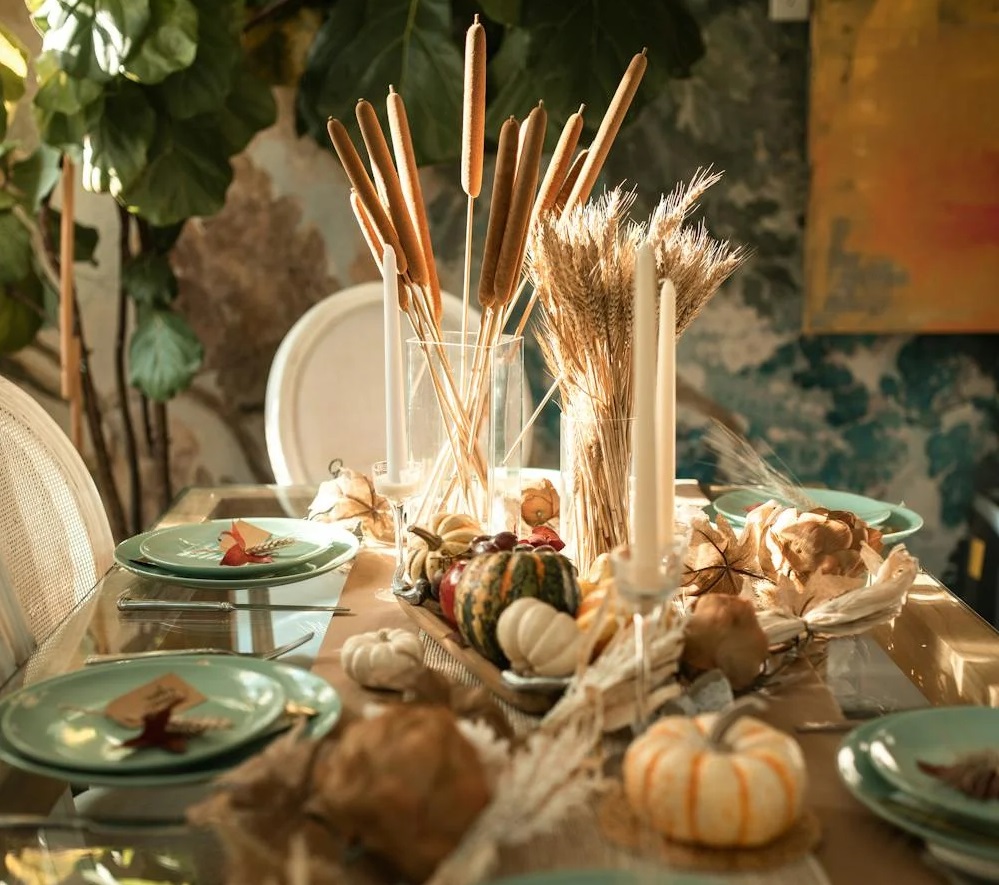
Cornucopia with Seasonal Produce

Seasonal Accents at Varying Heights
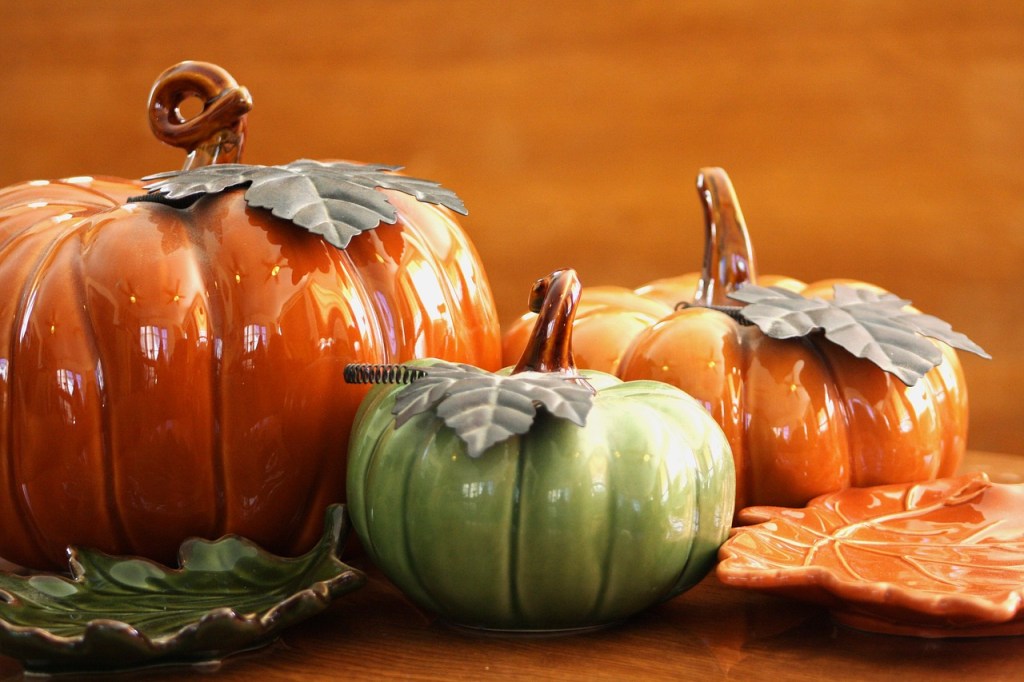
Ceramic Pumpkins & Leaves
Place Settings & Glassware:
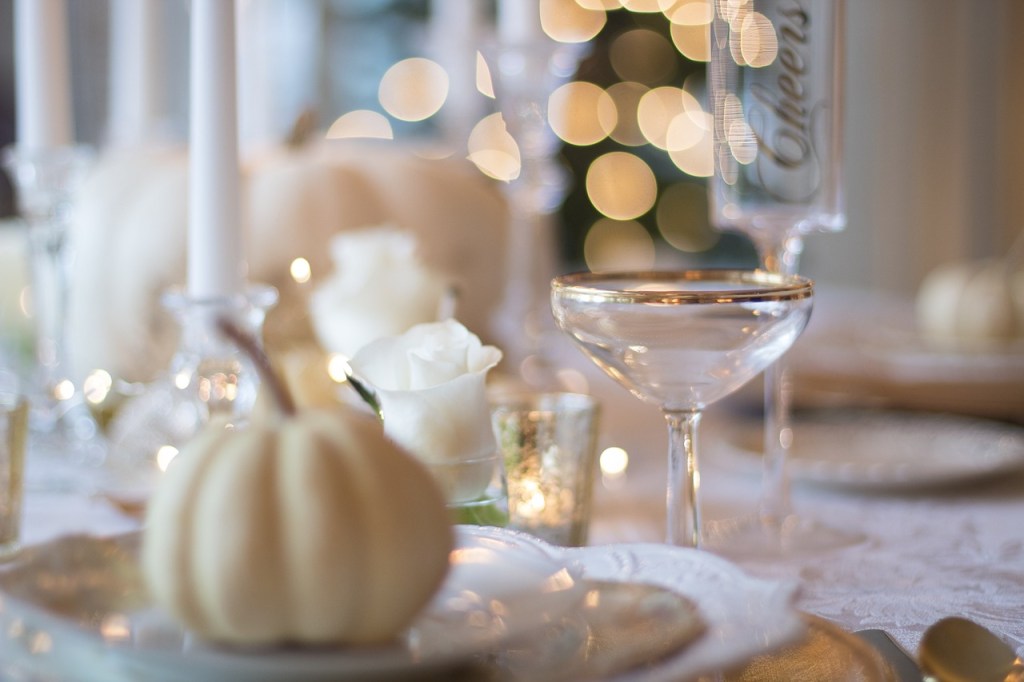
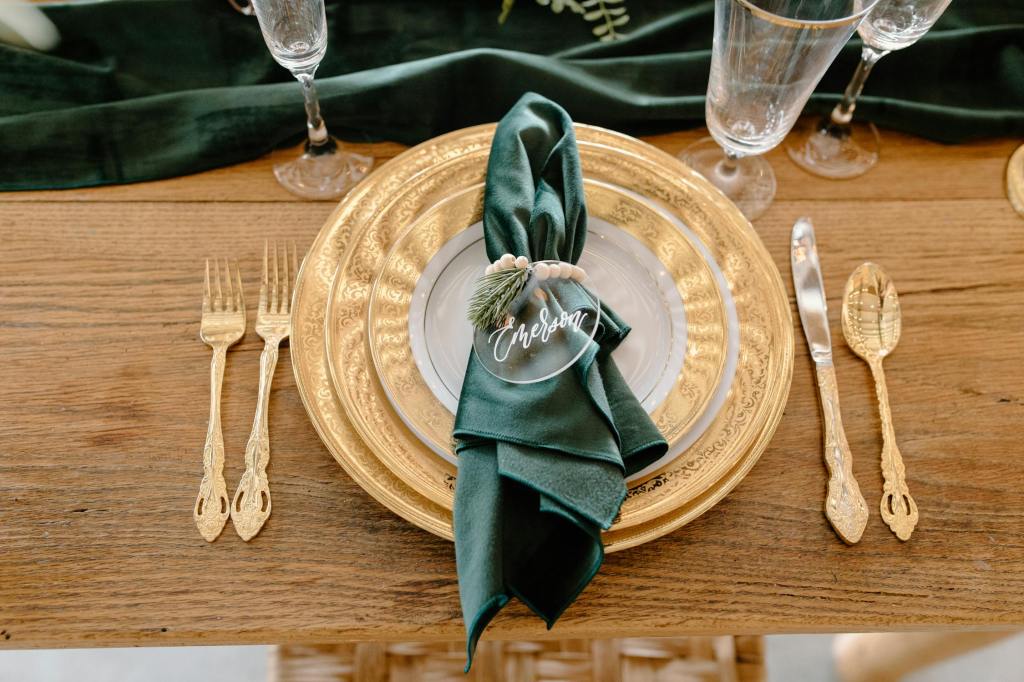
Formal Place Setting – Neutrals

Formal Place Setting – Bold Jewel Tones
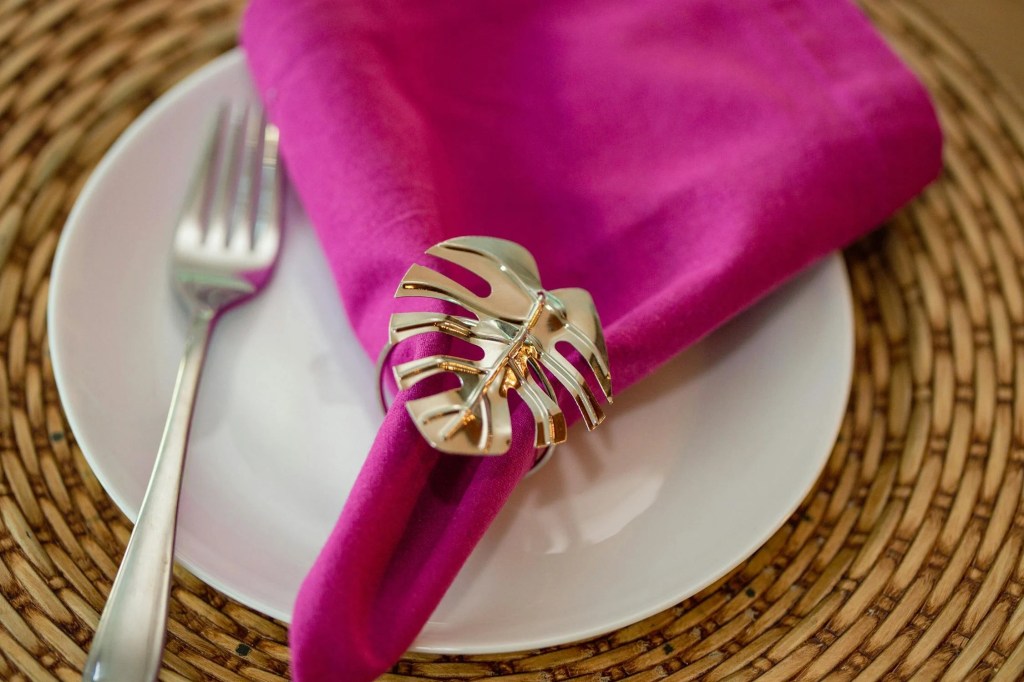
Casual Tropical Place Setting
Buffet-Style Place Setting

Glassware

Food Presentation:
Charcuterie Boards

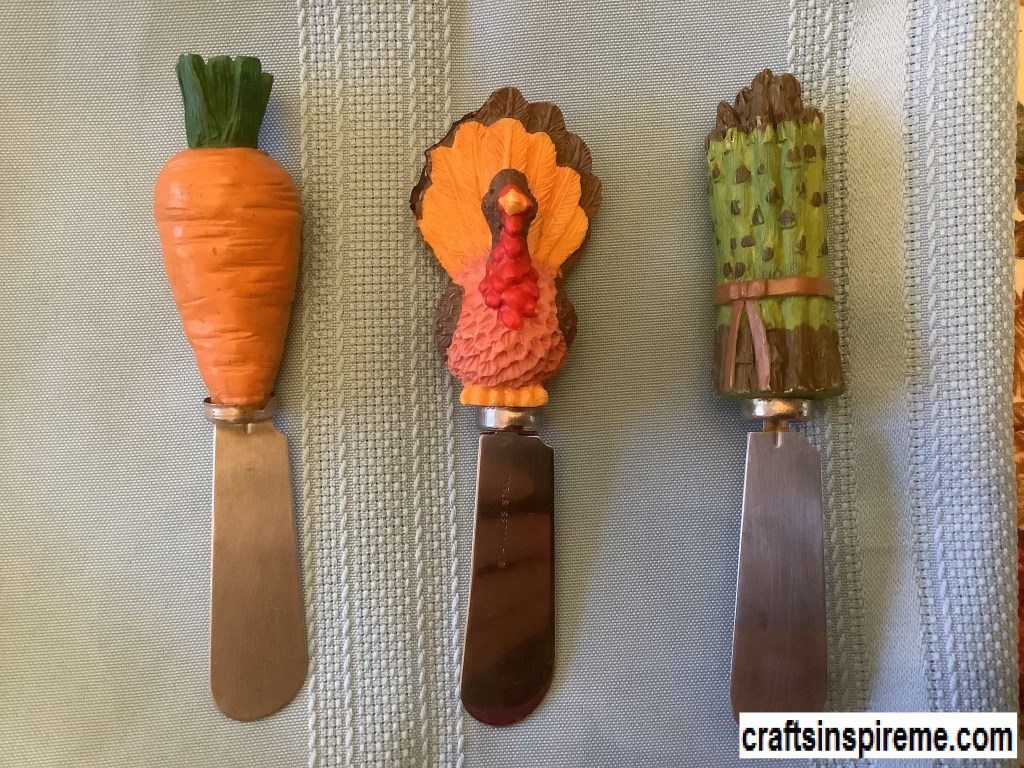
Spreading Knives
Bold Contrasting Colors & Materials

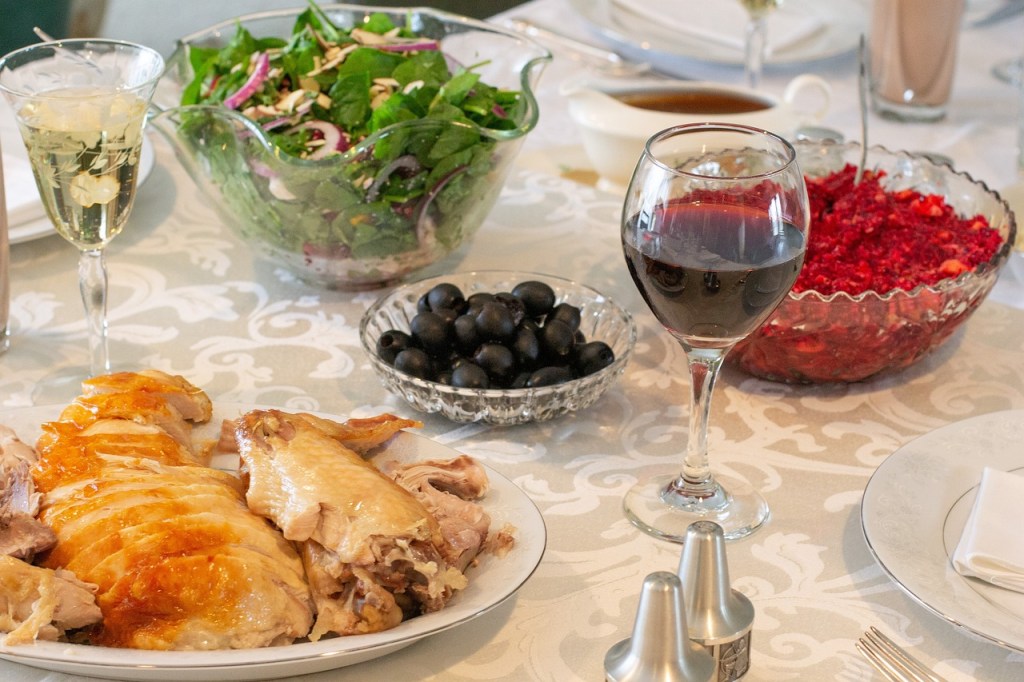
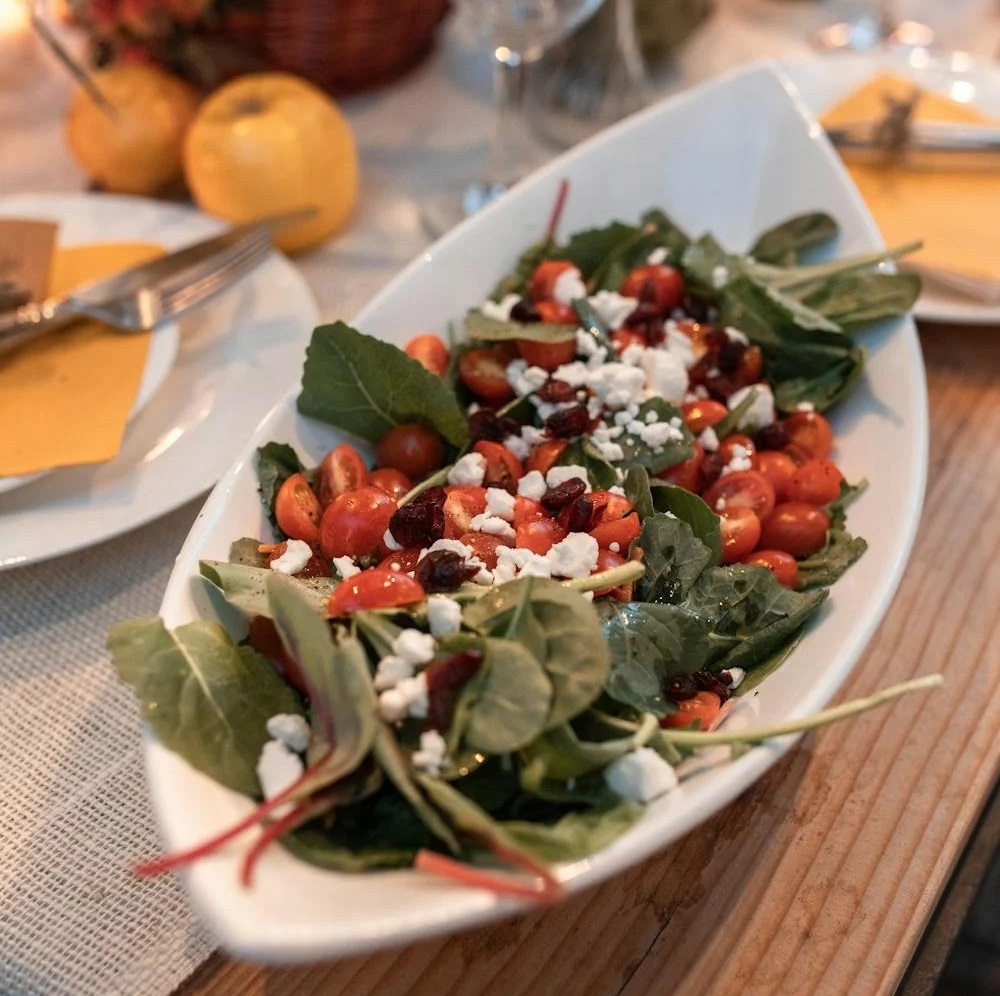
Decorative Platters & Artfully Arranged Food
Thanksgiving Themed Desserts

Homemade Cakes & Candy (Edible Décor)

Lighting:
Firelight & Candlelight

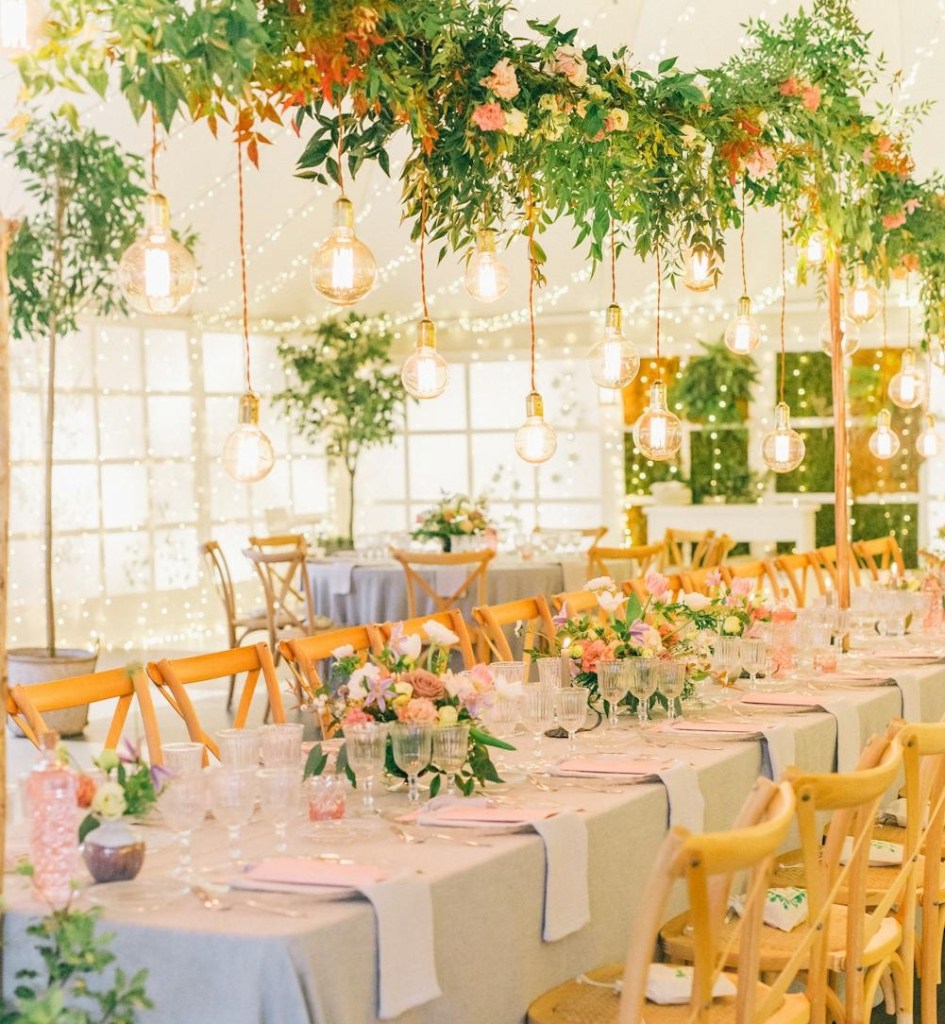
Fairy Lights

Specialty Lights & Floral Garland
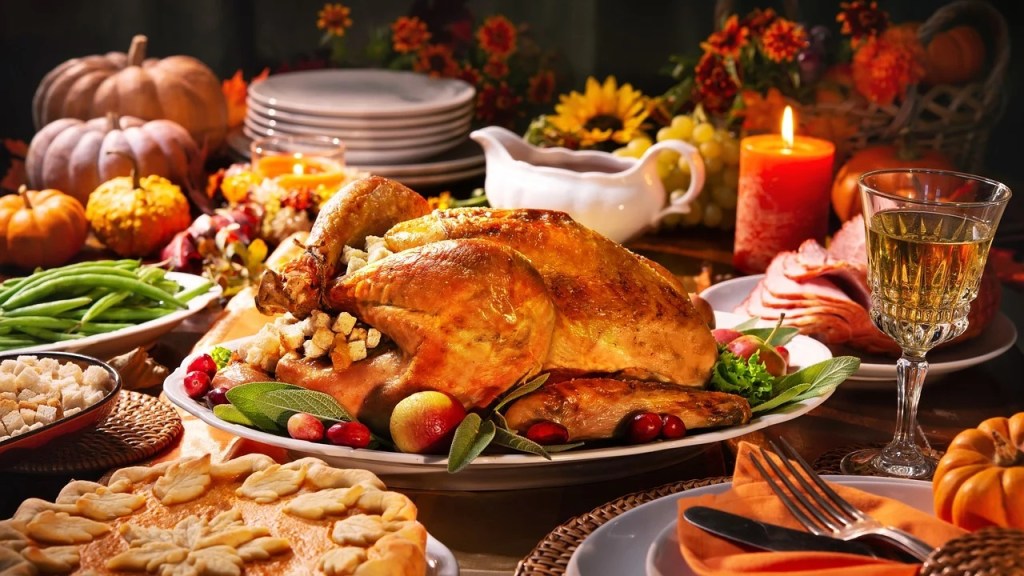
Thanksgiving Day:
Dinner is Served
Celebrating with Family & Friends

I hope these suggestions will inspire you to come up with creative Thanksgiving décor in your own unique style. Wow your guests on this memorable occasion. If you have any family traditions you would like to share, please do so in the comments.
Thanks for Reading, Happy Thanksgiving & Happy Crafting!