At this time of year, we are surrounded with candy, but did you know sugar is the key to many artistic creations? Most sugar art adorns cakes and desserts, but it can also be shaped into delicate, edible sculptures. I thought it might be fun to see sugar artists’ work. Let’s go…
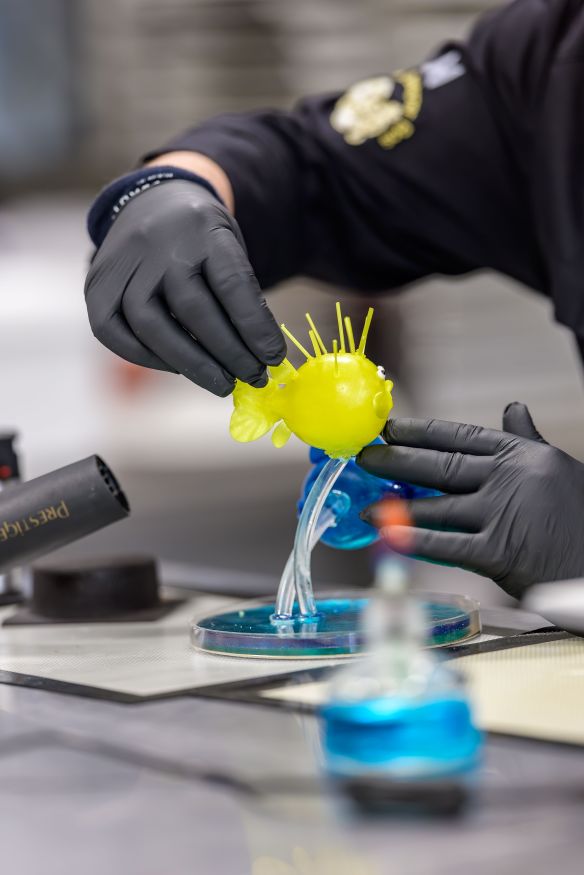
Sugar Work: Sugar Artist Creating a Freestanding Fish Sculpture
Sugar artists utilize many tools as they work, including scissors, knives, a blow torch, a fan or dryer, silicone molds, and multiple pots and pans for melting large amounts of sugar, also known as isomalt. Protective gloves are a necessity due to the risk of burns from the 330-degree liquified sugar.
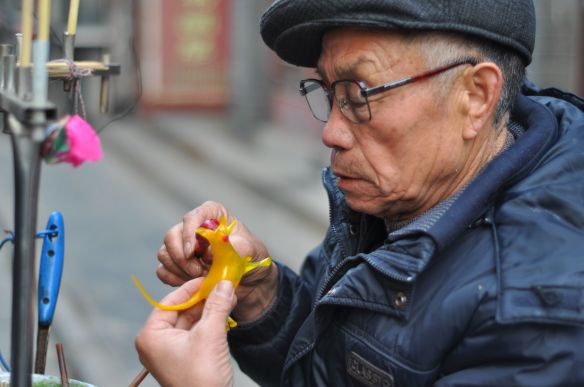
Sugar Artist Detailing a Blown Sugar Animal
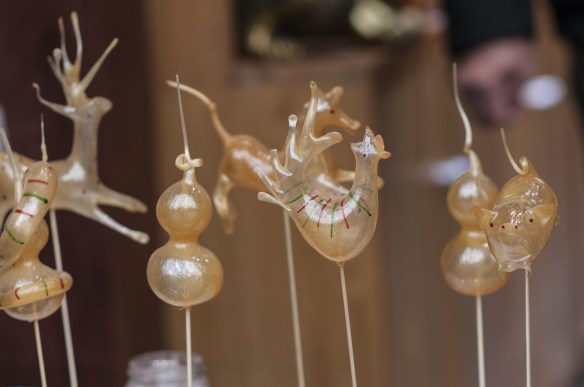
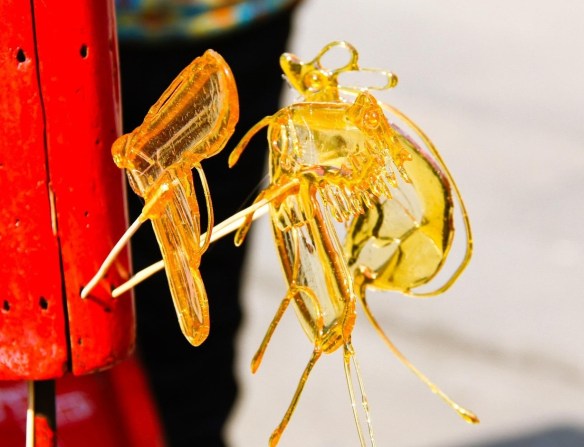
Types of Sugar Work: Blown Sugar Animals
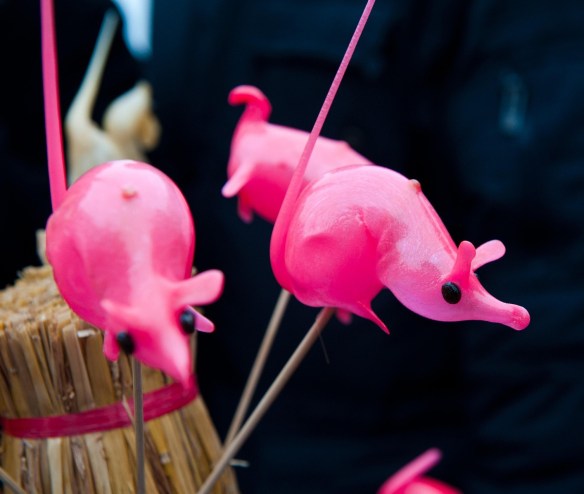
Blown Sugar Mice
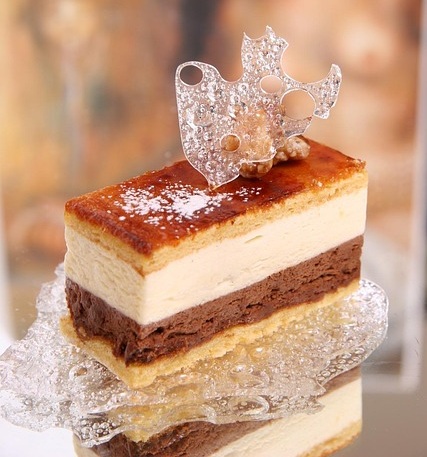
Poured Sugar Topper & Base
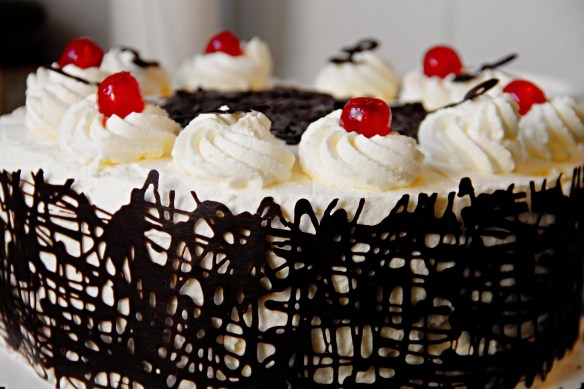
Poured Sugar Freeform Latticework
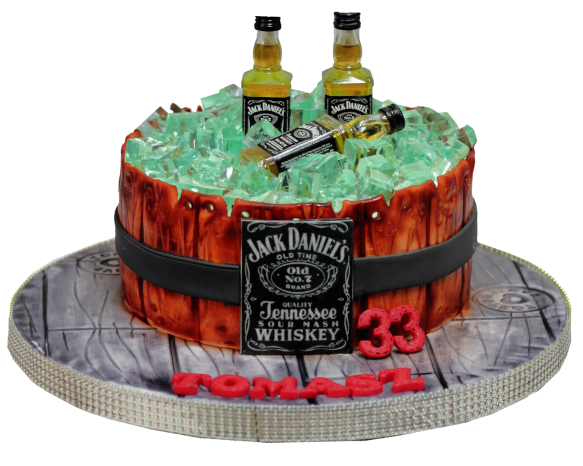
Poured Sugar Molded Ice Cubes & Barrel
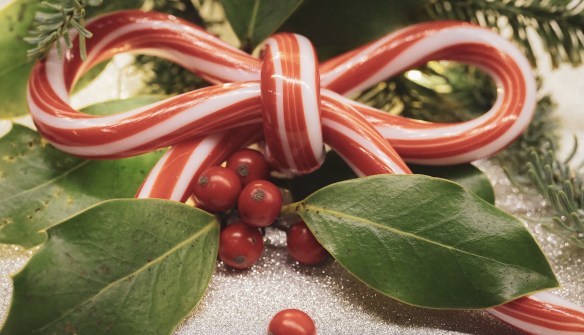
Pulled Sugar Candy Cane Bow
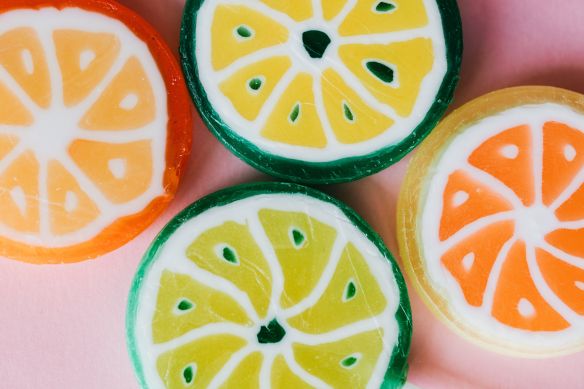
Pulled Sugar Fruit Candy
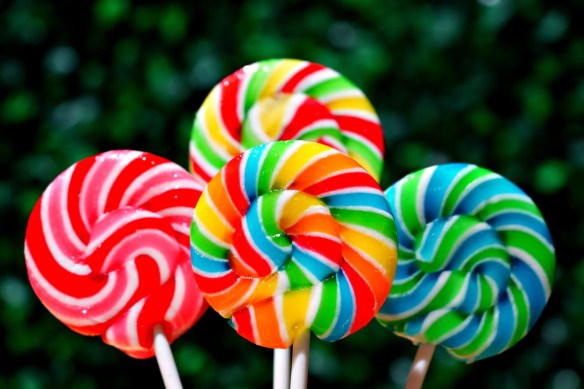
Pulled Sugar Lollipops
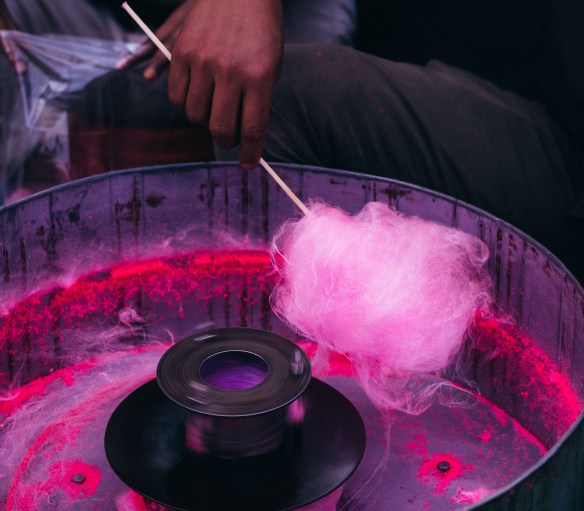
Spun Sugar Cotton Candy
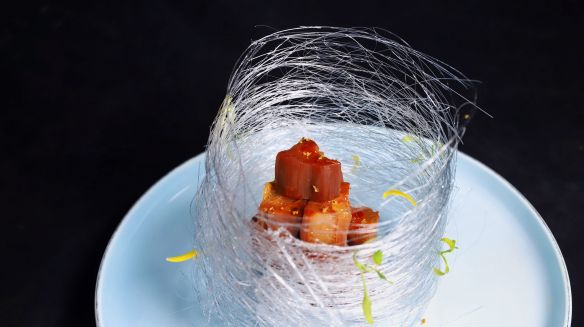
Spun Sugar Dessert Nest
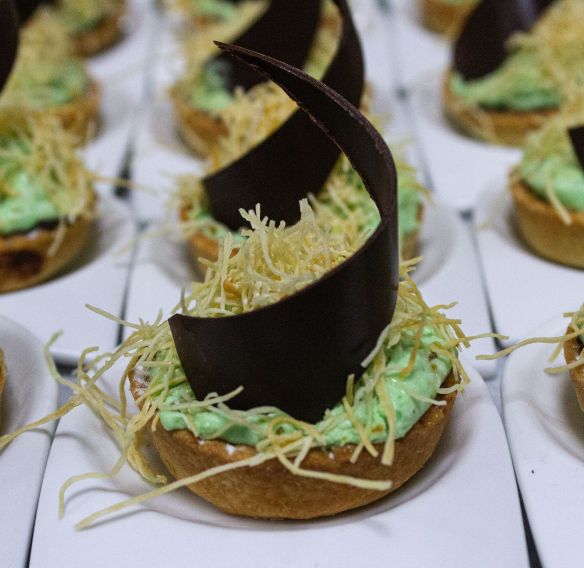
Spun Sugar Straw
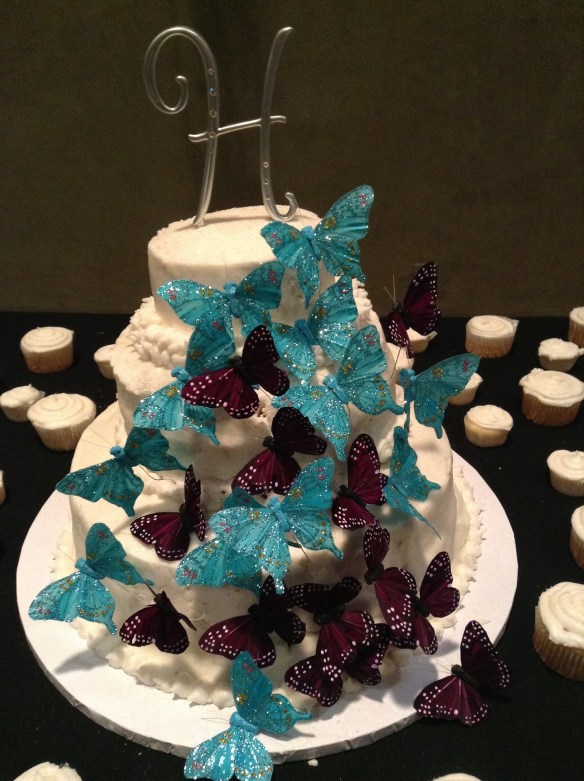
Wafer Paper Butterflies & Poured Sugar “H”
The paper, ink and glitter are edible. Wafer paper is often used to create leaves and feathers. It also enables photos to be placed on cakes as decorations.
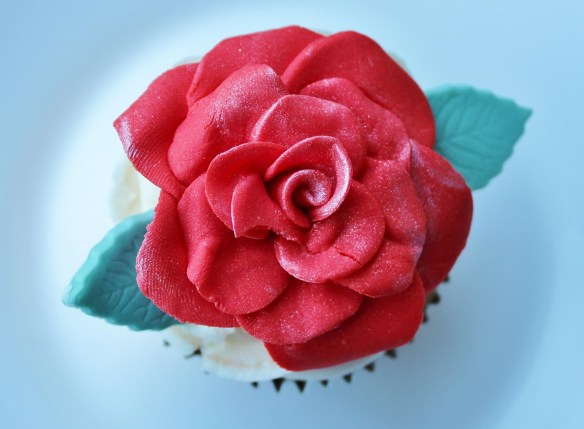
Sugar Paste Rose
Sugar Art: Butterfly on a Flower
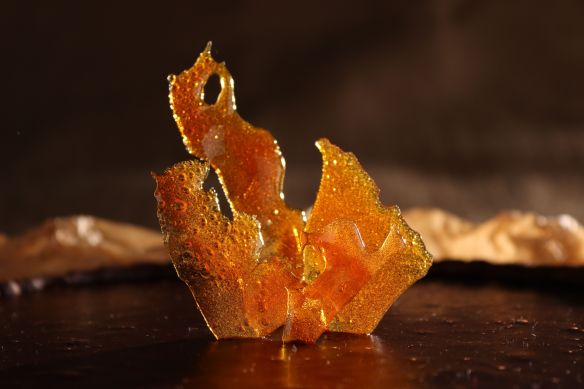
Coral/Abstract Cake Topper
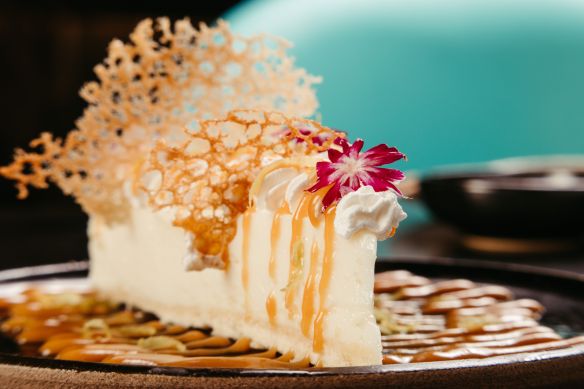
Lace Dessert Topper
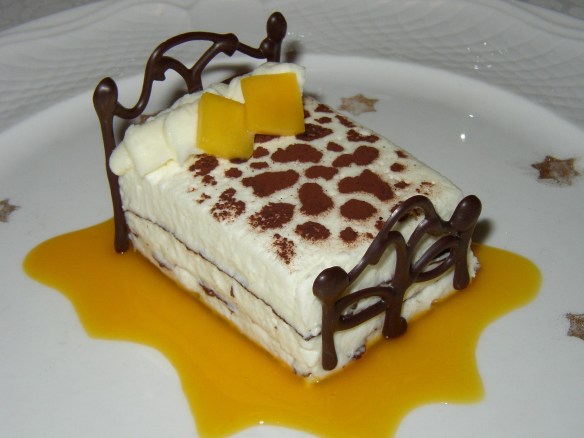
Bedroom-Themed Dessert
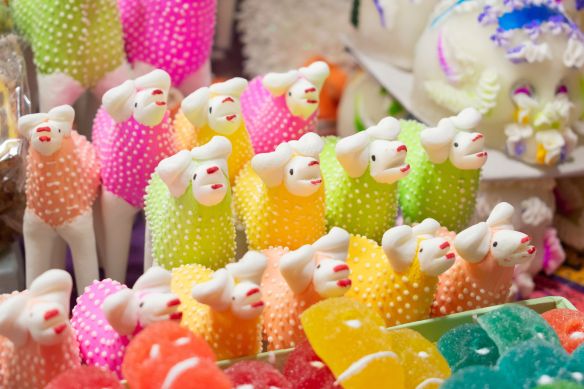
Sheep Candy Treat
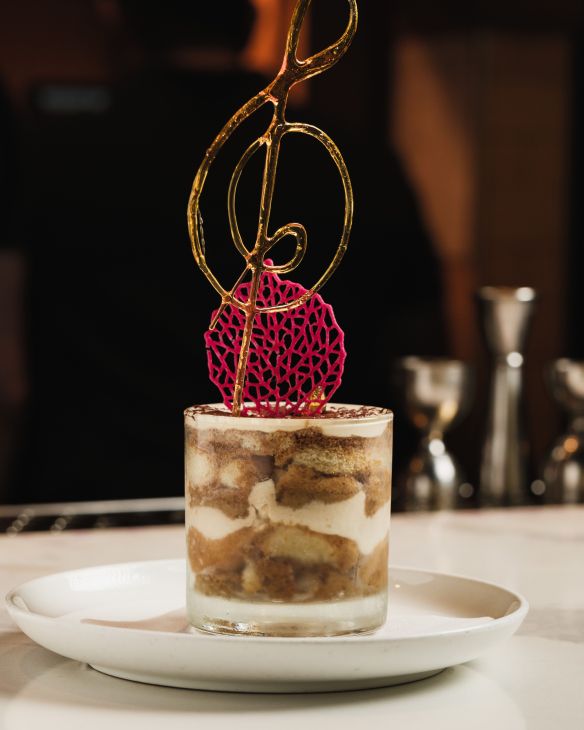
Sculptural Dessert Topper
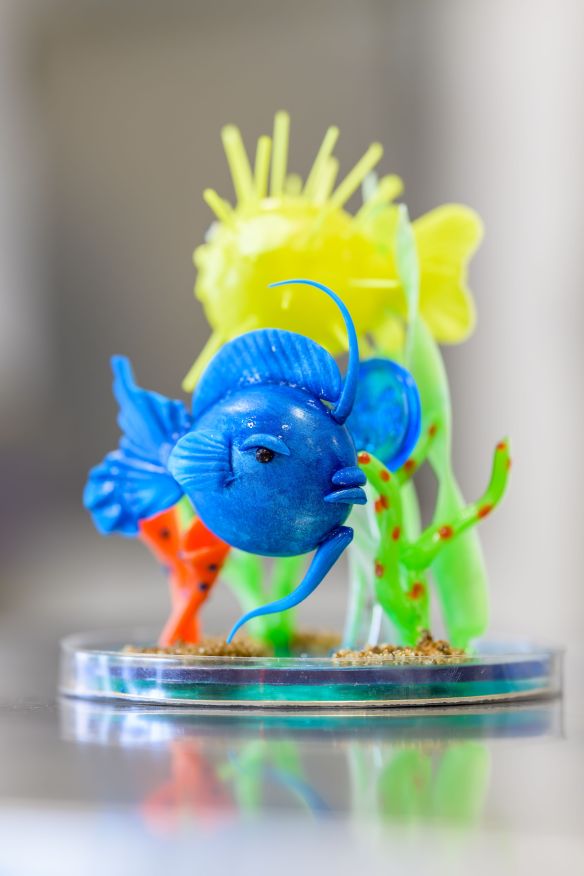
Fish Sculpture
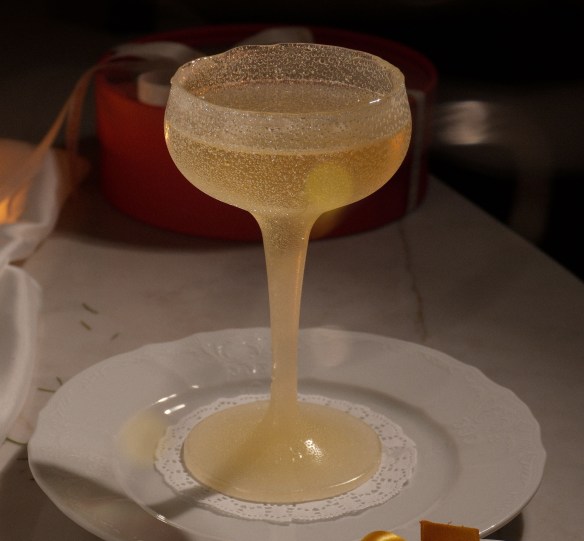
Edible Glass
Yes, you read that correctly. This champagne glass is made entirely of sugar, so you can enjoy your drink and then eat the glass! How cool is that?
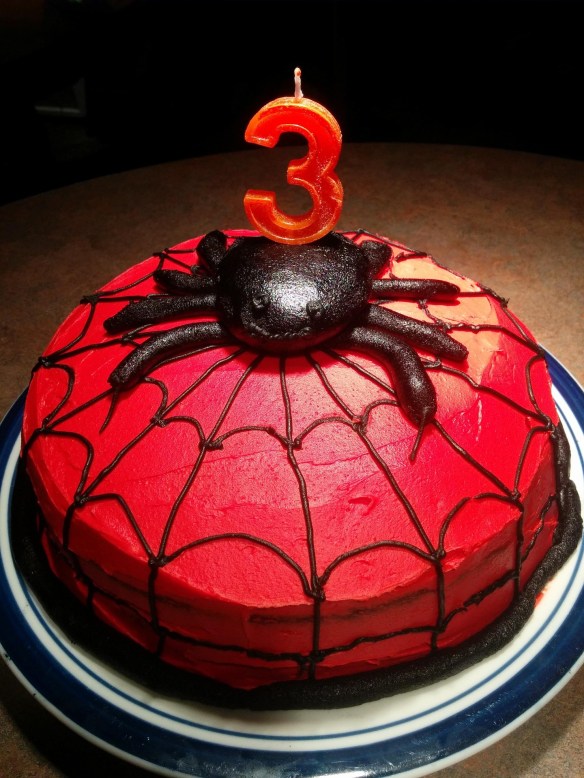
Halloween-Themed Sugar Art: Birthday Cake
The spider is made from sugar paste.
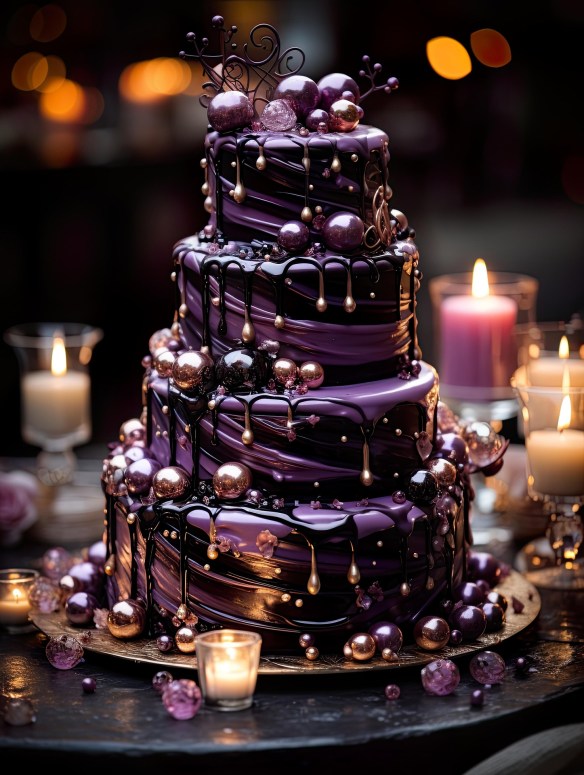
Wedding Cake
The spheres, tear drops, gems and cake topper are all sugar.
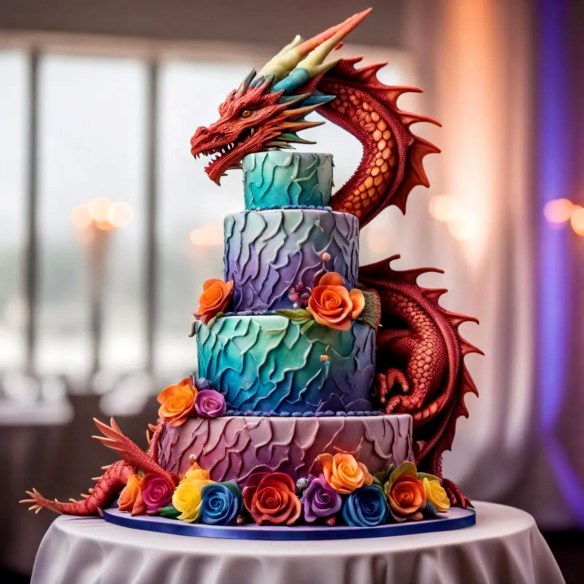
Dragon Wedding Cake
The flowers and dragon’s body are modeling chocolate. The spines down the dragon’s back, horns, eyes, teeth and claws are sugar.
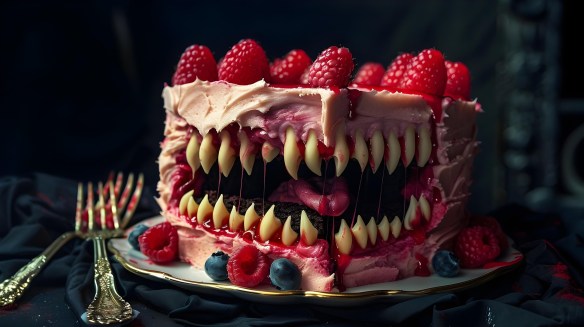
Monster Cake
The teeth, tongue and mouth interior are all sugar.
This completes our exploration of sugar art. As you can see, sugar can be much more than the simple crystals you add to your coffee or tea. Hungry for more? Halloween Wars is a show featuring teams consisting of a pumpkin carver, cake artist and sugar artist competing for $50k. You will be amazed by their creations. I hope you have enjoyed seeing sugar as an art form. Please let me know your favorites in the comments.
Thanks for Reading, Happy Halloween, and Happy Crafting!
For many, Halloween is the most wonderful time of the year. People go all out decorating their homes, and there is always something new to thrill and delight. Let’s look at some decorating ideas for designing the Halloween display of your dreams…or should I say nightmares?
Creatures of the Night:
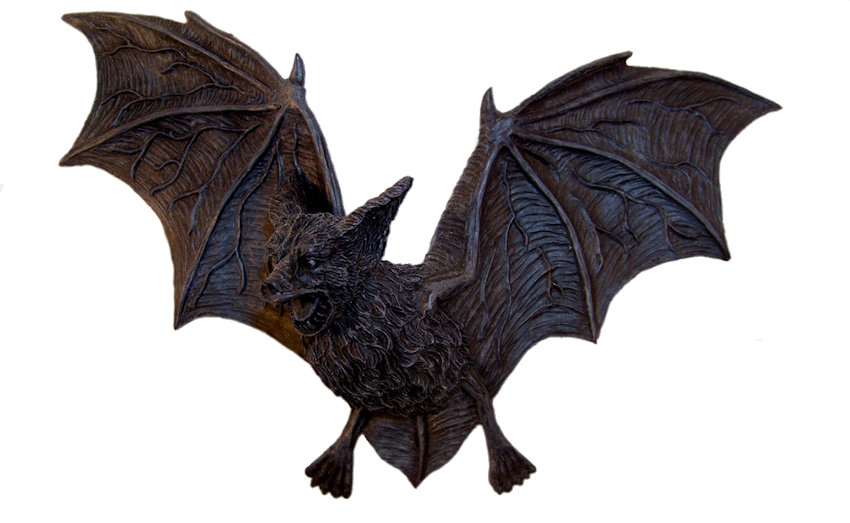
Bats
Bats certainly have a way of making humans squirm. Keep your visitors on their toes by hanging bats upside down from tree branches, lightly swaying in the breeze on invisible fishing tackle.
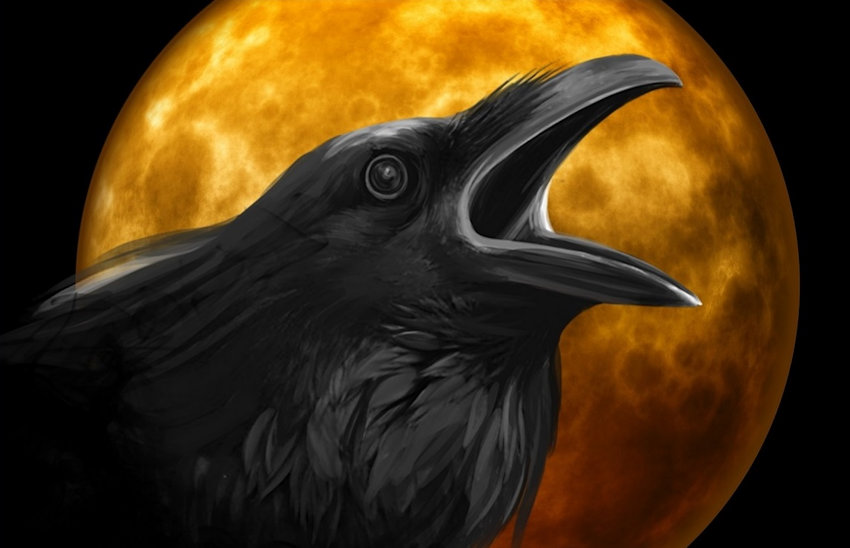
Crows
A crow’s habit of feeding upon dead animals and loud calls are bound to cause a shiver or two. Mount a couple crows on tombstones or in a prominent spot, such as atop a wall or the edge of your roof.
Owls
This predator silently soars across the night sky, seeing all with his glowing eyes. There are some motion-activated owls that turn their heads and hoot.
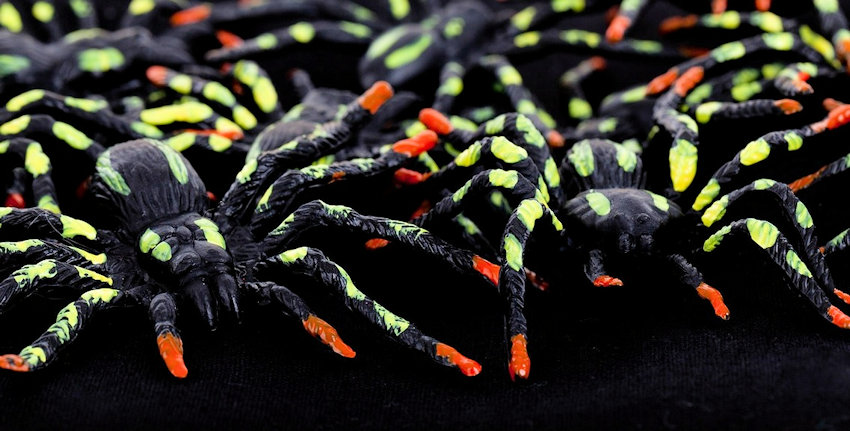
Spiders
Most people instinctively shy away from spiders. The tarantula-sized spiders shown above are painted with glow-in-the-dark paints. Place them along porch railings or on the outer edge of steps. You also might want to have several crawling up a wall near the front door.
Dragons & Black Cats
Many people are superstitious about black cats. When lit from behind, cat silhouette yard stakes have an eerily realistic appearance. Inflatable dragons glisten and change colors, while animated dragons have glowing eyes, frightening sound effects and “breath fire” courtesy of a fog machine.
Rats
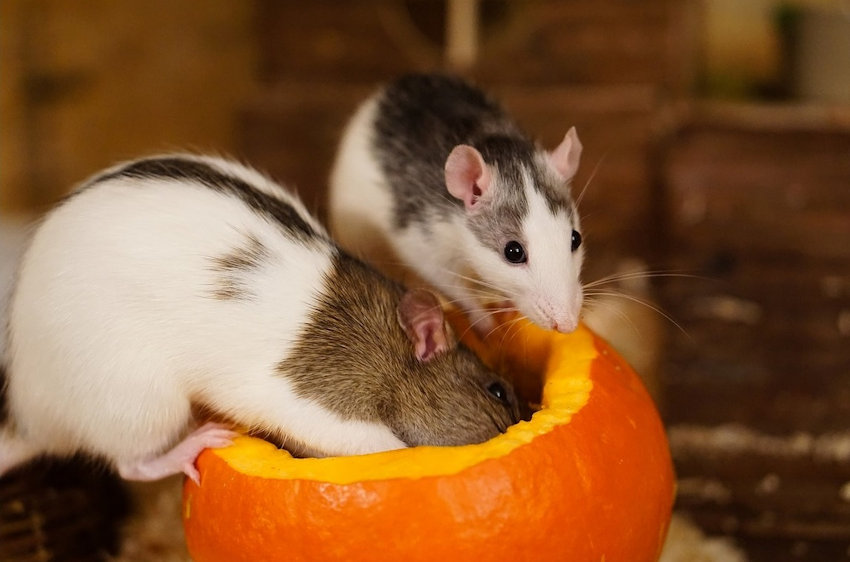
Sewer rats are bound to cause a few goosebumps. Just like the photo above, place a few rats on or around pumpkins to create a creepy atmosphere.
Witches
If you want to charm your guests, witches are sure to please. Life-size, motion-activated witches greet visitors with glowing eyes, casting spells, and stirring cauldrons. For a more humorous effect, a wall or tree-mounted crashing witch on a broom is sure to make everyone smile.
Headless Horseman
“The Legend of Sleepy Hollow” is a classic. Although you probably won’t have a horse on the lawn, you could create a dummy with a glowing pumpkin head. New this year is an animated life-size headless horseman holding an axe in one hand and a talking pumpkin in the other.
Legendary Movie Monsters
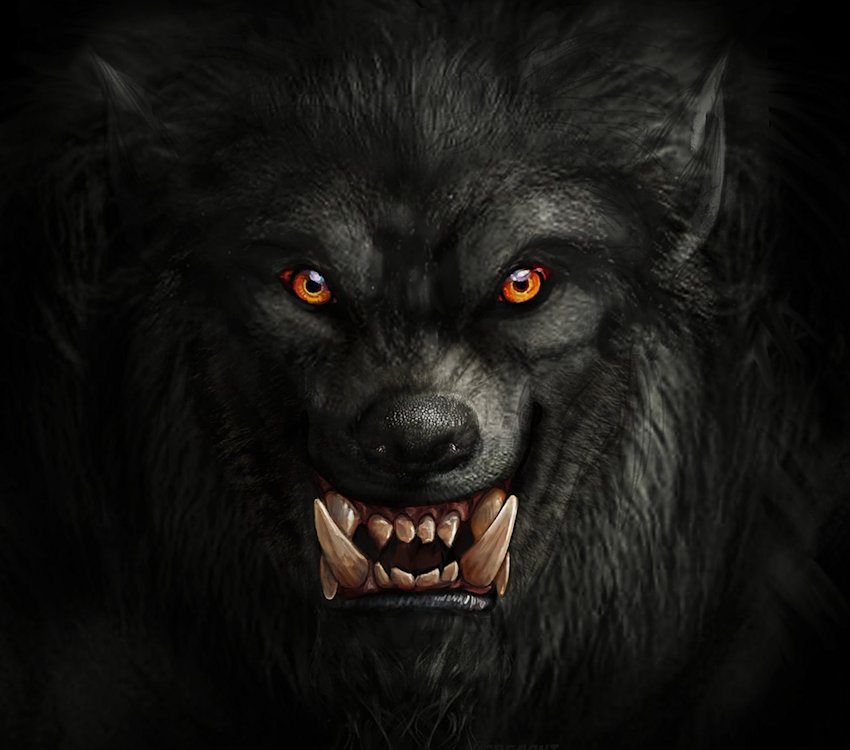
Wolfman, Frankenstein’s Monster, Count Dracula – so many possibilities. You could make a dummy by stuffing an old shirt and pair of slacks and buy a rubber mask to create your monster. If you or a family member are budding actors, dress up in costumes to unnerve visitors on Halloween night.
Zombies
“The Walking Dead” has been a popular television series for years, spawning a zombie craze in movies, merchandise, and Halloween décor. If horror is your goal, zombies are the go-to characters.
Ghosts
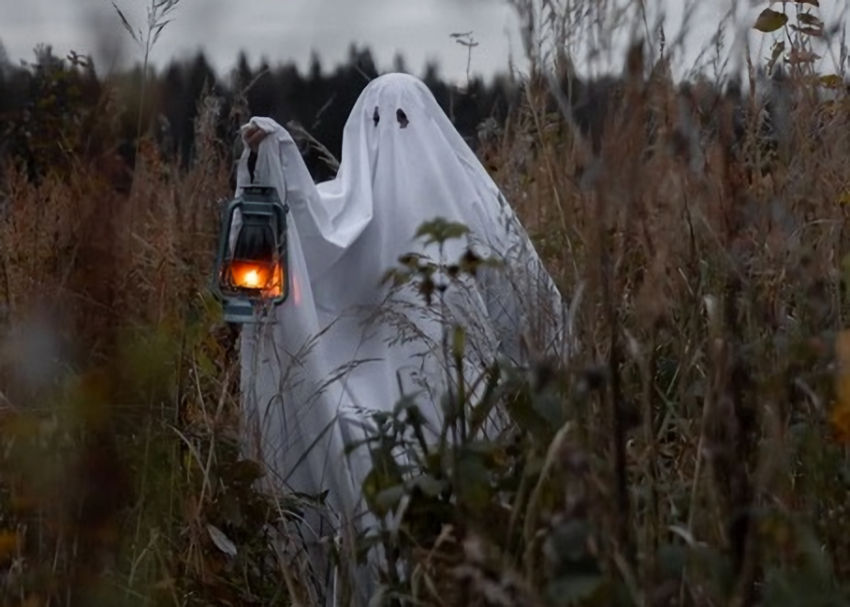
Ghosts can serve as props or as live action creatures. Halloween night, if you really want to keep trick or treaters on edge, place a life-size ghost among your yard decorations. Go outside several times wearing an identical costume to stir up chills and thrills as you move across the lawn. Kids love theatrics like this and will return every year to find out what you will do next.
Scary Props:
Carved Pumpkins
Pumpkins are a Halloween staple. Depending upon your preferences and skills, you can carve or paint designs to frighten or amuse your guests. If you have had trouble in the past with squirrels eating fresh pumpkins, buy craft pumpkins, which can be carved and displayed for years to come.
Tombstones
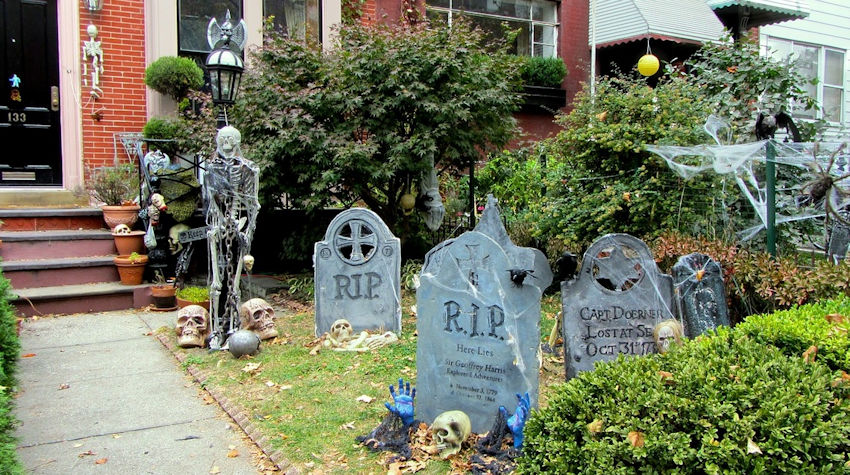
With tombstones, draped in spider webs, and scattered bones, this haunted cemetery is ready for visits from the living.
Coffin & Skeletons
If you like working with wood, you could build a coffin and reuse it with different monsters each year. If the weather cooperates, or if you have a covered porch, a cardboard coffin can be easily made. Skeletons and skulls can be frightening or funny. It’s all up to you.
Kid Friendly Scarecrow
Scarecrows are easy to make and inexpensive to buy. Secure them to tree trunks, or place a few on a bale of hay with pumpkins and a few crows for a bit of humor.
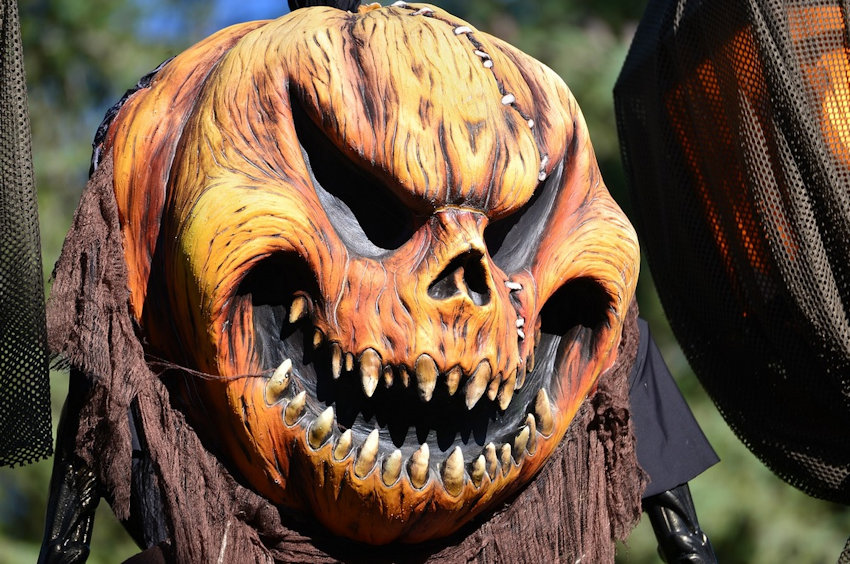
Frightening Scarecrow
This horrifying scarecrow will keep crows, as well as people, at a distance. The vicious teeth are an unexpected and unsettling detail.
Spider Webs
Our brains tell us that where there are webs, there are spiders. Drape webs over bushes and railings. A bag of plastic spiders has great impact or buy one large spider to instill fear.
Lighting:
Halloween String Lights
Pumpkins, Bats, Skulls, Witch Hats, and Ghosts are just a few of your string light options. Some are the plug-in variety, but for more flexibility there are also battery-operated versions.
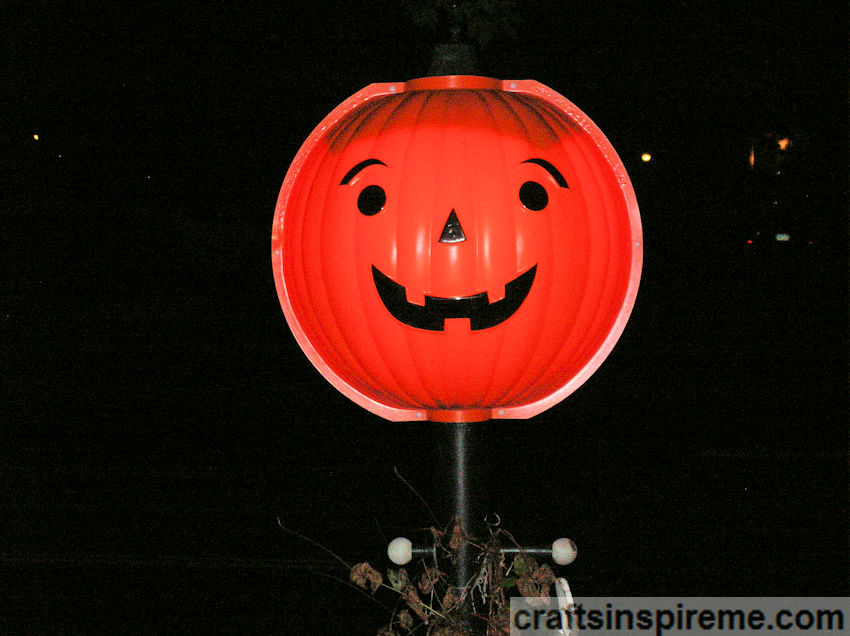
Pumpkin Lamppost Cover
This lamppost cover is an easy way to show your Halloween spirit, and it acts like a beacon attracting Trick or Treaters like moths to a flame.
Luminaries
Luminaries are easy to make by simply drawing Halloween designs, such as cats and bats, with Sharpie markers on glass jars. For lighting, burn tealights or use battery-operated candles.
Special Effects:
Spooky Sounds & Fog
Sound is an often-overlooked element in Halloween displays. Howling wolves, dragging chains, maniacal laughter, growling monsters, and high-pitched shrieks are among the many scary soundtracks. Fog provides additional layers of Halloween ambiance.
Lightning & Thunder
Conjure up the perfect storm by using theatrical spotlights, which project lightning bolts upon your house, accompanied by claps of thunder.
Setting the Scene: Finished Halloween Displays
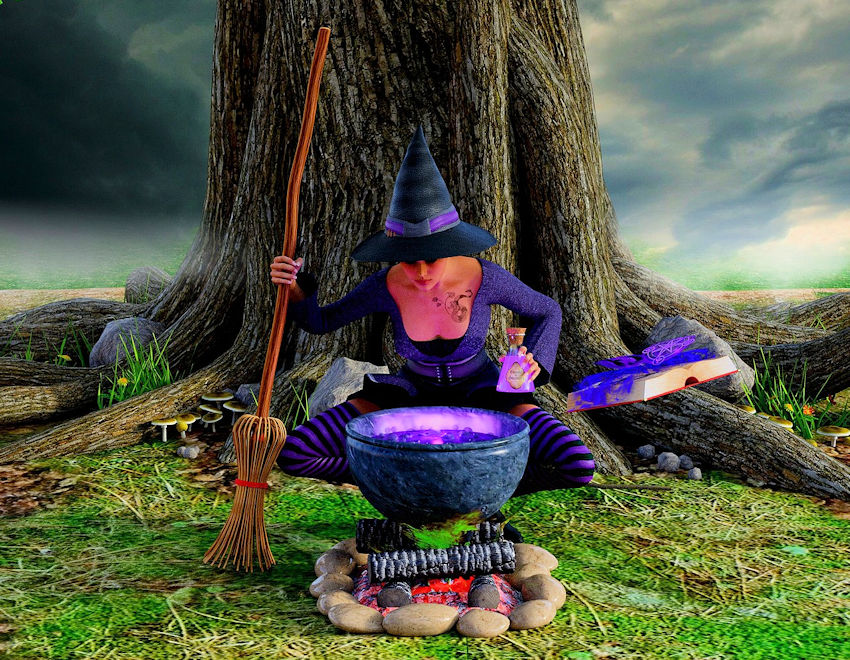
Witch’s Brew
Wondering what it would be like to have a close encounter with a witch? A cauldron, bubbling over with glowing fog, rests upon a flickering faux fire. With an ancient broom, a book of magic spells and a bottle of her latest potion in hand, this witch chills and thrills guests of all ages. Live action will astound visitors. All you need is a costume and have a few clever “incantations.”
Haunted Graveyard
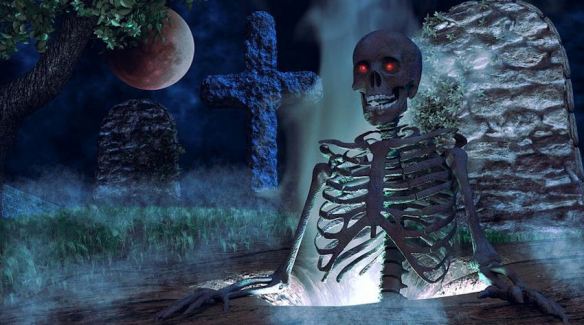
How do you create a haunted graveyard? Start with tombstones, and then add a red-eyed skeleton climbing out of an open grave, bathed from below by an eerie yellow light, as ghostly apparitions take shape in wisps of fog. An orange moon in the nearby tree completes this otherworldly scene. Michael Jackson’s “Thriller” would be the perfect theme song for this frightening display.
Comical Family Fun
Is it possible to celebrate Halloween in a kid-friendly way? A pumpkin family reunion is a good place to start. Trick or Treaters can pose for selfies with this cheerful, welcoming display. At night, the bright orange glow will intrigue everyone, drawing them nearer for a closer look.
If You Build It, They Will Come
Want to attract attention? Consider your desired theme and select a fascinating focal point, such as the gigantic cat in the above photo. With colors, shapes, textures, and proportions in mind, continue adding props and characters, creating a multi-layered composition to delight viewers. Viewers will discover something new each time they see it. Having a few characters spring to life would be the cherry on top of this theatrical masterpiece.
Trunk or Treat
Are you participating in a community trunk or treat event? Don’t forget to decorate your car. There are Halloween decorations made specifically for trunk or treating. If your furry best friend rides along, a pet costume would be adorable, and the kids will love it!
Halloween brings out the kid in all of us. Do you have a favorite decoration? Have any suggestions to share with readers? Please note your thoughts in the comments section. Thanks for reading and sharing.
Halloween is a celebration that invites you to be a kid again, and who doesn’t like that? Choose a costume, gather with friends and family, and let’s get this party started! And don’t forget the candy! This week’s project is decorating. Let’s make a few small changes to some Halloween decorations and see how important little details can be. Let’s go!
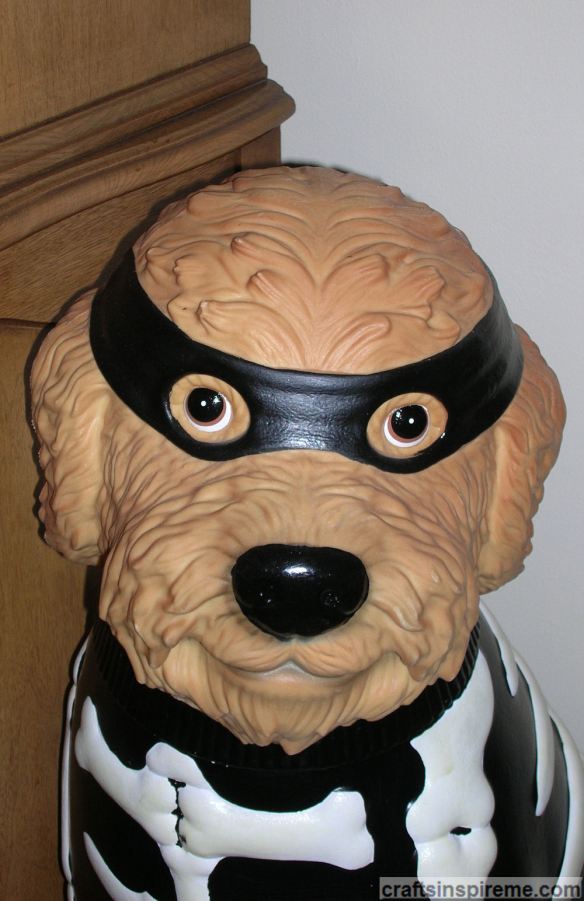
Big Dog in Costume
We bought this dog last year, His skeleton sweater is cute, but the top of his head drives me crazy. Up close, he looks like he parted his hair down the middle like a little boy. At a distance, he looks like a member of the Hair Club for men. LOL
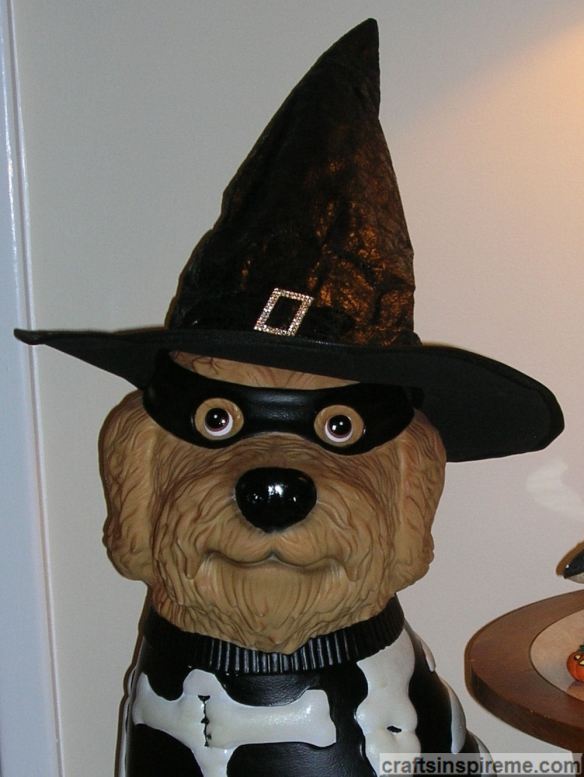
Witch Dog
The solution is easy. A witch’s hat frames his face and completes the costume.
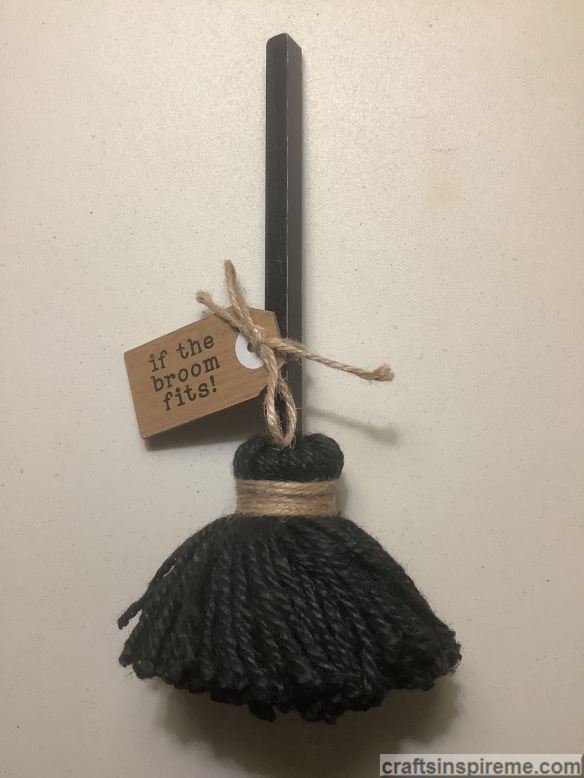
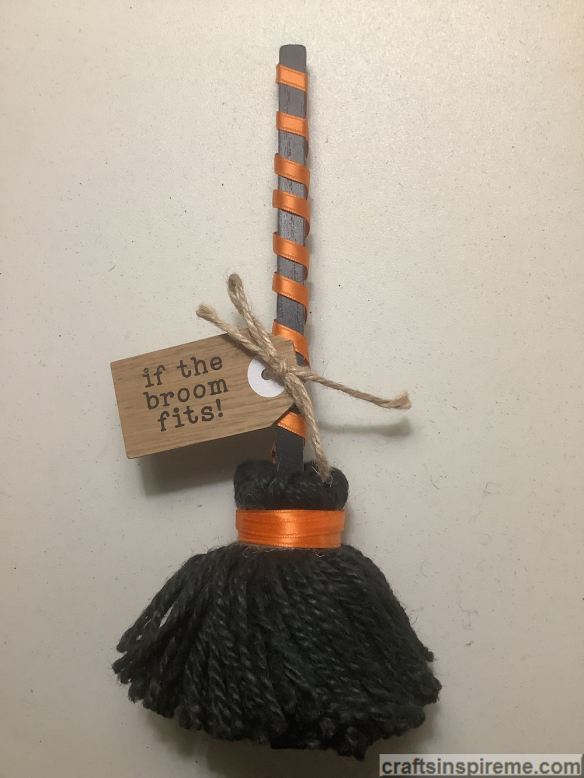
Witch’s Broom
This tabletop decoration is a bit drab.
Colorful Witch’s Broom
Simply wrap some ribbon over the twine and around the broom handle.
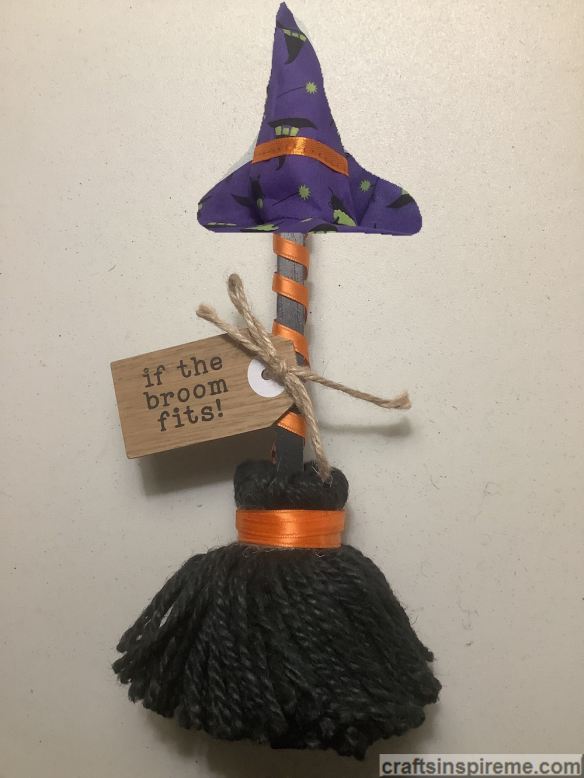
Witch’s Broom – Extra Credit
For a bit of whimsy, purchase or make a tiny witch’s hat to place on top.
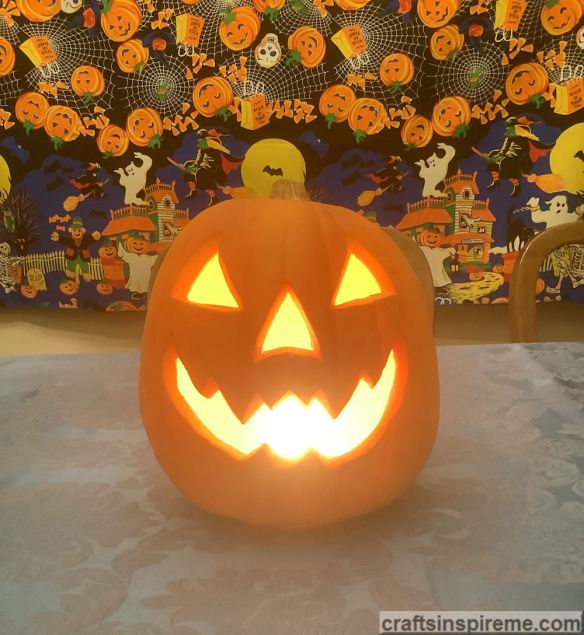
Jack-O-Lantern
This artificial pumpkin has a built-in light hidden inside. It’s cute but it needs something more to serve as a centerpiece.
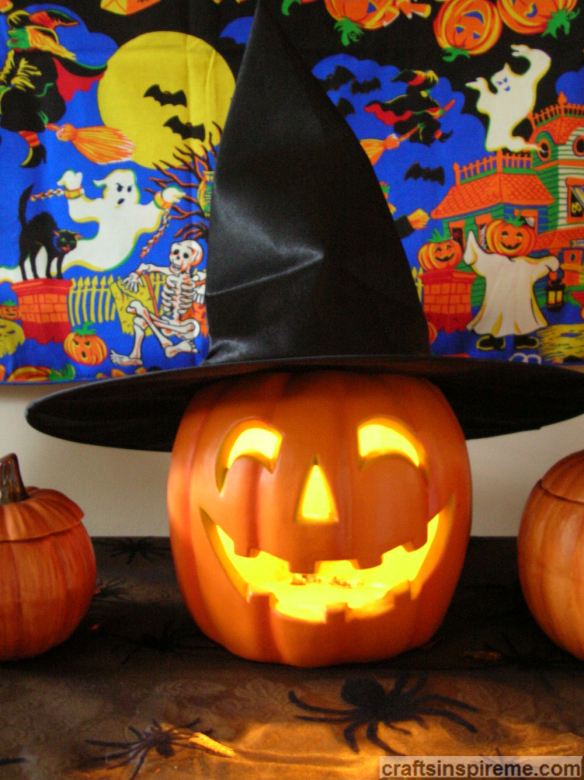
Jack-O-Lantern Witch
A witch’s hat frames the face and adds character. Place a couple small pumpkins on either side and a spider tablecloth, and you’re ready to start putting out the appetizers.
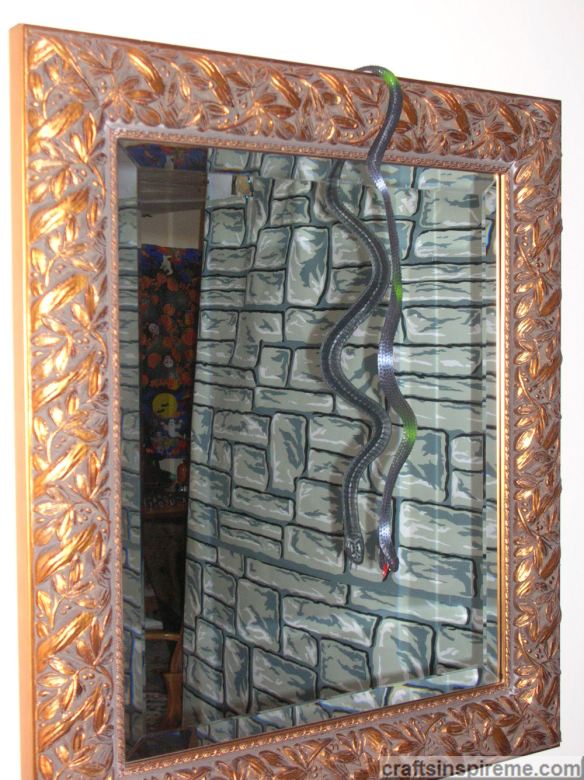
Snake on a Mirror
If you like psychological thrillers, this one is for you. People generally don’t like snakes. For a Halloween party, we hung one on a mirror above a chair. No one sat in that chair all night. Upon closer inspection, I realized that the underside of the snake is a different color, creating the illusion that two different snakes were crawling down upon unsuspecting victims. LOL
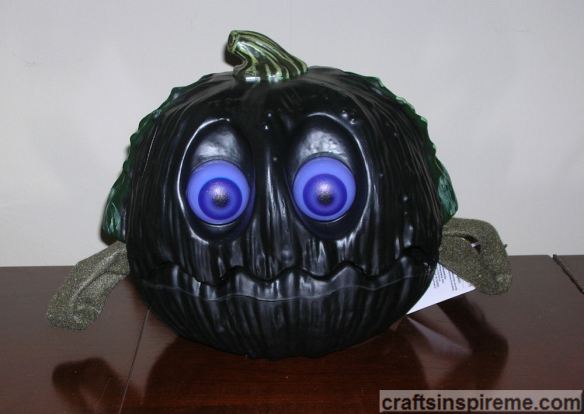
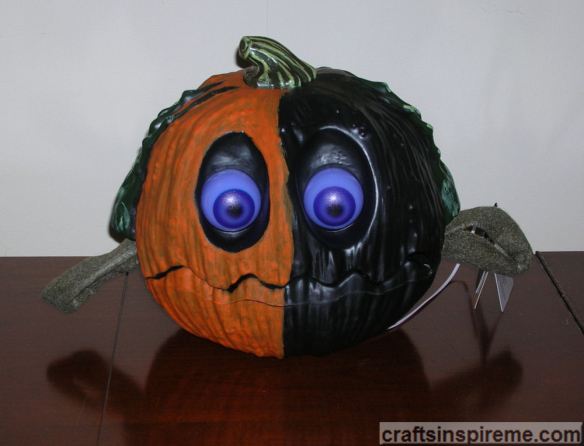
Black Pumpkin
Apparently black pumpkins are trendy now. I don’t like them. The other colors are fine, but this is so dark that it is hard to see what it is and resembles a Muppet’s evil twin.
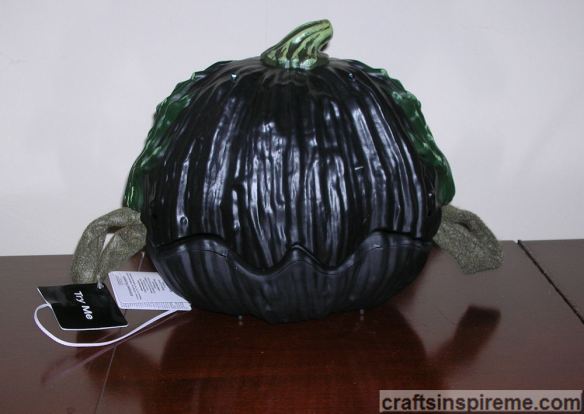
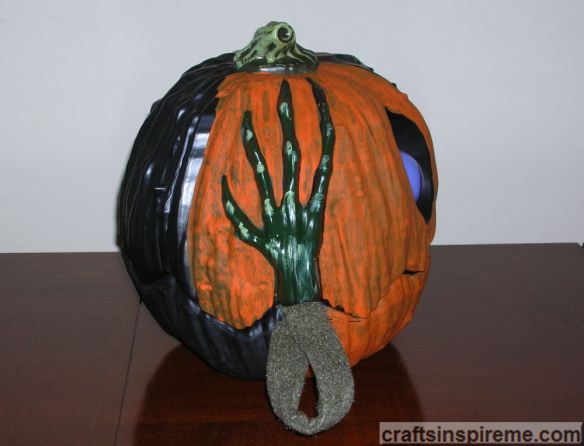
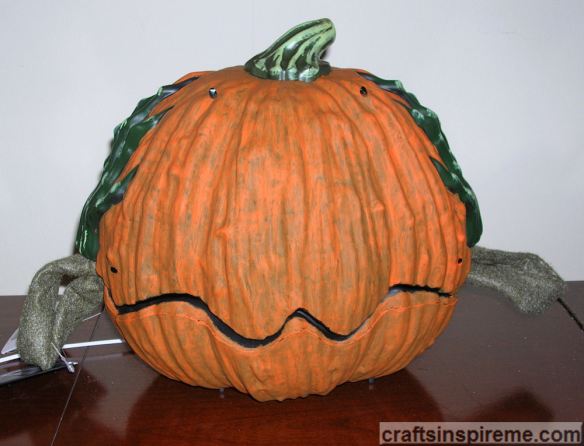
Black Pumpkin – Side View
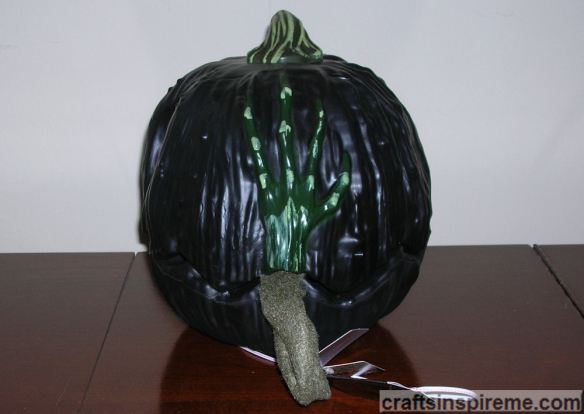
The detailed pumpkin vine hands are lost against a sea of black.
Black Pumpkin – Back View
Half Painted Pumpkin
Painting the pumpkin orange makes it instantly recognizable without losing any of the thrill factor.
Half Painted Pumpkin – Side View
Notice how creepy vine hands stand out against the orange.
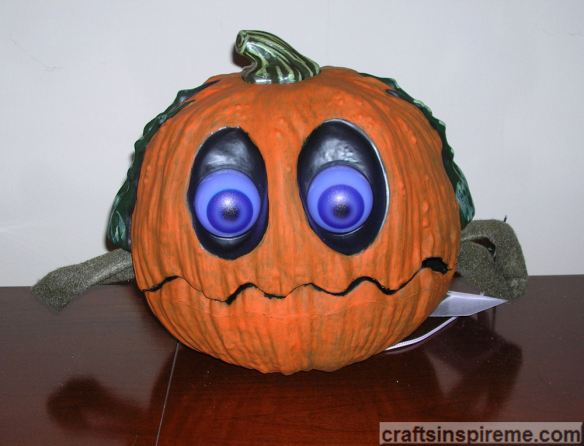
Finished Orange Pumpkin
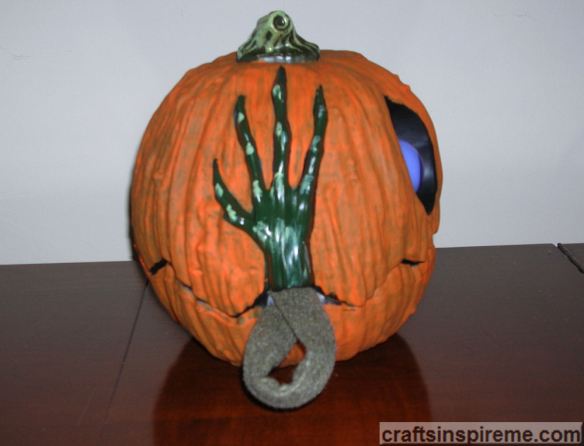
I painted two coats of orange acrylic paint. Some of the original black shows through, providing depth and a menacing tone.
Finished Orange Pumpkin – Side View
Finished Orange Pumpkin – Back View
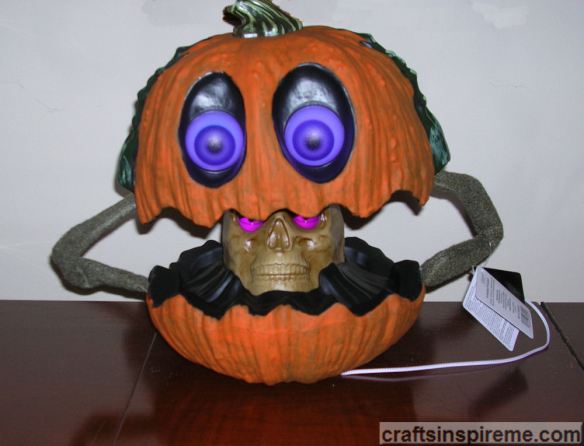
Hidden Surprise Animatronics
I have seen animated pumpkins open to reveal gooey seeds inside, but never a skull.
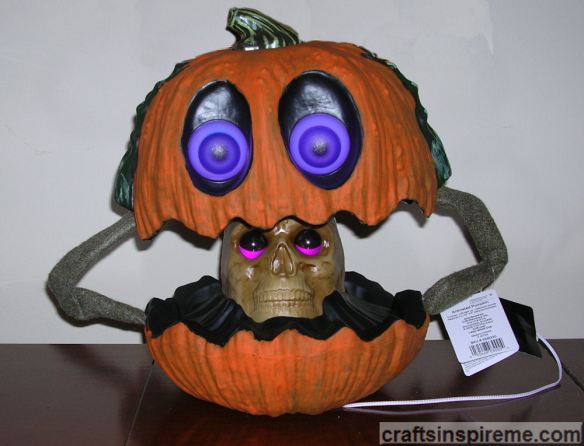
Hidden Surprise Animatronics
The eerie vibe is a bit dulled by silly music and a voice repeating dialogue geared toward younger audiences. I still think it’s cool to see. Maybe the designers will wake up and get the color and soundtrack corrected. Oh well, there’s always next year.
I hope you will look at your Halloween décor in a new way. These changes are so easy to make and add a dash of your personality to each piece.
Thanks for Reading, Happy Crafting, & Happy Halloween!
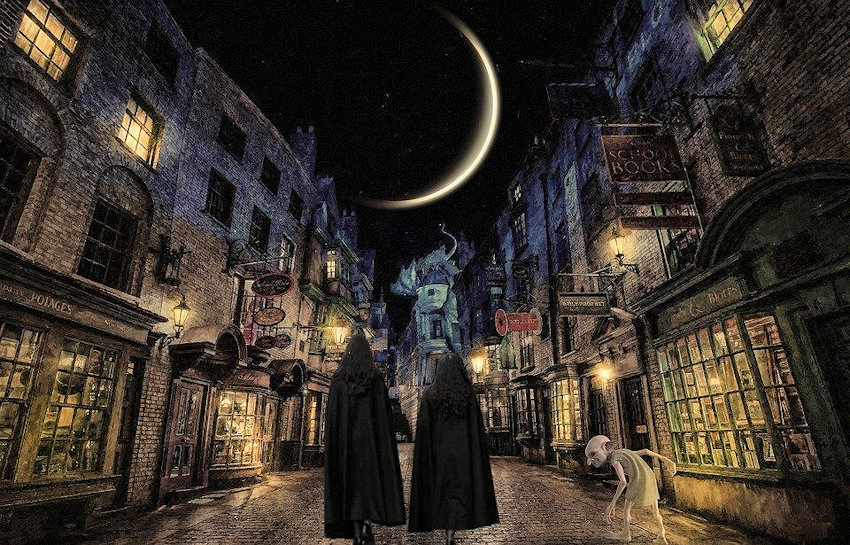
Lots of crazy things have been happening in the news lately. Wouldn’t it be nice to wave a magic wand to restore order once again to our lives? I suppose the next best thing is delving into a magical book or watching a movie about everyone’s favorite teen wizard, Harry Potter.
While I appreciate all the characters created by J.K. Rowling, I must admit my favorites are the mysterious, magical creatures that inhabit that fantasy world. Whether real or imagined, each is endowed with exceptional powers and abilities – some for good and others not so much.
Don’t you just love goblins for balancing the books and dragons to keep it interesting?
Fire-breathing dragons are awesome, but perhaps we need to find something a little less flammable? lol
Every Harry Potter fan dreams of living in his magical world. You have read the books and seen the movies, but to experience it in the real world, you’ll need to make the trip to Universal Studio’s Wizarding World of Harry Potter. If travel isn’t on your agenda, perhaps you could bring a piece of Harry’s world into your own.
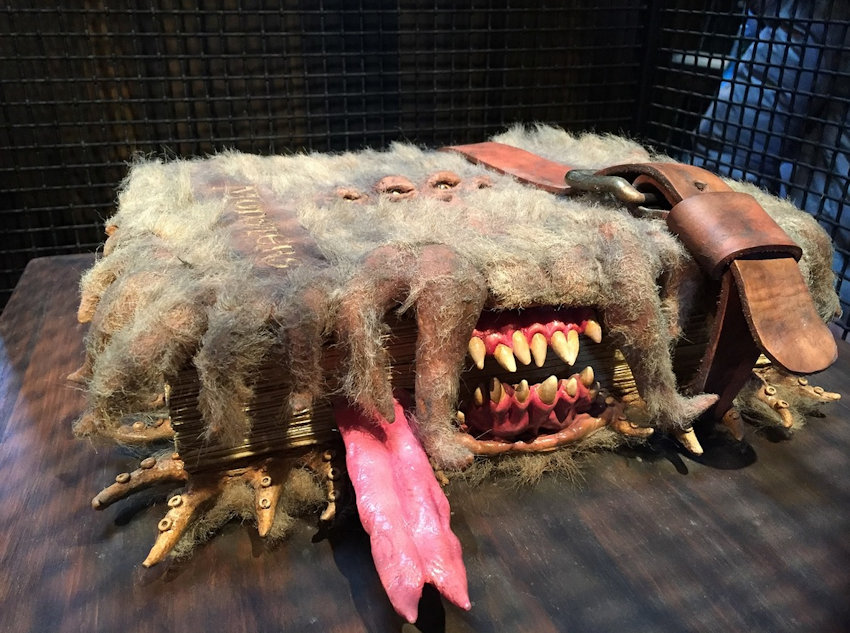
You can’t be a wizard without a few enchanted books. Who could forget the ferocious monster book? Ever wondered if you could make one?
How to Make a Monster Book Fit for a Wizard:
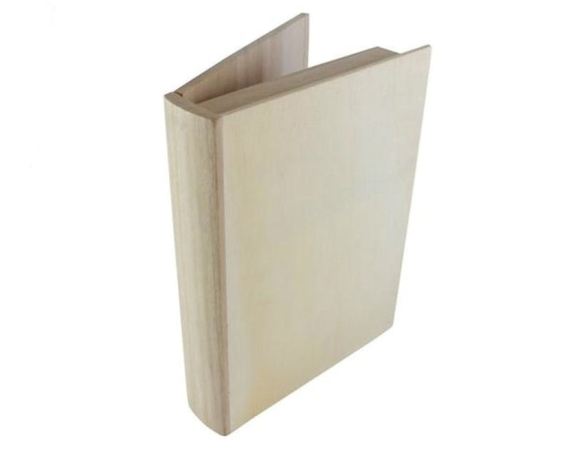
Raw Wood Book Box
The moon and the stars must have aligned to make your wish come true with the discovery of this wooden book box, available through Michaels for $6.49. It’s the perfect size and thickness, and offers a strong foundation for building a monster book. As a bonus, there’s a secret compartment inside for storing your favorite spells (recipes), magic charms (office supplies), or wizardly collectibles.
Supplies:
Wooden Book Box (9.75″ x 7.5″ x 2.88″)
Black Paint – brush on Acrylic or spray paint
Sharpie Metallic gold marker – medium point
Vampire Teeth
Faux fur
4) Packing peanuts
4) Glass marbles – orange
1) Bottle fabric paint – black
1) Bottle fabric paint – white
1) Leather or vinyl belt
Glue gun
Scissors
Paintbrush
Book Box Painted Black
Paint the box black, inside and out. This dark color will make a great contrasting background for the gold paint applied in the next step.
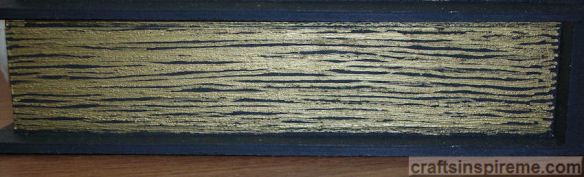
Gilded Pages
To create the appearance of gilded pages, draw horizontal lines along all three sides of the book, using a Sharpie metallic gold pen. Don’t worry about crooked lines. Pages in old books become crinkled and curled. Imperfect lines will provide an aged look.
Toothy Expression
The next step is attaching teeth. Center the mouth as shown. The large fangs are from Fire Mountain Gems, and the smaller teeth are actually clear quartz crystal chips, painted to match. To simplify this step, purchase vampire teeth at a Halloween store or Amazon.
Hair Club for Monsters
Faux fur from JoAnn Arts & Crafts is the perfect color and texture for this monster. Cut the piece large enough to allow a hem on all four sides. Be sure the fur will not interfere with the operation of the hinges. Please note: the raw edges of fur shed like crazy. Once they are hemmed and attached to the book the shedding stops. (Yeah!)
Faux Fur
The sides could be hand sewn, but these hems were made with a glue gun.
Shaped & Glued Packing Peanuts
I decided this monster would have four eyes. To make the eye sockets, use four packing peanuts. Each peanut is pinched in half and glued to hold its shape. Glue the four together end to end as shown.
Painted Black
Paint the foam with black fabric paint. Use a toothpick to keep the paint off your fingers.
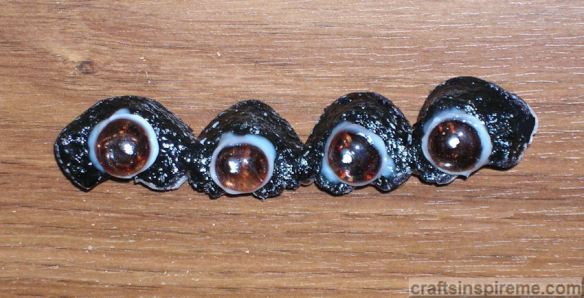
Orange Glass Eyes
I found four orange glass marbles with red streaks resembling bloodshot eyes. Each was glued into the sockets, and outlined with white fabric paint. A white dot was added to each marble to give it that creepy glint in the eye appearance.
Final Assembly
Attach the eyes to the fur, and then secure the fur on top of the box.
Accessorize
Last step: Wrap an old leather belt around the book to keep your monster under control.
For diehard Harry Potter fans with model building and wiring skills, there is one more step that would take this monster book to the ultimate level: mechanization! Hide a motor inside the box to operate remote controlled wheels and hinges for the jaws. Unleash the beast! lol
Congratulations! You’re now the proud owner of your very own Monster Book. Be sure to keep it on a short leash because we all know how much it loves to shred – shoes, feet, paper – anything within reach. For decades, kids have been telling their teachers, “The dog ate my homework!” With a monster book as a pet, this excuse might be believable!
Do you have a favorite Harry Potter creature? Please share your thoughts in the comments section. Until next time…
Arts & crafts are fun and relaxing, but gathering materials, tools, and design ideas can be frustrating. Fortunately, there are kits available containing everything you will need to complete the project, while also providing opportunities to explore new crafts on a smaller scale. Let’s look at a few of the options…
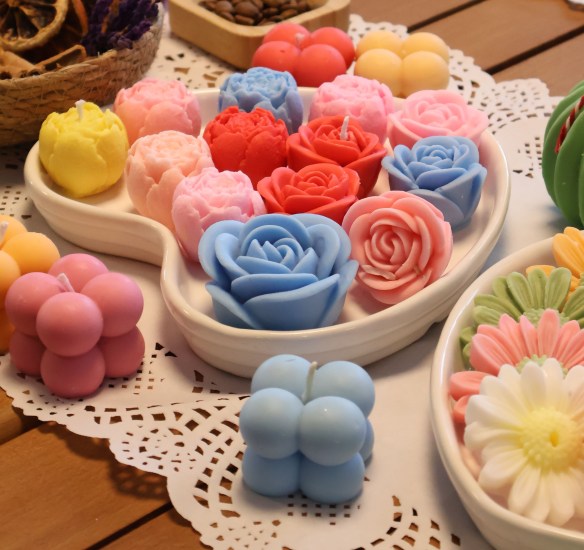
Candle Making (multiple colors, shapes and scents)
Christmas Ornaments (sequins, painting, beading)
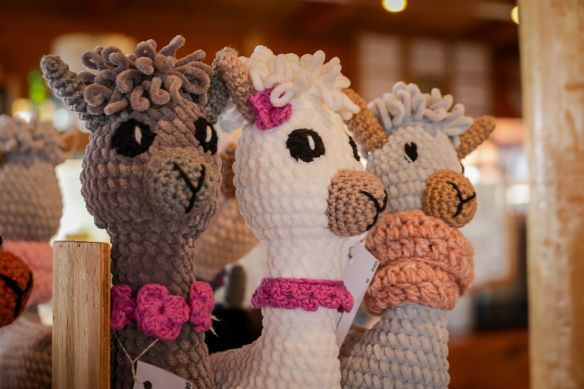
Crochet (animals, plants, dinosaurs)
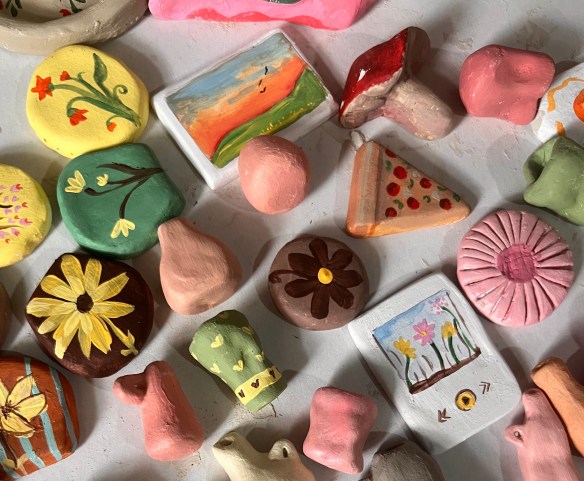
Modeling Clay (anything you can imagine can be sculpted in clay)
Model Building (planes, ships, cars, action figures)
Needlepoint (pillows, wall art, ornaments)
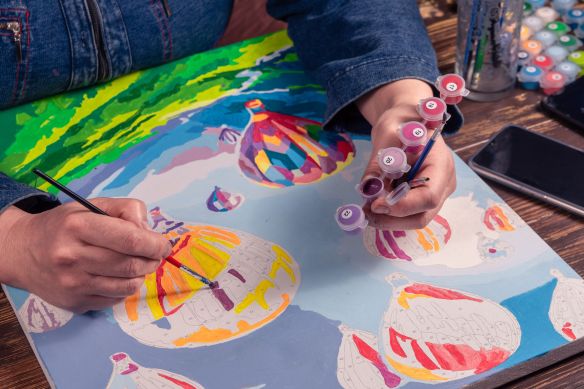
Paint by Number (landscapes, animals, botanicals, fantasy)
Paper Crafts (wall art, origami, flowers, greeting cards)
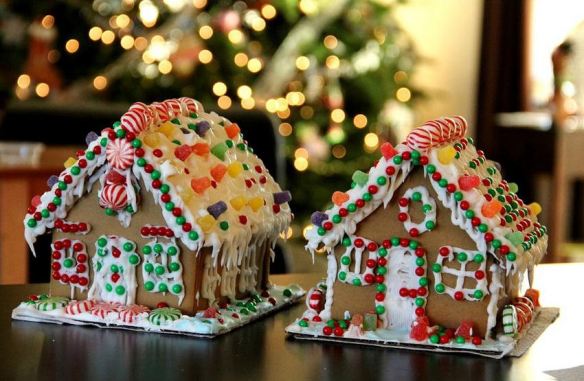
Gingerbread Houses (try not to eat it before you’re finished)
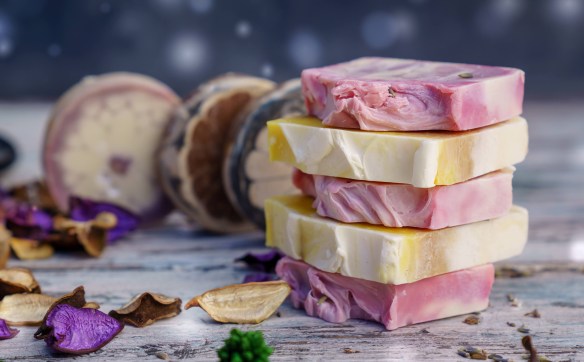
Soap Making (variety of scents, colors, decorative additives such as petals)
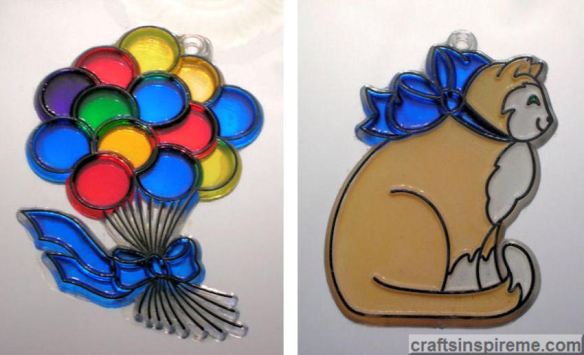
Suncatchers (so easy to make and can be hung anywhere, even as ornaments)
Fingernail Art (master this skill and clients will line up in no time)
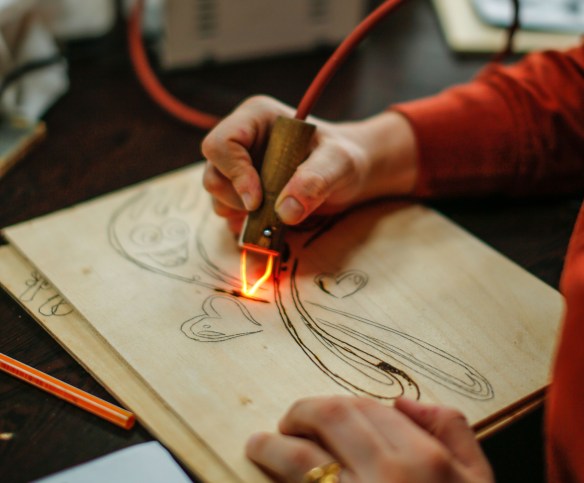
Pyrography (wood burning is a unique art form and may include painting)
A simple online search will provide craft kit options for every interest and style. Let your creative side shine through and share your new creations with family and friends. Have fun and Good Luck!
Christmas Day has come and gone. It’s time for all those year-end sales. As you browse, you may find some decorations for next year. I like to find ways to get two holidays for the price of one.
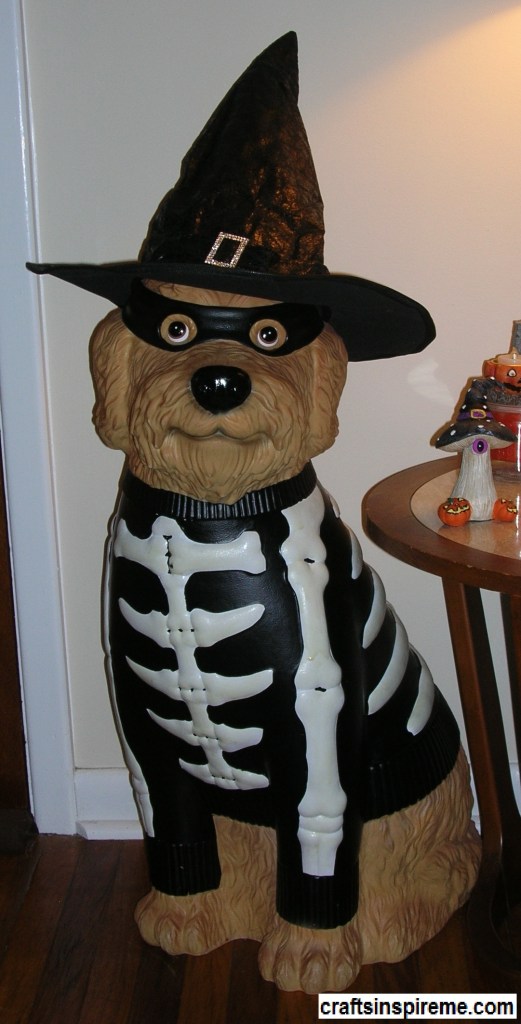
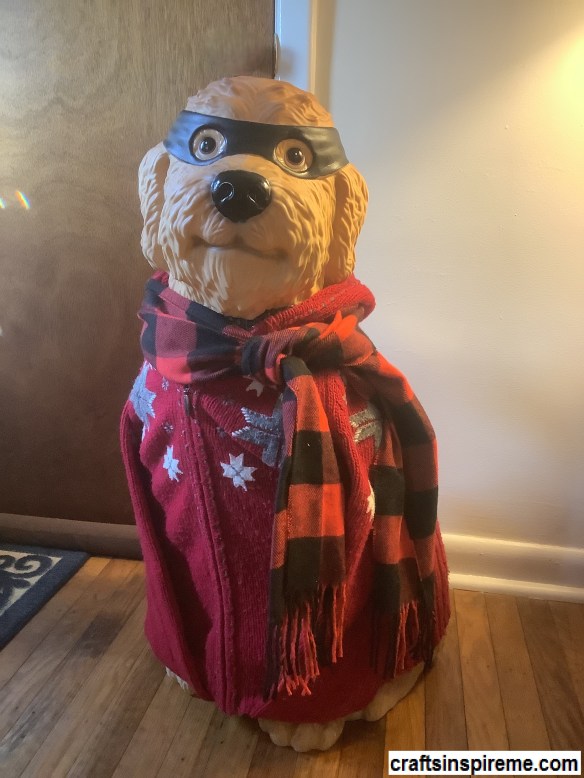
Big Dog – Halloween
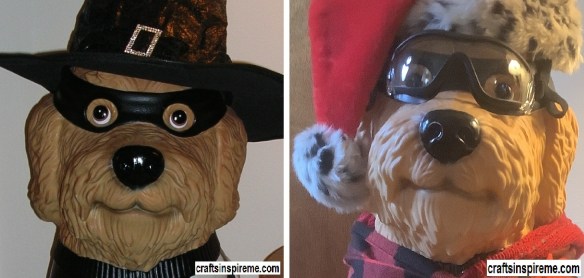
Big dogs have been trending for the last two years. I bought this masked Halloween skeleton dog and added a Witch’s hat as a bit of whimsy. In a few easy steps you can transform him into a Christmas dog.
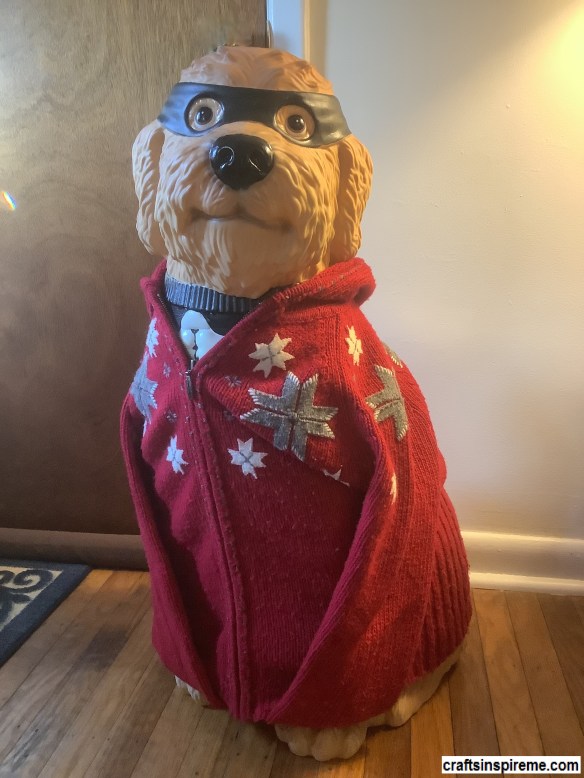
How to Transform Halloween to Christmas: Add a Cardigan Sweater
Cover the skeleton costume with a cardigan sweater. Pin the sleeves to align with the front paws so it looks like he is wearing it.
Add a Winter Scarf
This scarf looks cute and covers the neckline of the black sweater beneath.
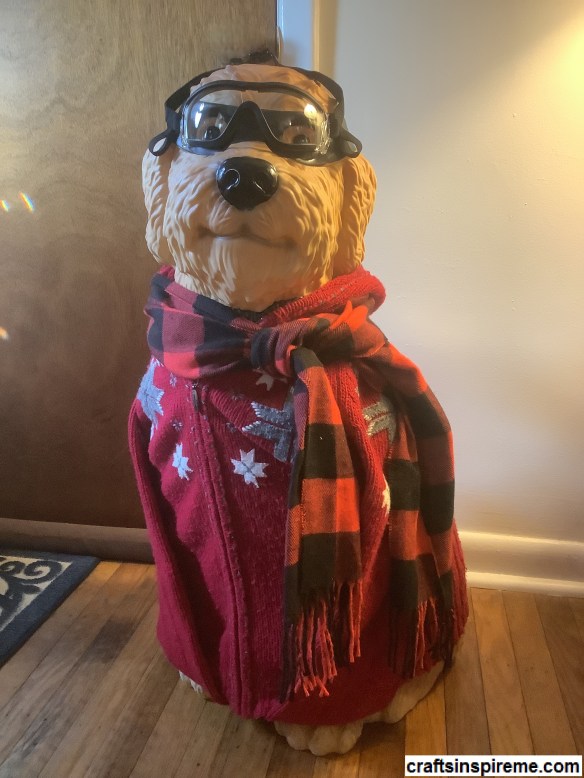
Add a Pair of Ski Goggles
Believe it or not, they do make goggles for dogs! There are two straps, one around the head and the other around the muzzle. This dog’s head is quite large, so rather than exchange for a larger size, I cut off the muzzle strap and set the goggles in place.
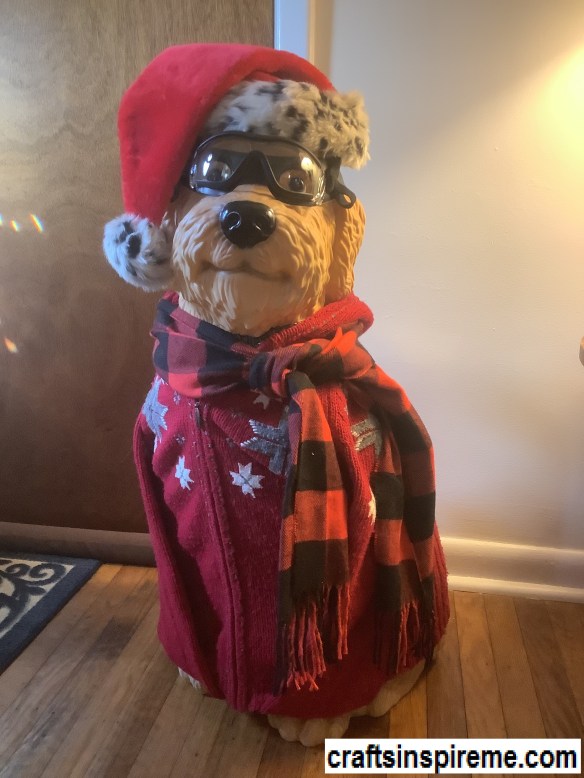
Big Dog – Christmas
The adorable Santa hat completes the transformation, while holding the goggles in position. If you want to keep him out all winter, you could easily swap out the hat and he’s ready for the ski slopes. I hope you enjoyed this project and a wonderful holiday season.
Thanks for Reading, Happy Holidays & Happy Crafting!
With a title like that, you’re probably looking for a good time. And that you will have, but probably not in the way you were expecting. Lol Today we’re going to talk about skeletons and swings.
Halloween is a skeleton’s favorite holiday.
Love at first sight does not require sight. Even after death love lives on.
They like to lounge around on Sunday afternoons.
Skeletons can be silly and have a playful sense of humor.
What could be more fun than riding a swing? The idea of skeletons and swings inspired our next project.
How to Make a Skeleton Swing:
Halloween Sidewalk Edging – (lightweight plastic)
I bought this at the dollar store. It is supposed to be used as spooky edging along your front sidewalk or to serve as a perimeter fence around a Halloween graveyard display. This works great as a seat swing, and I kept the stakes for their menacing appearance.
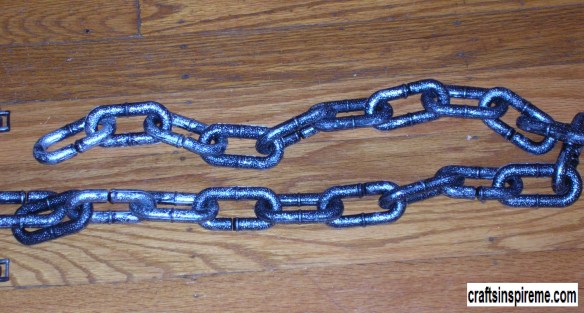
Large Link Chains – (lightweight plastic)
This dungeon-like chain also came from the dollar store. A note of caution, these fake chains are only for show and cannot hold any weight. Compensate for this by using heavy twine, as you will see in the following steps below.
Assembled Swing
Tie chains to each side of the seat using heavy twine. As mentioned above, you will need to add support, and this depends upon the type of skeleton you choose. To prevent the chains from pulling apart: tie heavy twine to each side of the seat and weave it through the chains to the top and then tie it together so it can be placed over a branch or slid onto a wall-mounted flagpole.
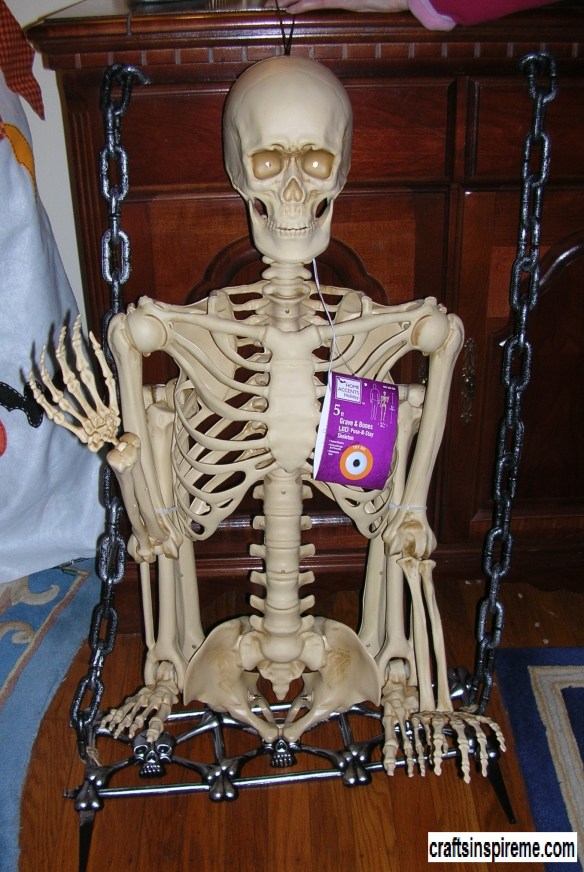
Human Skeleton on Swing
Human skeletons have a loop at the top of the skull, which will support the full weight. He will appear to be riding the swing if you clasp his hands upon the chains, allowing the seat to simply lean against his backside. You may need to adjust the chain length to accommodate his height. For a humorous touch, you could add a baseball cap or a fashionable scarf around the neck.
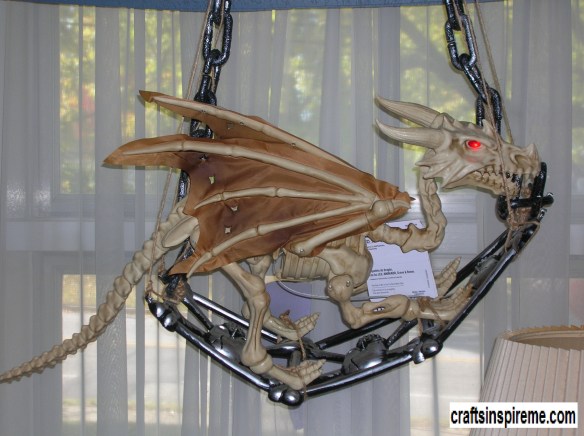
Dragon Skeleton on Swing
Here’s another skeleton option, and as you know I love dragons, so I returned the human skeleton to the store and chose this dragon instead.
Finished Dragon Swing
To protect the dragon’s animatronic eyes, jaws and sound effects, I opted to keep the swing indoors and hung it from an existing plant hook in the ceiling. To reinforce the swing to hold his weight, I attached additional twine to the four corners of the seat. I also tied his feet to the seat to ensure he stays firmly in place. Everybody loves this new addition to our Halloween décor. I think he likes it too!
I hope this project will inspire you to think outside the box with your Halloween decorations. Please let me know your thoughts and ideas in the comments.
Thanks for Reading! Happy Crafting! And I hope you have a very Happy Halloween!
Welcome to part two of this costume post. What do you want to be for Halloween? This playful celebration is for “kids” of all ages. Become the actor you always wanted to be. Let’s continue our exploration of characters and costumes…
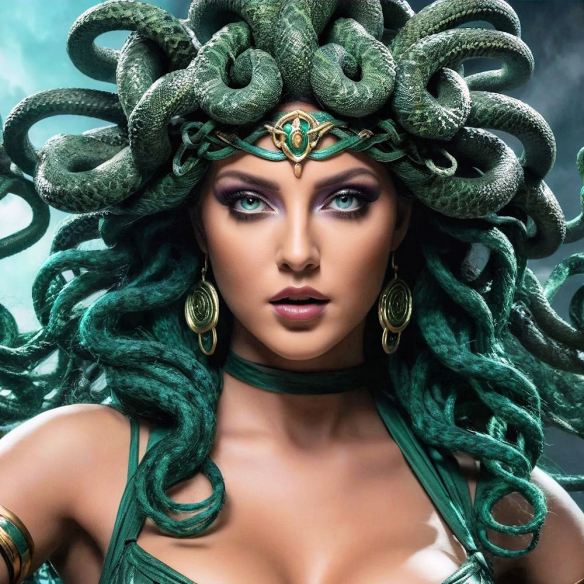
Medusa: Legendary Monster
Mesmerizing Beauty
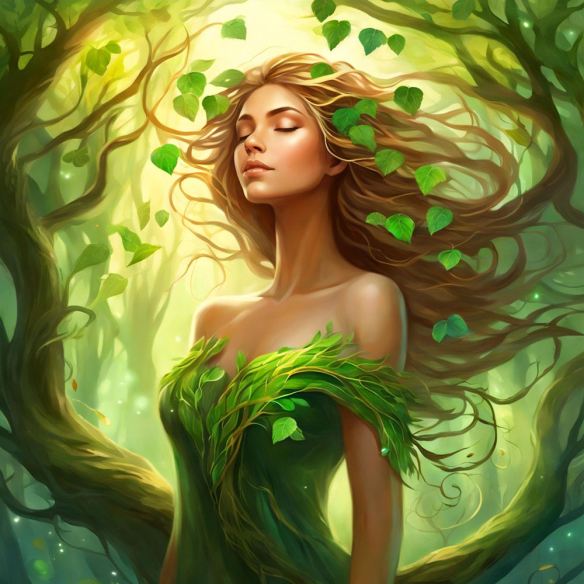
Mother Nature: Tranquil Beauty
Powerful Protector
Nurturing Creator
Queens: Ethereal
Cold as Ice
Evil
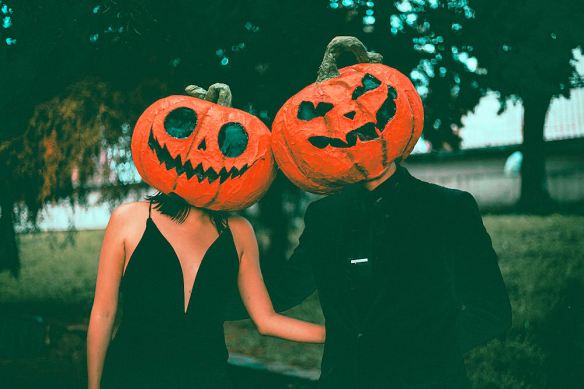
Pumpkins: Playful
Creepy
Terrifying
Scarecrows: Funny
Frightening
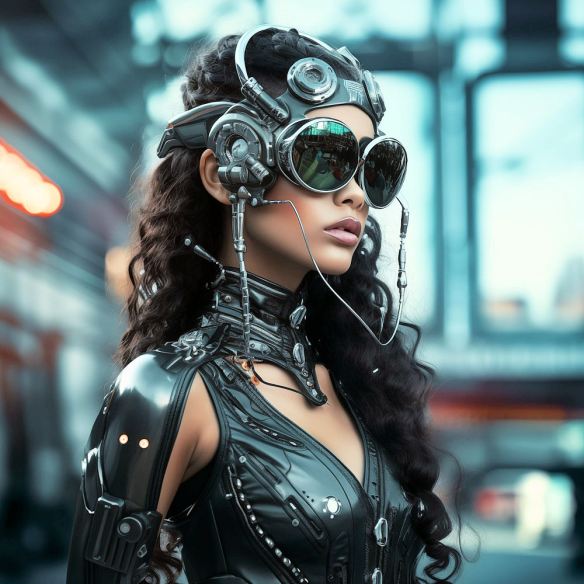
Steampunk: 19th Century Retro
Futuristic Glam
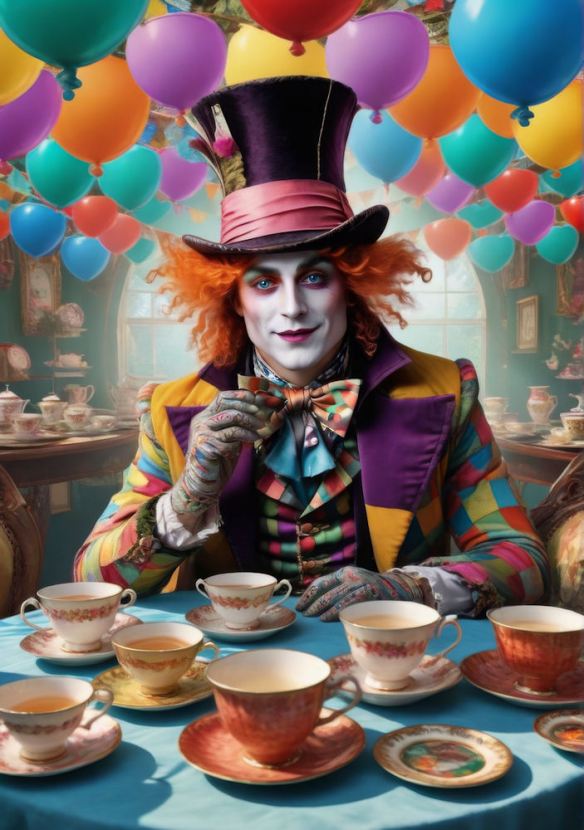
Mad Hatters: Playful
Twisted Beauty
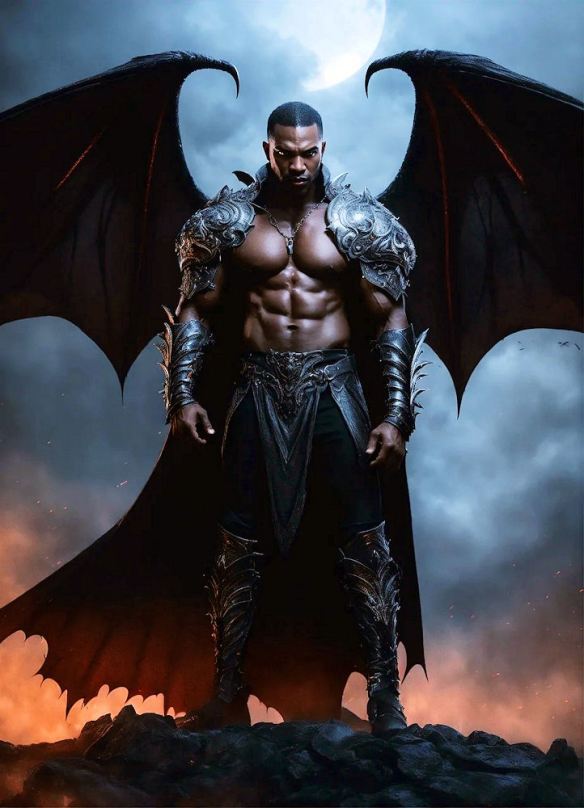
Vampires: Sexy & Unpredictable
Dark & Foreboding
Werewolves: Cute
Fierce
Trees Creatures: Dark & Unnerving
Ferocious
Group Costumes: Not All Who Wander Are Lost
Who Ya Gonna Call?
The Family That Plays Together Stays Together
Halloween is a time to let your inner child come out and play. I hope this post has helped you to find inspiration for your next costume. Please let me know your favorites in the comments.
Thanks for Reading! Happy Halloween & Happy Crafting!
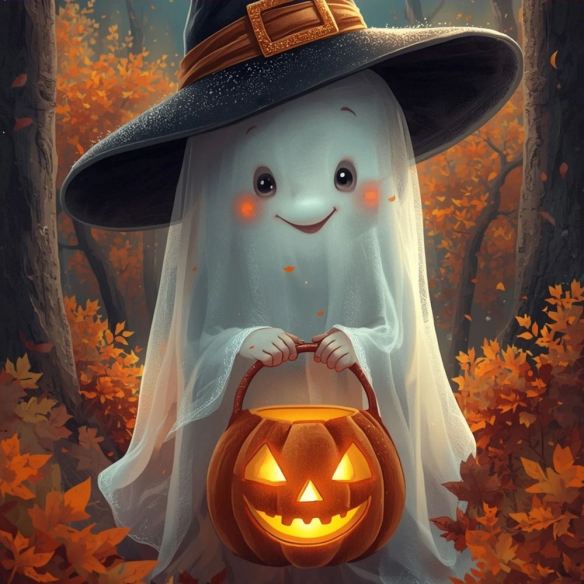
Deciding what you want to be for Halloween is an exciting occasion. It may require makeup, masks, accessories, and/or full costumes. There are also a variety of options for the type of character you want to portray. For example, you could be Casper the Friendly Ghost versus the Ghost of Christmas Future. This two-part series will look at some of the possibilities.
Aliens:
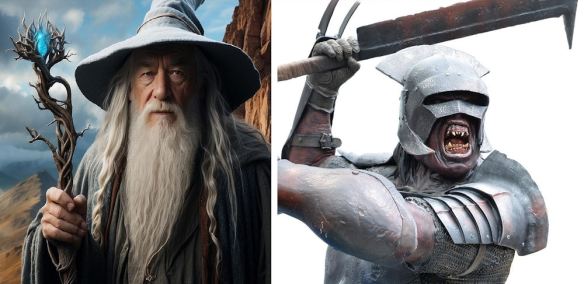
Star Wars Jawas
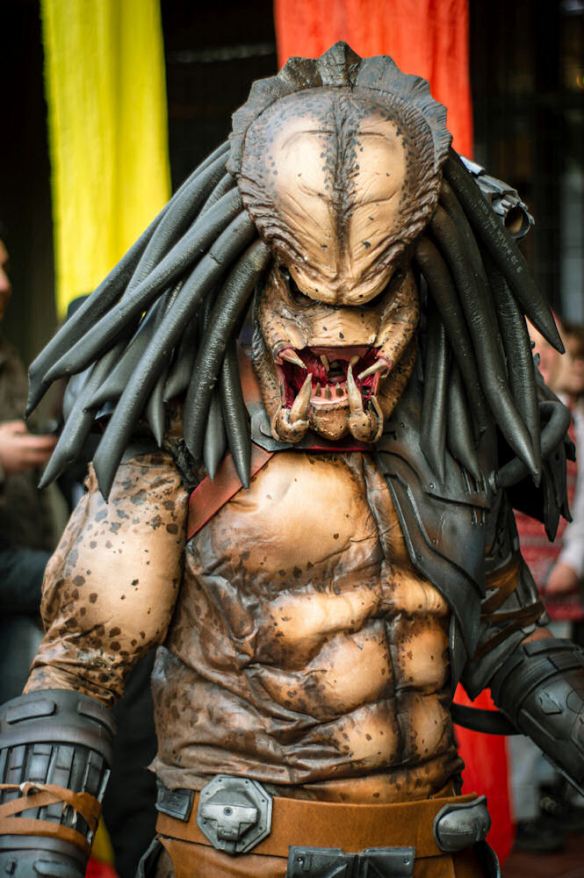
Predator
Wildlife: Monarch Butterfly
Cat Woman
Panda Storyteller
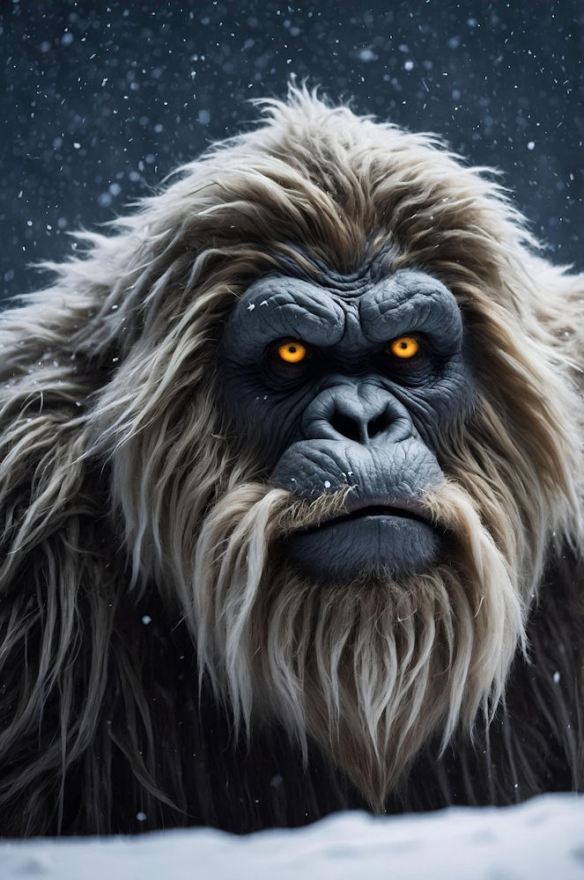
Bigfoot
Character Combinations: Rock & Roll Alien
Anime Witch
Skeleton Warrior
Warrior Princess
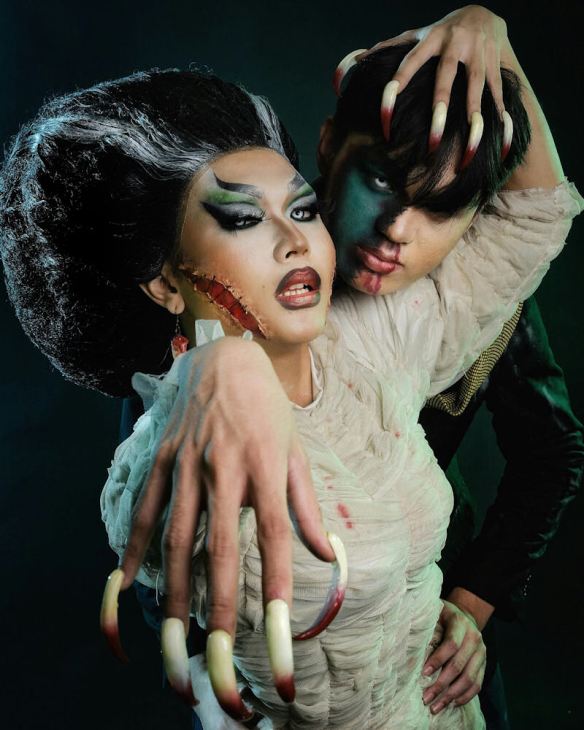
Couple’s Monster Costumes: Frankenstein’s Monster & his Bride
Dracula & the Countess
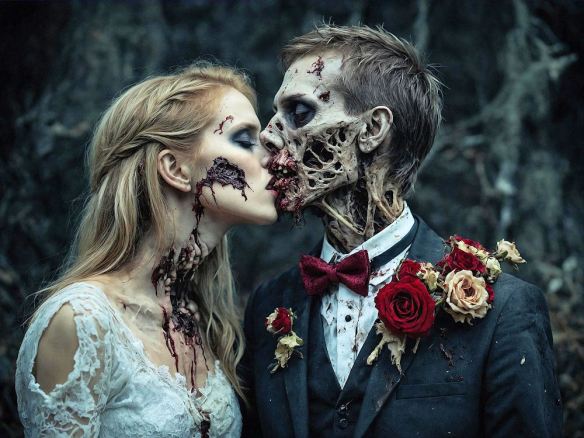
Zombie Bride & Groom
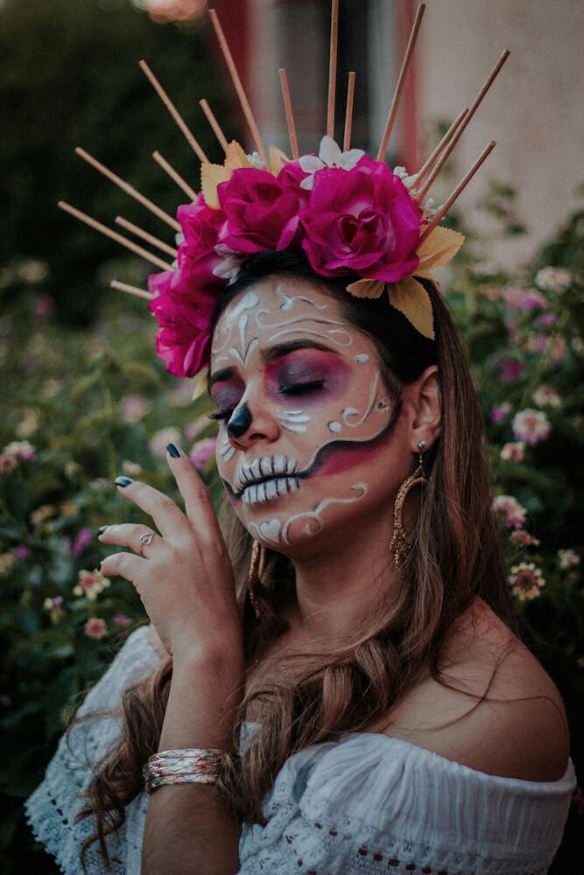
Day of the Dead:
Ancient Egyptian: Egyptian Princess
Egyptian Pharaoh
Fairies: Fairy Queen
Woodland Fairy
Goddesses: Atlantis Goddess
Greek Goddess
Zen Goddess
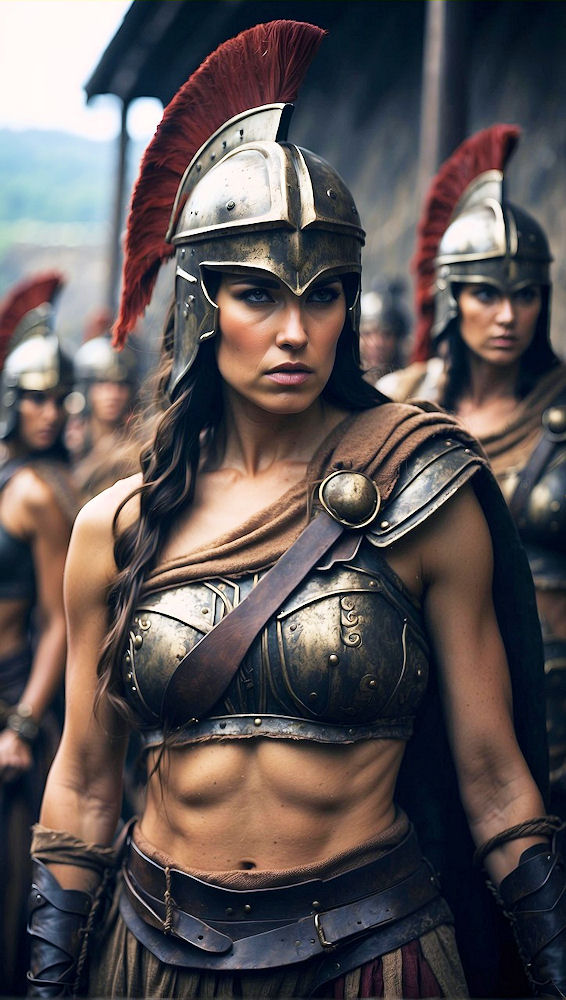
Warriors: Spartan Warrior
Tribal Warrior
Viking Warrior
As you can see, there are lots of opportunities to express your creativity. Personalize your character, and remember attitude is as important as the costume. Please let me know your favorites in the comments and stay tuned next week for part two of this post as we continue our exploration of costumes.
Thanks for Reading! Happy Halloween & Happy Crafting!
Eerie & Otherworldly
No Halloween display would be complete without a skeleton or two. Each one has its own personality.
Unexpectedly Playful
Culturally Festive
Bone-Chilling & Terrifying
Every year manufacturers introduce new items to thrill, amuse or frighten avid Halloween fans. With a few easy steps, you can personalize store-bought skeletons to express whatever style or attitude you desire for your Halloween décor. Here are a few ideas to get you started:
Fierce Makeover:
Deep Sea Fish Skeleton
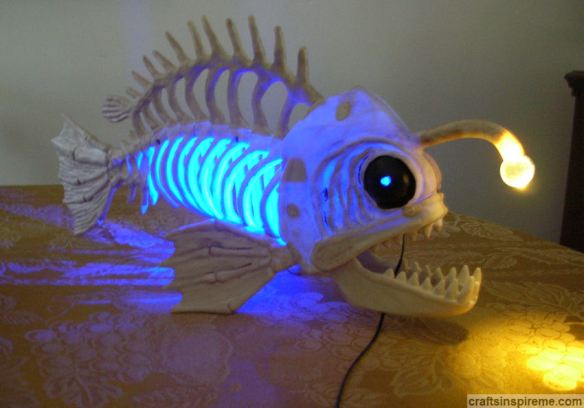
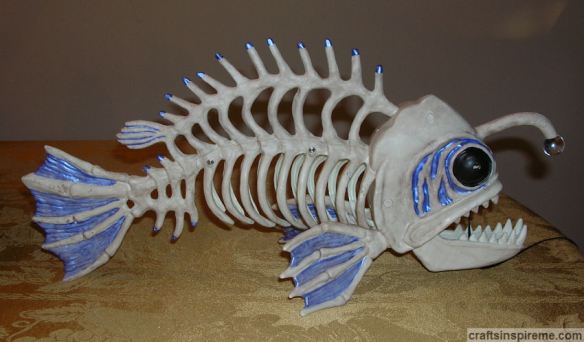
This skeleton is based upon a real life deep-sea fish called an Anglerfish. To attract prey, a bioluminescent fishing lure is cast in front of its head and in no time, those strong jaws snap shut as vicious teeth make short work of consuming the meal. Check out the illuminated photo below.
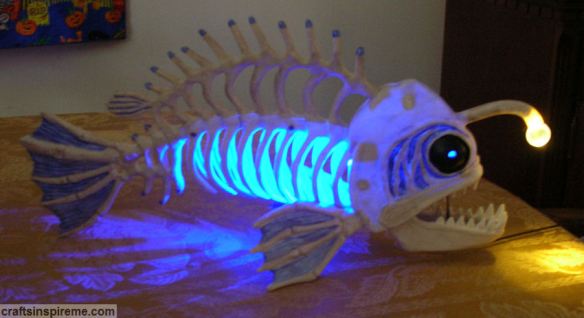
Illuminated Deep Sea Fish Skeleton
As a Halloween decoration, it certainly is more unique than the usual offerings. When lit, the lure is bold yellow and the stomach has an eerie purple glow. While he does have a menacing appearance, I think we can do better! I really like the purple glow but when the lights are turned off, the bones are a neutral color without any contrast. In other words, he needs an upgrade!
Fish Skeleton Paints Supplies:
Deep Sea Fish Skeleton (8” high x 17” long x 5” wide)
Acrylic Paints – linen, metallic periwinkle blue, & black (not shown)
Paintbrushes
Fish Tail – Before
Fish Tail – After
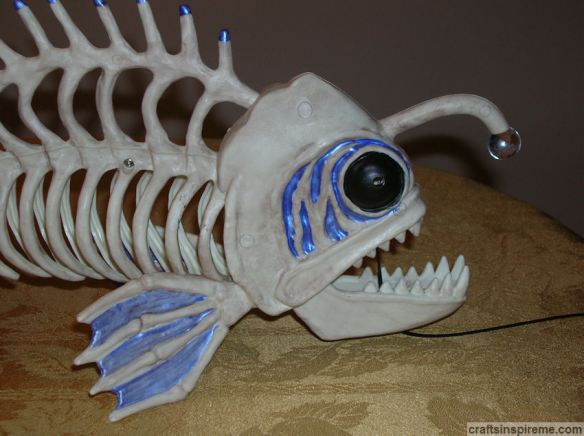
Paint the tail and tips of the spine with metallic periwinkle blue. Notice how the bones stand out against the metallic blue. The reflective quality of metallic paint contrasts well with matte finish bones.
Fish Head & Fins – Before
Fish Head & Fins – After
Paint the eyes black. Paint the webbing of the fins and crevices around the eyes with periwinkle blue. The fleshy, darker contrast makes the eyes look meaner in a zombie-like fashion. Linen paint can be used to touch up unwanted marks on the head.
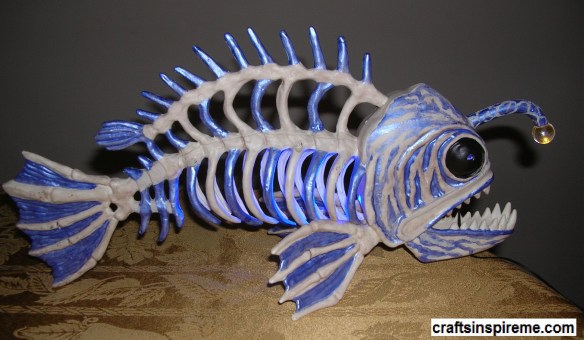
Finished Fish
The individual bones in the tail and fins really show up now, resembling creepy skeletal hands for seizing prey or curious trick-or-treaters. See fish 2025 updated version below.
Illuminated Finished Fish
Portraits – Before & After
The first photo is the original fish and the second is the finished makeover. The purple glow now extends across the entire body. With a ferocious expression and intimidating attitude, this Anglerfish is ready to strike, perfect for a Halloween scare.
Fish Update 2025
Sometimes I like to live with a finished craft for a while to ensure I’m satisfied. I decided this fish needed a meaner look, which required additional painting. I think I accomplished my mission. What do you think?
Fantasy Fashion Makeover:
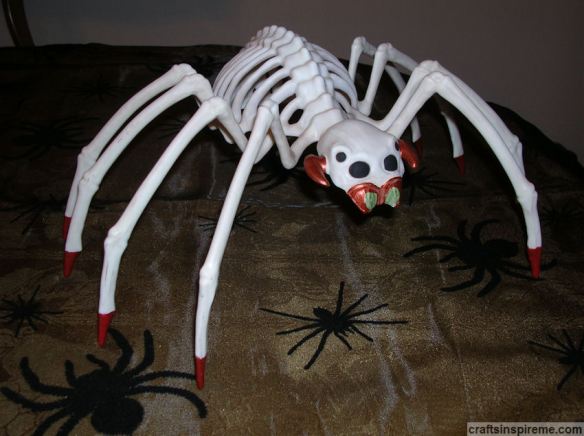
Spider Skeleton
Spiders often have a very creepy aura and you could certainly go in that direction. This lucky lady prefers a haute couture makeover and we know just how to bring it!
Spider Skeleton Paints Supplies:
Spider Skeleton (6” high x 8” long x 13” wide)
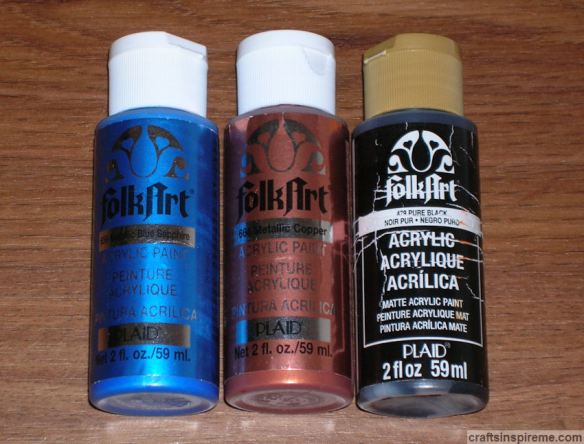
Acrylic Paints – metallic blue sapphire, metallic copper, & pure black
Paintbrushes
Spider Head & Feet
Darken the eyes with black paint, and paint the facial details and feet with metallic copper. Feel free to experiment with the colors.
Spider Joints & Spine
Turquoise and brown are a very fashionable color combination, making metallic blue the perfect complement to the copper. This bejeweled spider is ready to make her debut on the fashion runway! lol!
Finished Spider Pulling Wagon
Why not show off her new look by participating in a Halloween parade with a few friends?
Fairy Tale Makeover:
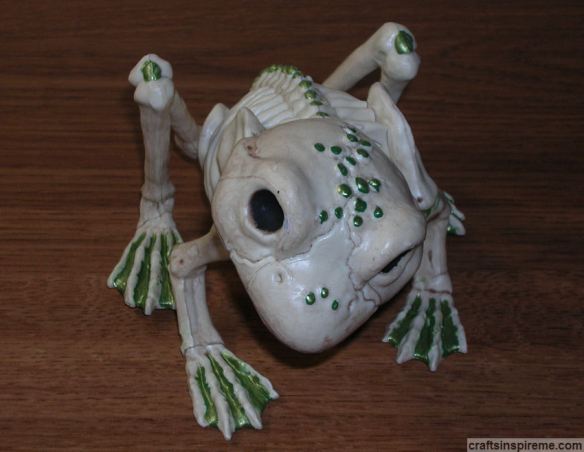
Frog Skeleton – Before
This little guy has a heartwarming smile. I believe we can add a little more charm.
Frog Skeleton Paints Supplies:
Frog Skeleton (3-1/2” high x 5” long x 4-1/2” wide)
Acrylic Paints – metallic peridot green & pure black
Paintbrushes
Frog Skeleton – After
Sporting his new color, he’s bound to win hearts and maybe even garner a few kisses for luck. Who knows – maybe he will turn into a prince?
I hope you enjoy these fanciful skeletons and apply these ideas to your Halloween décor..
Thanks for Reading! Happy Halloween & Happy Crafting!