Baking for the Holidays

Cookie Cutters & Dough
As the weather turns colder, my thoughts turn to baking. The scent of home baked cookies wafting through the air is sure to be followed by the thumping footfalls of my family as they bound down the stairs in search of something sweet from the oven. I have to admit I love it too and have sampled more than a few of my own creations.

In addition to satisfying your family, baked goods make great gifts for guests, neighbors, co-workers, and friends. Below are several ideas for inspiration.

Gingerbread Cookies
Gingerbread Cookies
These charming gingerbread cookies are served on an equally adorable pinwheel candy plate. They’re easy to make, or you can buy plain ones and apply your own colorful candy and icing decorations.

Gingerbread Houses
Gingerbread Houses
Everyone loves home baked goods. How about baked goods that require no baking at all (at least on your part)? Gingerbread kits come in a number of varieties, such as cookies, houses, and villages, and include all the necessary candies, icing, and yes the baked gingerbread too. The whole family will enjoy building and eating their creations.

Traditional Christmas Cookies
Decorated Christmas Cookies
Decked out in green, red and white icing, these cookies celebrate Christmas in the sweetest possible way.  If you have a long list of people to bake for, get the whole family involved with the decorating to speed up the process in this fun activity.

Assorted Butter Cookies
Gourmet Butter Cookies
Butter cookies are finger licking good. If you are pressed for time, many bakeries offer ready-made cookie platters to share with your friends and family or give as gifts.

Fancy Cookie Cut Outs
Fancy Jelly Filled Cookie
This elegant cookie looks professionally made, but it’s actually quite easy to make yourself. All you need are two cookie cutters – one large round with scalloped edges, and the second in the shape of a swan or any design you prefer. Layer two large cookies on top of each other, with strawberry or raspberry filling, to make this sandwich cookie. The bottom cookie is solid, while the top cookie has a swan cut out in the center. Shake powdered sugar on top for a beautiful bakery finish.

Iced Snowman Cookies
Snowmen are seasonal favorites. These individually wrapped cookies would make great party favors for your guests. If you have extra, they’re popular items at the school bake sales. Of course that assumes your family doesn’t finish them off first. (lol)

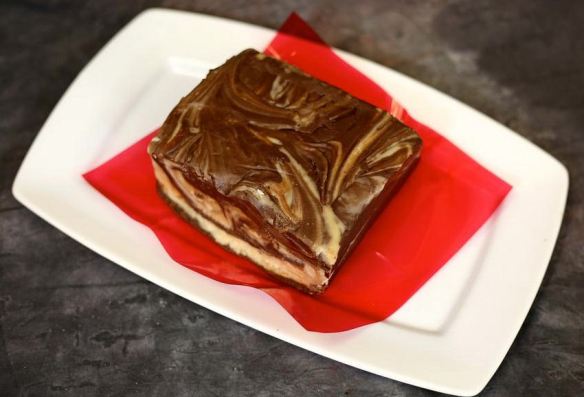
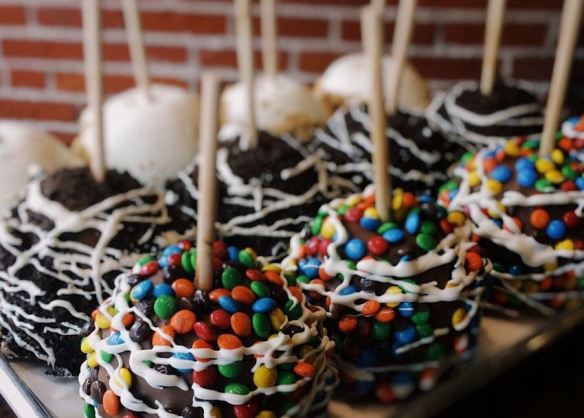
Holiday Cookie & Candy Platter
Homemade cookies & candy go hand in hand. This creative assortment tantalizes the taste buds. Should I have a cookie first or dive into the chocolates? There are plenty of candy mold designs suitable for any occasion, and new flavors in candy melts will please the most adventuresome candy aficionados.

Assorted Homemade Breads
Breads are delicious any time of year. With so many recipes and the ease of baking, anyone can make homemade bread in less than an hour. Crafter Tip: Many types of bread need to be fully cooled, and sometimes refrigerated before slicing. To prevent crumbling, be sure to follow the recipe instructions.

Christmas Petits Fours
Christmas Petit Fours
Petits Fours are the perfect marriage of cake and candy. Fondant icing is actually candy used to cover bite size cubes of yellow, sponge or pound cake. While the fondant is still wet, decorations can be applied using piped icing, or a sprinkling of either candy or nuts. As an added burst of flavor, jelly or butter cream can be spread over the cake prior to applying the fondant.

Snowman Cupcakes
Snowman Cupcakes
These snowman and snowlady cupcakes are almost too cute to eat. The bodies are standard size cupcakes, and the heads are mini cupcakes. Coconut is the perfect substitute for snow. Oreos become top hats for the gentlemen, and piped icing details create all the smiling faces and earmuffs for the ladies.

Hanukkah Donuts
Hanukkah Donuts
It wouldn’t be Hanukkah without deep-fried jelly donuts sprinkled with granulated sugar.

Cranberry Rhubarb Pie
Cranberries play a large part in many holidays. There’s cranberry sauce as a side item with your meal, cranberry garlands and sprigs as decorative touches, and cranberry muffins and pies.

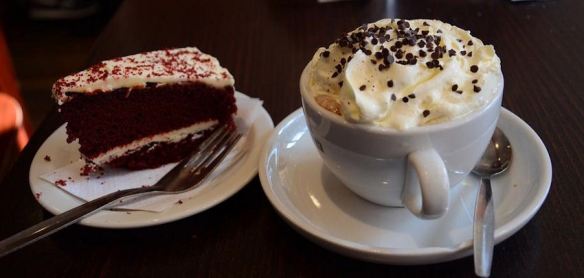
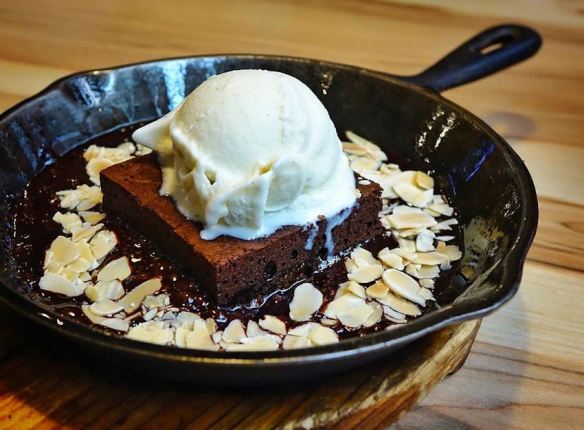
Whether you bake everything from scratch, or supplement your desserts with store-bought items, the holidays are a time of sharing, especially at mealtime. Enjoying the seasonal flavors with loved ones is something we all have in common. Please read “Holiday Food Presentation” for ideas on displaying your culinary creations.

Happy Holidays & Happy Crafting!

Chocolate – How Sweet It Is

I have a confession to make – researching this article made my mouth water, and I realized it should probably contain a warning, so here it is: If you don’t have a craving for chocolate right now, you will by the time you finish reading this post. You might want to have some chocolate on hand before you continue reading. Grab some Hershey’s kisses, or break open a bag of chocolate chips – anything will do – just in case!

Assorted Chocolates
Assorted Chocolates
Chocolate is a worldwide obsession. Everybody has a favorite. The purists prefer their chocolate free of any added ingredients. Some crave nuts, caramel, or coconut with chocolate, but others passionately insist peanut butter and chocolate make the ultimate combo. While the debate continues, candy makers tantalize the chocolate-loving public with their latest creations. It all starts with a seed…

Seeds Growing upon Cacao Trees
Cacao
Turning cacao seeds into the delicious chocolate treats, we have come to adore, is time consuming. For the DIY candy makers, manufacturers have simplified the process by creating small chocolate wafers called candy melts, which are available in milk chocolate, dark chocolate, white chocolate, and assorted flavors, such as peppermint and strawberry.

Milk Chocolate Candy Melts

Melted Milk Chocolate
Chocolate is melted in a double boiler. When it reaches a smooth, creamy consistency, it can be poured into molds similar to the one shown below.

Milk Chocolate Hearts
After refrigeration, the chocolates are unmolded and ready to eat. The solid milk chocolate hearts in the above photo are the easiest, beginner-level of chocolate candy making.

Assorted Gourmet Chocolates
With practice and a little creativity, you can graduate to the next level.

Chocolate Truffles
Chocolate Truffles
Do you have a gourmet sweet tooth? Chocolatiers, such as Lindt, and Godiva, are excellent choices, but can be expensive. Making these decadent truffles takes a little more effort, but it’s still an easy process. Instead of filling the mold all at once, it is done in layers. The first layer forms the outer chocolate shell. Coat the mold with chocolate. Next the filling is added. Popular favorites are hazelnuts, butter cream, peanut butter, caramels, chocolate liqueurs and cream fillings. A piping bag can be used to make filling easier. Refrigerate the mold to allow the filling and chocolate to solidify. The last step is adding another layer of chocolate to fill any remaining voids and seal the top of the mold. Refrigerate and carefully un-mold. Your candy making skills will be the envy of all your friends and family.

If gourmet chocolate isn’t your style, there are simpler options…

Chocolate & Vanilla Fudge

Assorted Chocolate Barks

Crispy Chocolate Caramel Bar
Have you ever eaten a 100Grand candy bar? It’s a delicious combination of crispy chocolate with a gooey caramel center. Making your own is simple: Melt milk chocolate wafers and stir in Rice Krispies. Spread half the mixture in an 8×8 pan. Pour caramel sauce over the top, and then cover with the remaining chocolate mixture. Refrigerate to harden the chocolate and cut into bars. Don’t be surprised if the pan magically empties.

Chocolate Covered Cookie

Chocolate Covered Marshmallows
Chocolate Marshmallow

Chocolate Covered Cake Pops
Undecided whether to have chocolate or cake? Have both with chocolate cake pops.

Chocolate Covered Apples
If soft, gooey, caramel and decadent chocolate were people, they would be best friends. For gourmet apples, dip fruit in caramel first, followed by chocolate, and roll in sprinkles, crushed nuts, or anything else your taste buds desire.

Chocolate Caramel Popcorn
What more do you need on movie night?

Hot Chocolate & Red Velvet Cake
Perhaps beverages are more to your liking? There’s no need to wait for cold weather. Crank up the air conditioner, we’re having hot chocolate!

Chocolate Fudge Pie
Chocolate Fudge Pie

Chocolate Mousse
Chocolate Mousse
Who could resist the rich, creamy taste of chocolate mousse?

Brownie a la Mode
Brownie a la Mode

Solid Chocolate Cell Phone
No phone plan is needed here. Hold all my calls! This is going to take a while.

Happy Crafting!!

Designing with Mosaic Tile

Multicolor Tile Wall
They say “Good things come in small packages,” and mosaic tiles are perfect examples. So many options and so little time – Deciding where to begin is the biggest challenge. Mosaics are so versatile for use in every day items, such as tabletops, picture frames, flooring, and artwork. The process is fairly straightforward, and no specialized skills are required. Below are a few ideas for inspiration:

Choose Your Design:

Geometric Mosaic
Geometric Mosaic

Abstract Mosaic Floor
Multi Color Floor

Choose Your Mosaic Material & Colors:

Ceramic Mosaic Salamander
Mosaic Lizard

River Rock Mosaic
River Rock
Many types of mosaic tiles are available in pre-cut sheets to make installation a breeze.

Glass Mosaic Tray
Glass Mosaic Tray
Crafter Tips: To cut costs, some manufacturers make clear glass tiles with solid color or patterned foil backings. The savings are passed onto the consumer – the beauty of vibrantly colored glass without the expense. When using transparent glass tiles, be sure to use white mortar to avoid an unwanted color change.  Coordinate grout color with design.

Apply Mortar Over Strong Substrate:
Wood or any clean smooth surface will do. Using your design as a guide, press the mosaic tiles firmly into the mortar and allow drying time. If required, apply a sealant per manufacturer’s instructions. Crafter Tip: You might want to wear disposable gloves while working with mortar. A friend had gray hands and fingernails for weeks after completing a project. The mortar itself washed off, but the pigments had real staying power.

Blue Glass Mosaic Table
Glass Mosaic Table

Tropical Glass Mosaic Table
Glass Mosaic Table

Apply Grout:

Glass & Beaded Mosaic
Glass Mosaic Geometric
Crafter Tip: The color of your grout will affect the color of the mosaics. Consider your color scheme carefully before choosing the grout.

Challenge Yourself:

Complex Geometric
Geometric Fans

Floral Mosaic Mural
Mosaic Roses

Mosaic Water Fountain
Water Fountain

Mosaic Sun
Sun

Cinderella & Her Fairy Godmother
Cinderellas Castle

Mosaic Horse
Horse Mirror Tiles
World-renowned glass artist, Dale Chihuly, designed this beautiful mirror tiled statue. Thousands of mosaic tiles follow the muscular contours of the horse’s body, complicating an already challenging project, with stunning results.

Happy Crafting!

Crafter of the Month – May 2018

This post is the third in a series featuring crafts made by members of our community.

Crafter of the Month
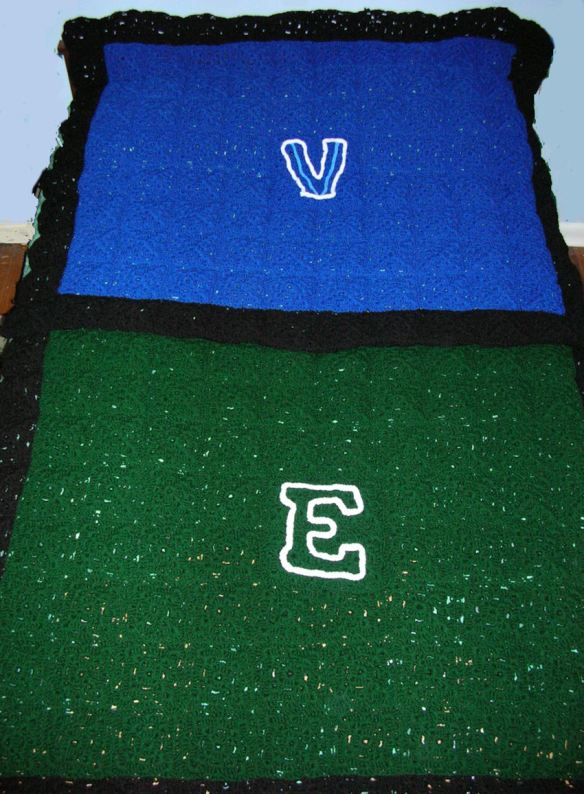
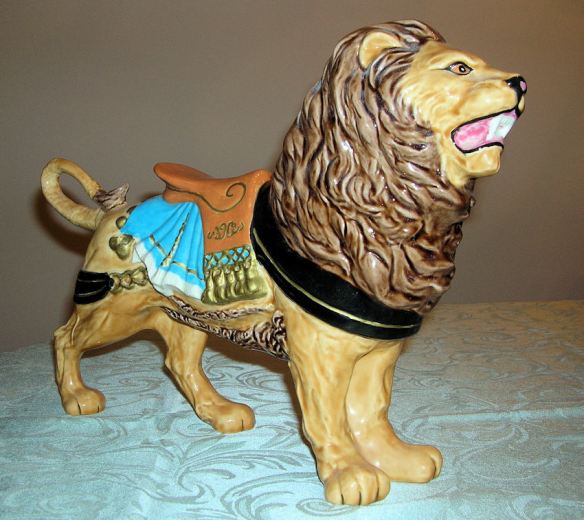
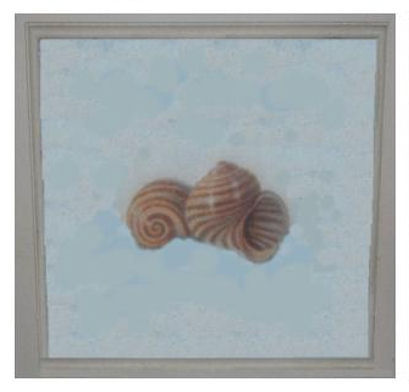
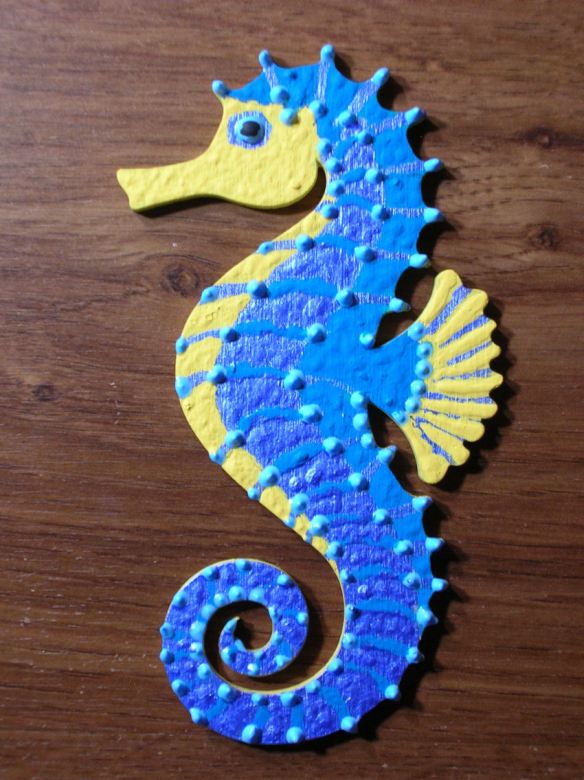
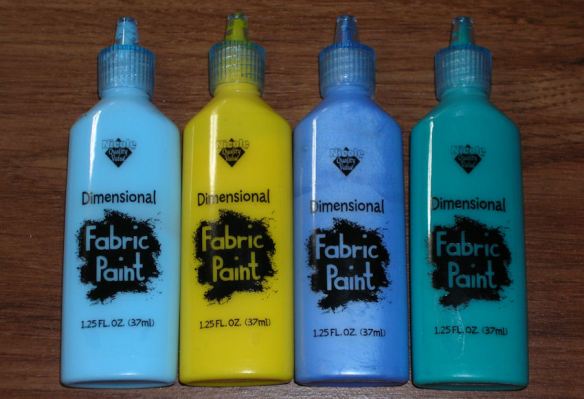
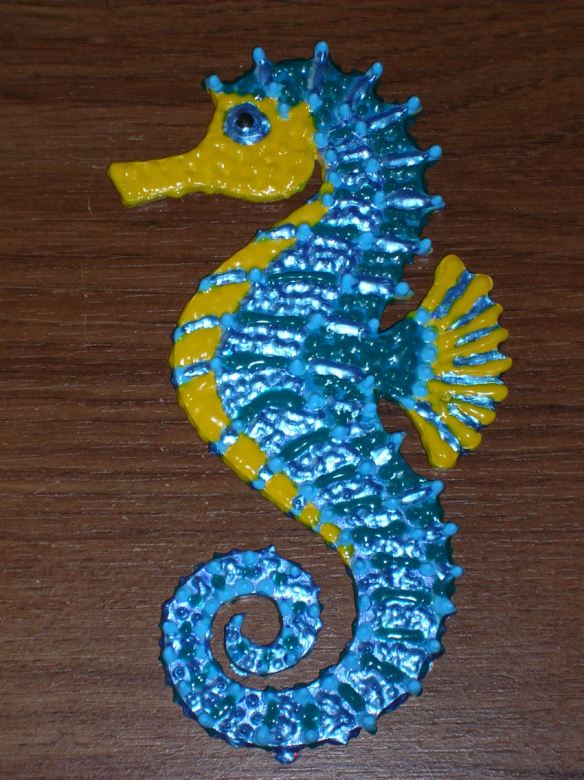
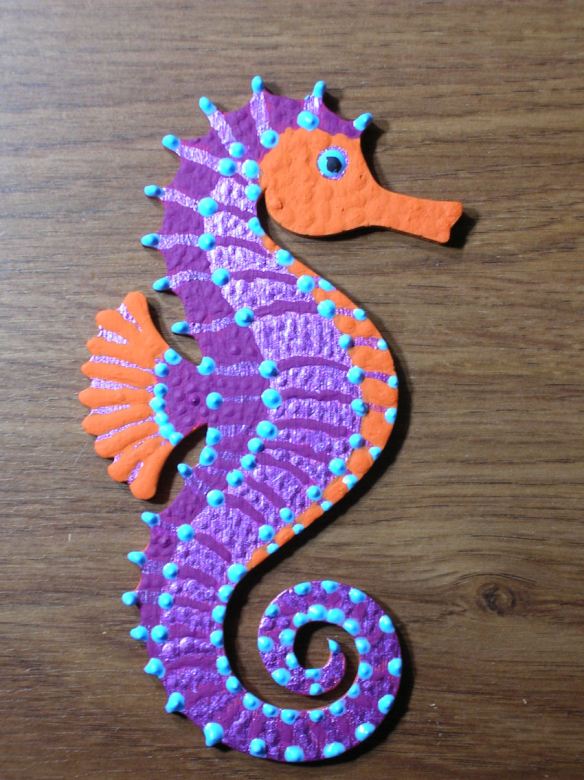
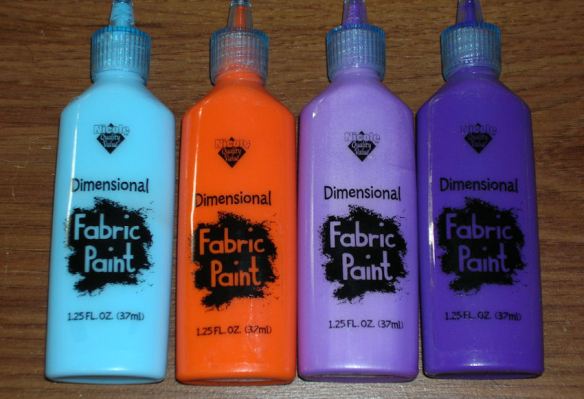
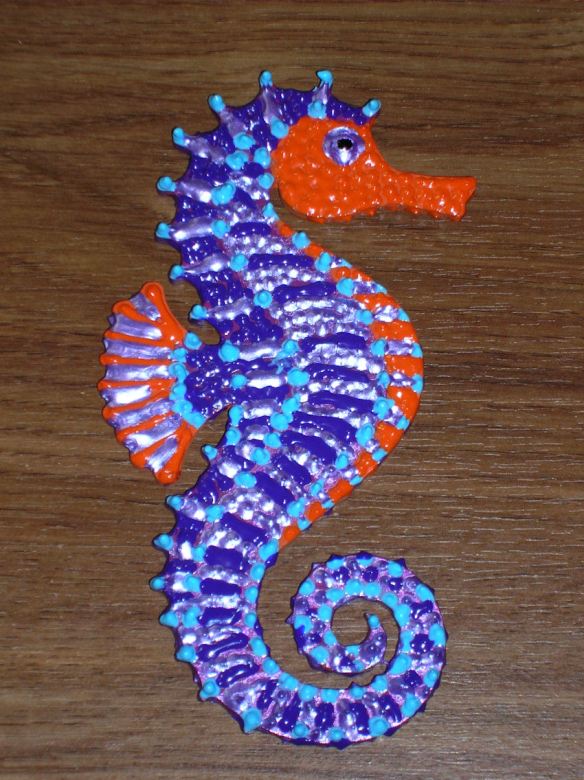
Our May Crafter of the Month is Lisa, from Kaanapali, HI. Her passion for creativity started with a package of eight oversized crayons for kids and several coloring books. This led to a lifelong love of all arts and crafts. There’s always a project in progress and others waiting in the wings. Inspiration can strike at any hour, day or night. When it does, Lisa dives right in, eager to see where the journey will take her. Below is a small sampling of her work.

Cold Beverage Coasters:
Cold Beverage Coasters
There was a time when beer was simply sold in cans or bottles, without much fanfare. With so much competition, wine and spirits companies are vying for consumer attention with funny commercials and elaborate packaging. Who could forget the scary old tree from Angry Orchard Hard Cider or how about the headless horseman riding a hippo from River Horse Pumpkin Ale, pictured above? With a few easy steps you can turn this eye-catching artwork into cold beverage coasters. Cut out the designs to fit standard 4” x 4” or 6” x 6” cork squares, available from any craft store. Waterproof the cardboard by sealing both sides with clear, self-adhesive laminating sheets. Finish the edges with black craft tape, and glue onto cork squares.

Crafter Tip: Avoid air pockets in laminate by applying firm, even pressure using a credit card or flat plastic ruler.

Painted Wall Mural:
Tropical Mural
Hovering for a second, an iridescent hummingbird pollinates tropical flowers in this vibrant wall mural. This is only a small portion of a large mural encompassing several walls in this tropical themed bedroom. Although the majority was painted over a period of months, new additions are periodically added – lizards, tree frogs and butterflies are hidden among the foliage, creating a life-size Seek & Find puzzle for everyone to enjoy.

Crafter Tips: During the layout phase for a wall mural, use a colored pencil a shade lighter or darker than the background color, making the lines unnoticeable later. To prevent damage from the sun, ensure the painted designs are protected from direct sunlight.

Crocheting:
Crocheted Afghan
Philadelphia sports fans will appreciate this afghan representing the NFL Eagles and the NCAA Villanova University. Although it was completed last year, ironically both teams won their respective championships in 2018. This oversized blanket is big enough to share while watching the games, keeping you warm and showing your team spirit. When folded, one team shows on top, which can be easily alternated by flipping it over to celebrate the team of your choice.

Crafter Tip: Take the official sports logos with you to buy the yarn so that you can match the team colors.

Beaded Jewelry:
Grapevine Necklace
What could be more luxurious than a thick strand of beads adorning your neck? Hours of love (four to be exact) went into the making of this grapevine spiral necklace, which was created using a needle and specialty thread one bead at a time. Iridescent blue & purple glass beads are woven with blue triangular beads and aqua seed beads.

Crafter Tip: Have a lot of patience for this time-consuming project & good lighting to work with tiny beads. The spectacular results are worth all the effort.

Watercolor Painting:
Watercolor Disney's Castle
Cinderella’s Castle in Walt Disney World, Orlando, Florida is probably one of the most recognized buildings in the world. The soft muted colors in this watercolor painting capture the fairy tale atmosphere. As in the animated films, you almost expect to see the princess herself stroll onto the bridge to look out over the water.

Crafter Tip: When working with watercolor paints, layer the colors – once the paint has dried, you can always go darker, however the opposite is NOT true. If a wet area looks too dark, lighten it with a damp brush to soften the color, or dab with a paper towel and allow it to dry before re-attempting.

Ceramics:
Ceramic Lion
Just about everyone has a favorite animal of choice on a carousel. Some prefer the fancy horses, while others take a walk on the wild side with exotic tigers, giraffes and the occasional polar bear. This ceramic carousel lion roars to life with bright, festive colors associated with carnivals, fairs and amusement parks. The realistic, sculpted details of the face, fur and saddle are enhanced by the color scheme, calling to mind childhood memories of summertime fun.

Crafter Tip: When cleaning the raw clay, be very careful with fine details and fragile areas. The tail on this figure broke off and had to be carefully re-attached and patched with clay. It’s not as smooth as the original, but blends well, and has restored strength due to the kiln firing process.

Happy Crafting!

Semi Homemade – Have It Your Way

Crafting Supplies

The older we get, time seems to go by more quickly with every passing year. There are always things to do, places to go and people to see. Finding time to decorate your home can be a struggle, but there are shortcuts you can take to express your personal style.

The creative process begins with a trip to your favorite craft or home furnishing stores. Look for items that will complement your existing décor, or anything that draws your attention in a good way. Think about ways you could put your own stamp on this item.

What does it need to match your style? Could you change the color? How about adding some beads or fringe? A glue gun or sewing machine can work wonders. With a few simple alterations, you can turn a store-bought item into a semi-homemade craft project to be enjoyed and admired for years to come.

Seashell Wall Art

These nondescript plaques were purchased at Marshalls. The plain gray frames had the image of one or two seashells printed in the center on a blue and white background, but lacked personality. Collected during several vacations, seashells and starfish were glued around the perimeter of each plaque. Memories of fun family days at the beach are celebrated in this fun and easy way. Crafting Tips: Glue guns can create long stringy bands. Apply glue to back of a shell, and then wipe the tip to break any strands of glue that may have formed.

Seashell Wall Art – Original:

Before Seashell Plaque

Seashell Wall Art – Updated:

Shell Plaque

Seashell Wall Art – Updated:

Shell Plaque

Green Man & Green Lady Wall Art

These Design Toscano wall plaques bring nature indoors with their layered warm green leaves. The expressive faces are unexpected and playful, but the colors are a bit flat. Using a metallic paint pen, gold highlights were applied to each plaque. The gold accents, on the leaves, faces and birds, catch the light and perfectly complement the faux wall finish. The whites of the eyes and the lady’s lips were brightened with fresh color. Crafting Tips: Paint pens can be finicky. With the cap tightly in place, shake the pen well before use. When priming the pen, press the pen tip down slowly upon scrap paper. Do not prime the pen directly upon your project because a large amount of paint can unexpectedly overflow. If you get paint on your hands, there’s no need to use harsh chemicals to remove it. Simply use a little coconut oil. Rub it on you skin and wipe off with paper towels.

Green Man – Original Plaque:

Green Man- Before

Green Man – Highlighted Plaque:

Green Man After

Green Lady – Original Plaque:

Green Lady - Before

Green Lady – Highlighted Plaque:

Green Lady - After

Foxy Santa Figure

Purchased at A.C. Moore, this holiday fox came dressed in a red & tan coat and scarf with black boots. Two obvious things were missing: a hat and a bushy tail. The hat was crocheted using matching tan and red yarns. Faux fur from Joann Fabric Store was hand sewn, and stuffed with polyester filling to create a long luxurious tail, for which foxes are known. The tail was safety pinned in place to ensure a strong attachment. The fur concealed the pins. Now there is no doubt this cute little fox is ready to guide a sleigh or make you smile in appreciation for your Christmas décor. Crafting Tip: While working with faux fur, be sure to tuck in all the raw edges, because they will shed profusely.

Plush Fox Figure – Original:

Fox Before

Plush Fox Figure – Stylish & Festive:

Fox After

By taking a few easy steps, you can transform a store bought item from Ho Hum to Wow with very little effort.

Happy Crafting!

A Crafter’s Dilemma

How do you know when your project is finished?

A few weeks ago, I posted an article about painting woodcrafts. One of the featured items was a pair of seahorses painted in two different color schemes. Those of you who are passionate crafters will relate to the notion of having a vision of your finished work. It’s something that you feel, and inspires you to bring that vision to reality. Sometimes, after completing a project, you realize that something just doesn’t seem right. Could it be better, and if so, how?

That’s exactly what happened to me and is the reason for this new post. I walked past those seahorses for a few weeks. Finally, I had to act. My family thought I was crazy, but I had to follow my intuition.

Original Turquoise Seahorse

Original Wood Turquoise Seahorse

Above & below you will see photos of the Seahorses Before and After the changes. The original version has a flatter body with a matte finish. There’s some texture, especially in the spikes along the ridges on the seahorse’s back and tail. A subtle scale-like pattern extends across the body, but the outer edges remain smooth. Compared to the raw wood, the paint adds detail and some volume, but overall the body lacks depth and definition.

Turquoise Seahorse 3D Paints

Turquoise 3D Paints

Revised Turquoise Seahorse

Revised Wood Turquoise Seahorse

For the new (and I hope improved) versions, dimensional fabric paints were applied in a combination of dots and long strokes, creating thick layers of paint to form a 3-D effect. For each seahorse, three of the paints have shiny finishes, and the fourth has an iridescent metallic finish. The light blue spikes were applied last to ensure they are the highest points on the body.

The revised versions have much more texture and vibrant colors. The body is defined with fuller, rounded musculature. The nubby texture of the skin, which continues over the edges, is closer to the natural contours found on a live seahorse and begs to be touched. The shiny finish provides a wet look, which is perfect for this denizen of the ocean.

Original Purple Seahorse

Purple Seahorse 3D Paints

Purple 3D Paints

Revised Purple Seahorse

Update: These two seahorses became focal points in an ocean themed wreath.  For photos and instructions, please click here.

Getting back to my original question: How do you know when your project is complete? Maybe it’s when the last stitch is knotted, or the final stroke of the brush is made. Or perhaps, the answer depends upon the individual. Follow your heart. Be true to your intuition and inspiration. Nothing less will satisfy the dream. Just like us, our projects are works in progress. What will you be inspired to do today?

Happy Crafting!