Many people think the symbolic cross originated in Christianity, but the cross has been used for centuries by many ancient cultures, including the Egyptians and Babylonians.
Ancient Egyptian Ankh

In ancient Egypt, the ankh represented “Life.”
Compass on Ancient Maps

Crosses have been found in prehistoric cave paintings, most likely indicating astronomical events as well as the cardinal directions, much like the compass shown on the map above.
Crosses can be found in very diverse places, such as cemeteries, churches, clothing, and even jewelry. Before designing a cross, let’s take a look at a few more examples:
Greek Cross

The ancient Greek cross had equal length arms and resembled the letter “X,” while the more modern version has the typical upright design and the addition of three lobes at each end.
Celtic Cross
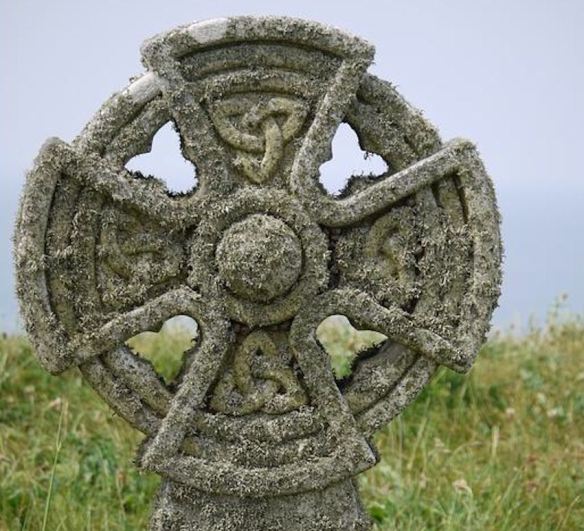
The cross tombstone in the photo above illustrates the intricately woven knots, which are an integral part of every Celtic design.
Ornate Sterling Silver & Turquoise Cross

Silver or gold, jewel encrusted crosses reflect light and dazzle the eye with ornate patterns and precious gemstones of all kinds.
Contemporary Stained Glass Cross

Brilliant stained glass in a kaleidoscope pattern twinkles in the sunlight in this very contemporary window.
Maltese Cross

The Maltese cross has four V-shaped arms. It has a more subtle cross design, which in this case could be easily mistaken for a flower.
How to Design Painted Wood Crosses:
Instructions for 3) designs are presented below: Celtic, Jeweled Gold, and Jeweled Silver.
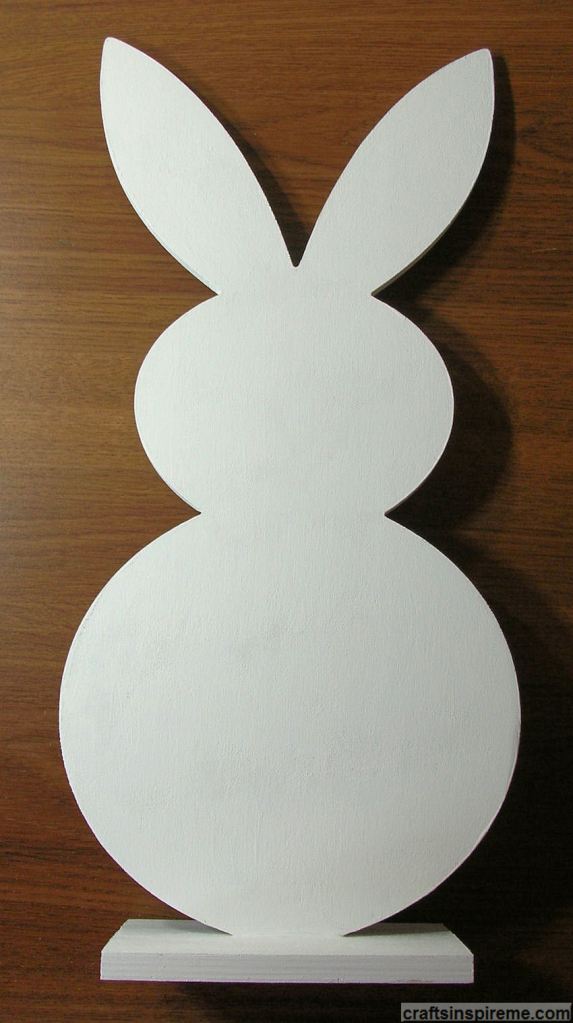
Raw Wood Cross

Each raw wood cross is sanded lightly, as needed. The supplies needed vary according to the design chosen. If you happen to have colored pencils or markers on hand, you might want to trace the cross onto sheets of paper and color a few samples to help narrow down your design choices.
Supplies
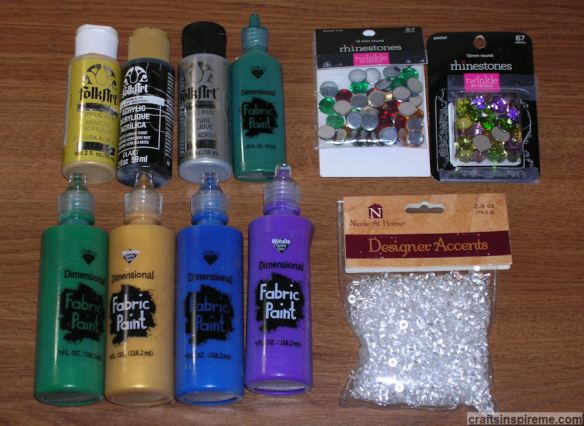
Supplies:
Wooden Cross (8-1/4” high x 5-3/4” wide x 1/4” thick)
Acrylic Paints – black, metallic gold, metallic silver
5) Bottles Fabric Paint – dark green, medium green, blue, purple, & metallic gold
1) Package – 12mm round Jewel Tone Rhinestones
1) Package – 12mm round Pastel Rhinestones
1) Package – Clear Diamond-shaped Rhinestones
Paintbrushes
Sandpaper
Cross Painted Black

Each cross design in this project starts the same way, by applying 2 coats of acrylic black paint as a basecoat.
The Celtic Cross:

Paint the perimeter details using medium green fabric paint for a 3-dimensional effect. Single lines and infinity symbols make up this pattern.

Using the same fabric paint, paint the inner details including woven chains, and a large Celtic knot design in the center. Create pairs of large round “beads” of paint at each end (top, bottom, left and right).

For a more 3-dimensional effect, carefully apply a second coat of fabric paint. After it has dried, add the gold details using metallic gold fabric paint. This completes the Celtic Cross design.
Gold Jeweled Cross:

Your first decision is how much gold versus black you want to have in the design. Using metallic gold acrylic paint and a brush, I created a starburst at the center, which radiates outward to the ends. A studded detail was created using metallic gold fabric paint.

Experiment with different colors and placement of the rhinestones. Do not glue them down until a later step. After seeing this, I decided to increase the gold areas for a more opulent appearance and because the blue “sapphires” look better against the gold.

Here you can see how the gold has been enhanced, leaving only a few key areas black. All the inside and outside edges have also been painted gold.

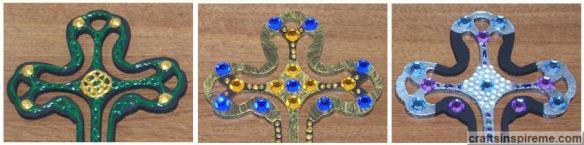
In this version, three colors of rhinestones, blue, green, and yellow, have been used.
Here the rhinestone colors were limited to blue and green.
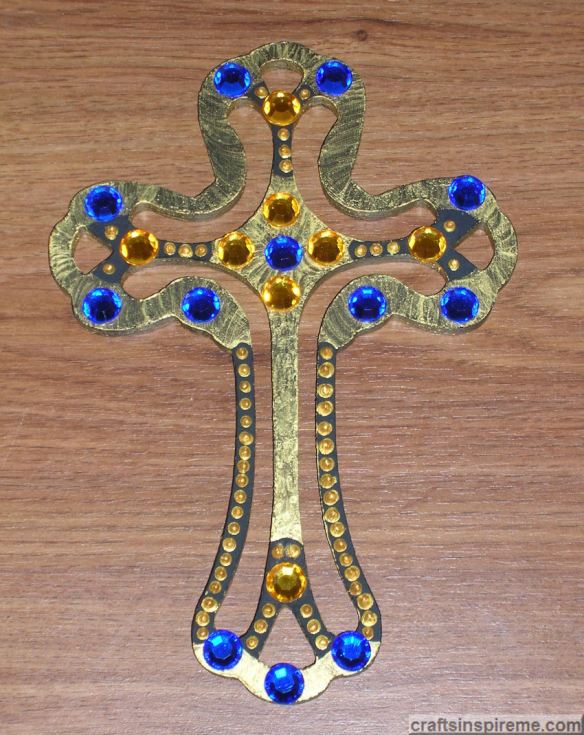
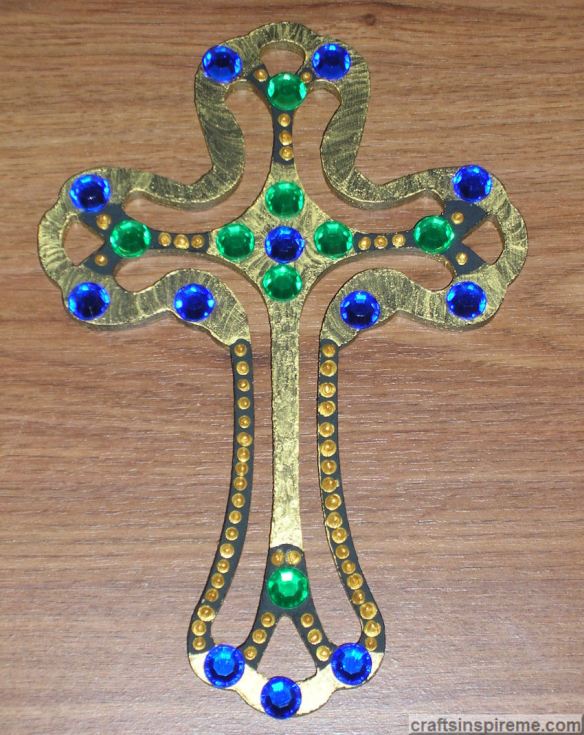
This is the finished version with blue and yellow rhinestones. The deep yellow coordinates well with the rich metallic gold. Use Elmer’s glue to affix the gems. This completes the Gold Jeweled Cross Design.
Silver Jeweled Cross:
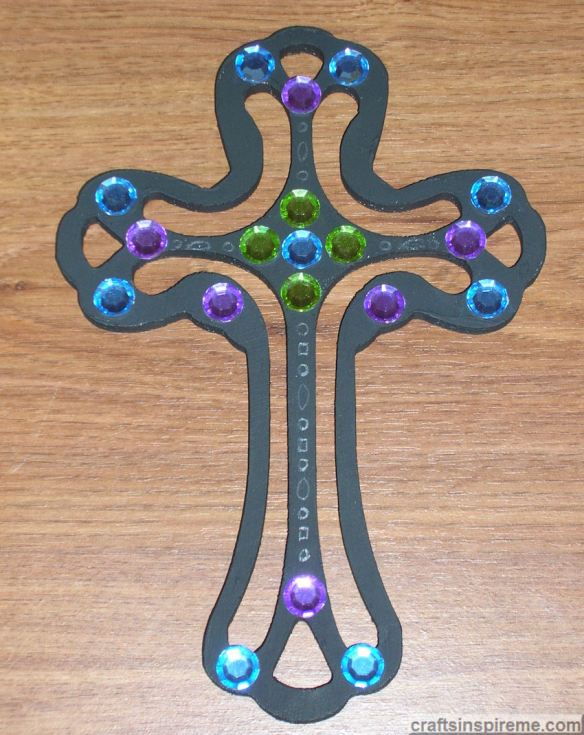
I had pastels in mind for this cross. I started out by testing different combinations of pastel colored rhinestones. I liked the light blue and purple with the green center.
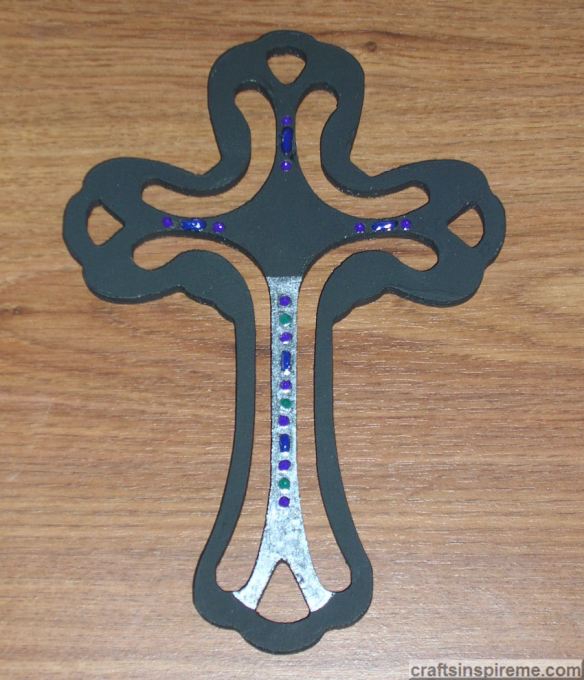
Metallic silver and black make a powerful combination with maximum contrast and reflectance. The rhinestone colors were carried into an alternating painted “gem” pattern created using dark green, blue and purple fabric paint in gemstone shapes.

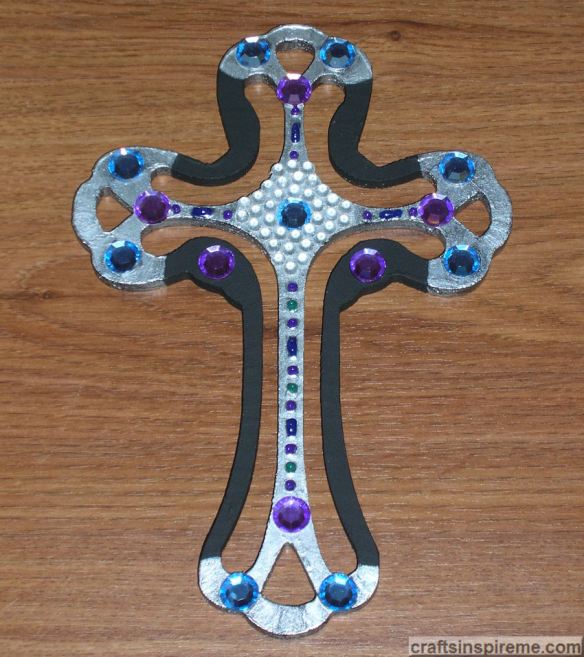
The remaining inner portions, including the edges, are painted with acrylic metallic silver paint. Layout the rhinestones, but do not glue them down until a later step. Clear “diamond” rhinestones are glued in the center along with one round blue stone.

It felt like a little more silver was needed. I painted stripes at each end of the cross and then added more stripes along the outer edges.

Feeling good about the design, more stripes were added throughout the design. I have never been a big fan of stripes, so I’m not sure why I did this. The nice thing about paint is that you can easily change your mind and simply repaint.
It took 2 coats of black to cover the stripes. Metallic silver was painted at the ends, and only those edges were painted silver, while the remainder was black. This completes the Silver Jeweled Cross design.
Finished Cross Designs:

Each of these crosses has its own unique style, but they barely touch the surface of design possibilities. Take a trip to the craft store to see what kinds of decorations appeal to you as well as the different styles of wood crosses available. In fact, you might have so much fun making the first one that you’ll have to go back to buy more.
Happy Easter & Happy Crafting!