
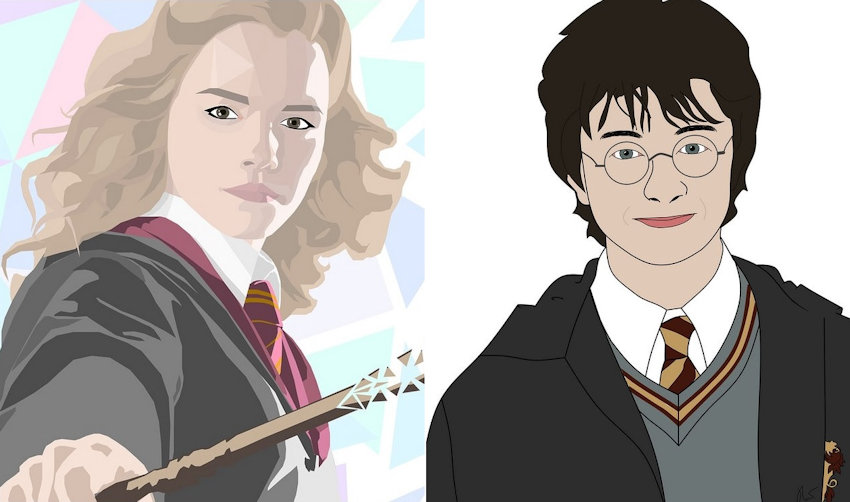
Hermione and Harry never go anywhere without their magic wands.
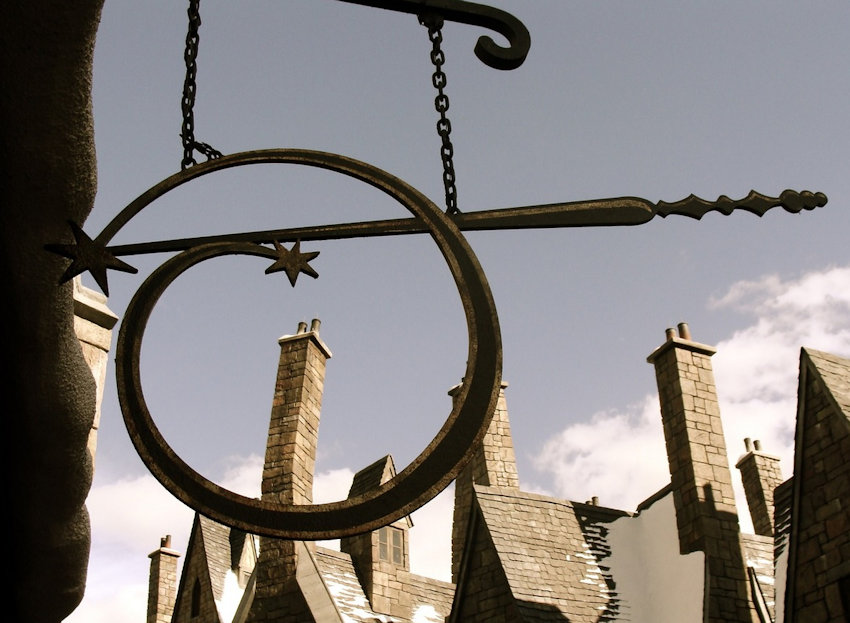
Logo/Sign at Ollivander’s Wand Store, Universal Studios
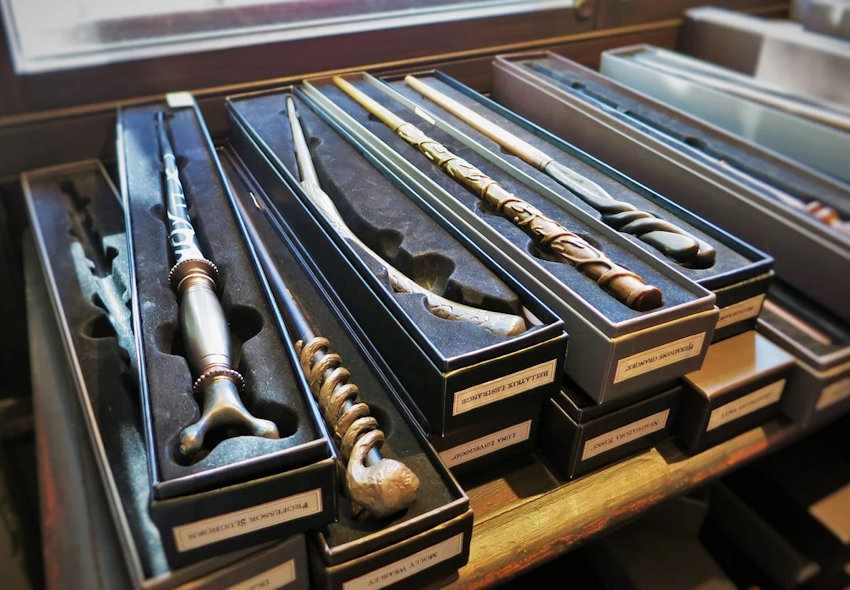
Every Hogwarts’ wizard goes to Ollivander’s to choose his or her magic wand.
Magic Wands at Ollivander’s Wand Store
While doing research, I was surprised to see that many of the wands in the Harry Potter series were rather lackluster. I expected wizards to have exquisite, highly personalized wands to express their personalities as well as their power.
Wooden Chopsticks
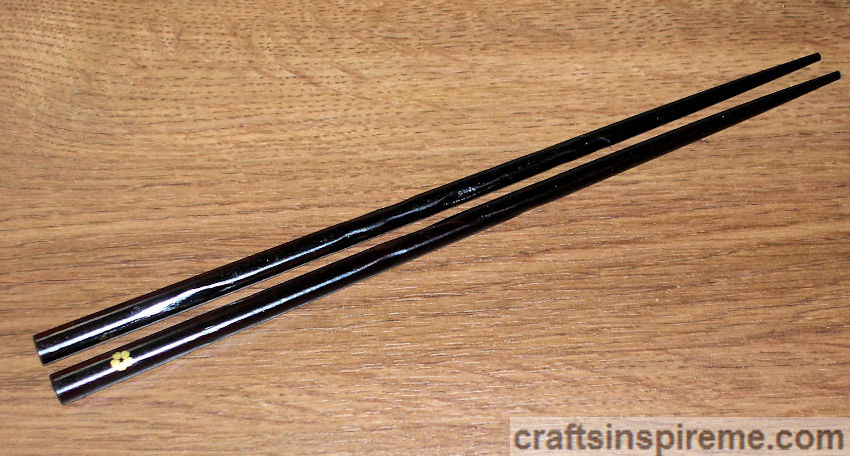
For this project, we will transform wooden chopsticks into magic wands for Hermione Grainger and Harry Potter. Use these techniques to create a wand for any character and add whatever embellishments feel right to you.
How to Make Hermione’s Magic Wand:
Inspiration

Hermione’s wand has a fairly simple design, consisting of English ivy wrapped around a monotone magic wand.
Supplies

Supplies:
Wooden Chopstick (9” long x 3/8” thick)
Acrylic Paint: yellow ochre
Bottle fabric paint: glow-in-the-dark white
Paintbrushes
Clear Spray Paint: Matte Finish
Optional 1) Faceted rhinestone & Acrylic Paint: metallic peridot. See “Advanced Painting” below.
Painting Chopstick
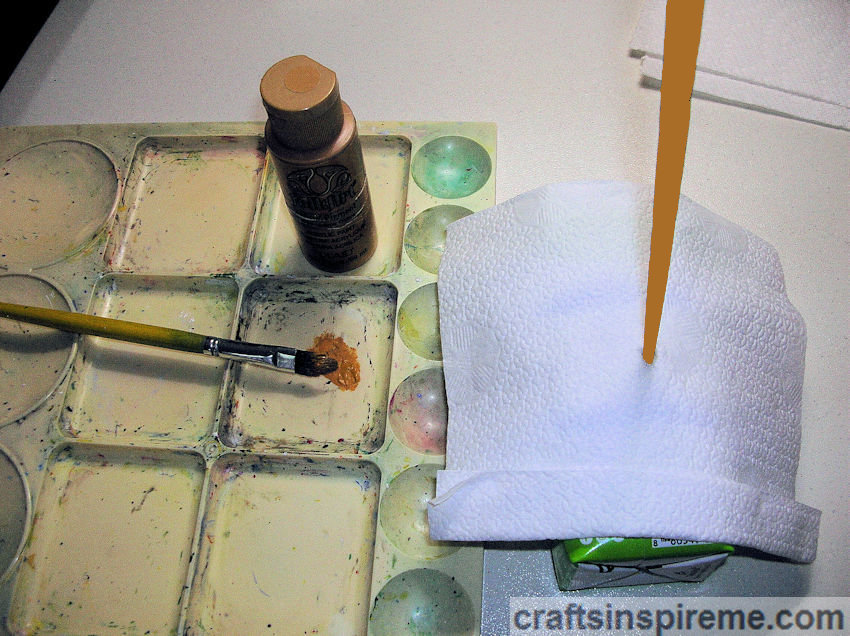
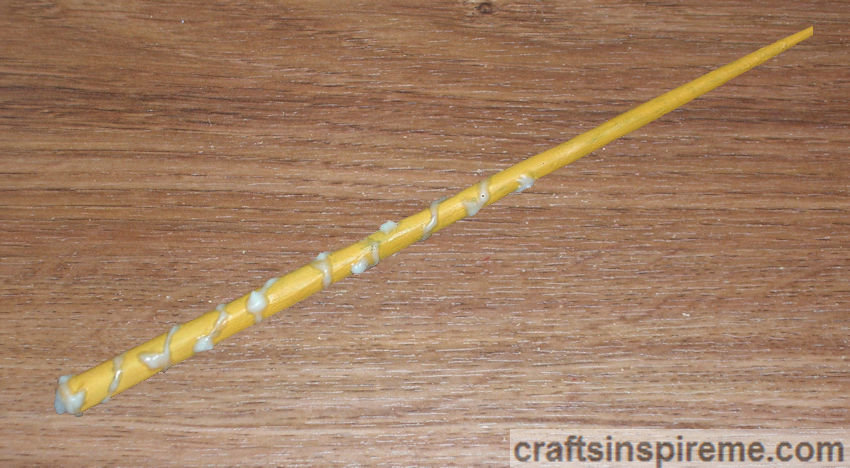
Step 1 – If the chopsticks are lacquer-coated, you may need to prime the surface first, and then apply two coats of acrylic paint. Puncture a hole in a box to hold the wand upright for drying, but don’t forget to paint the tip later. To prevent fingerprints and scratches, handle with a tissue.
Painting Vines & Leaves
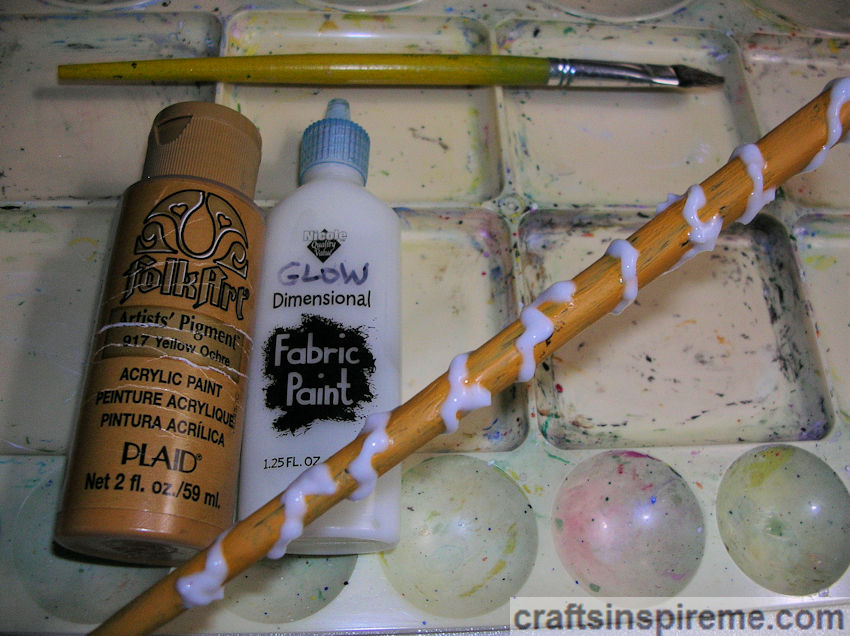
Step 2 – Starting at the top, use three-dimensional paint to create an ivy vine wrapping around the wand. Add an interesting twist by using glow in the dark white paint, but if you prefer, you can use plain white. If you want to be true to Hermione’s original wand design, wait until the 3D paint dries, and then paint the vines with yellow ochre to match the rest of the wand.
Hermione’s Finished Wand

To seal the paints, spray the wand with clear spray paint. At this point, the wand is complete. If you have been following this blog for a while, you know there is usually an enhanced version, which is shown below in the “Advanced Painting” section.
How to Make Harry’s Magic Wand:
Inspiration
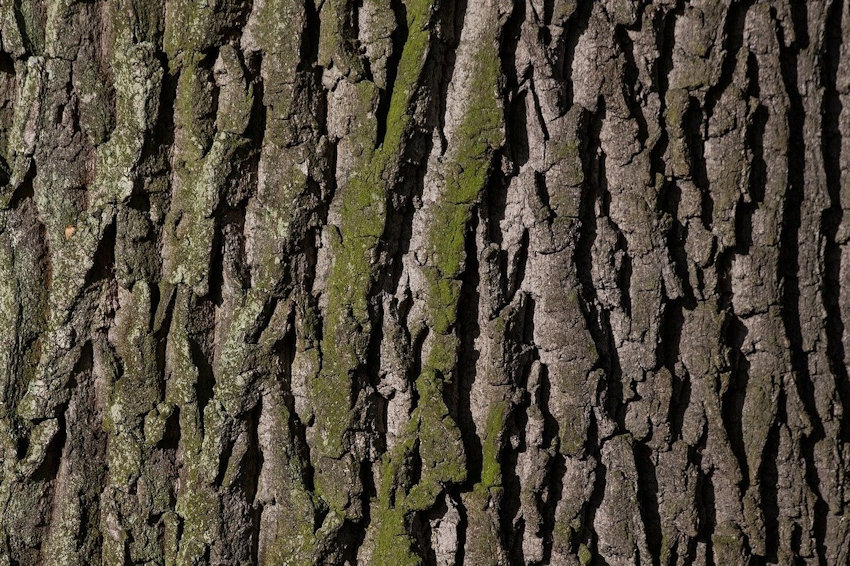
Harry’s wand has a textured, two-tone design. Rough “tree bark” at the top serves as a handgrip, and the rest is smooth wood.
Supplies
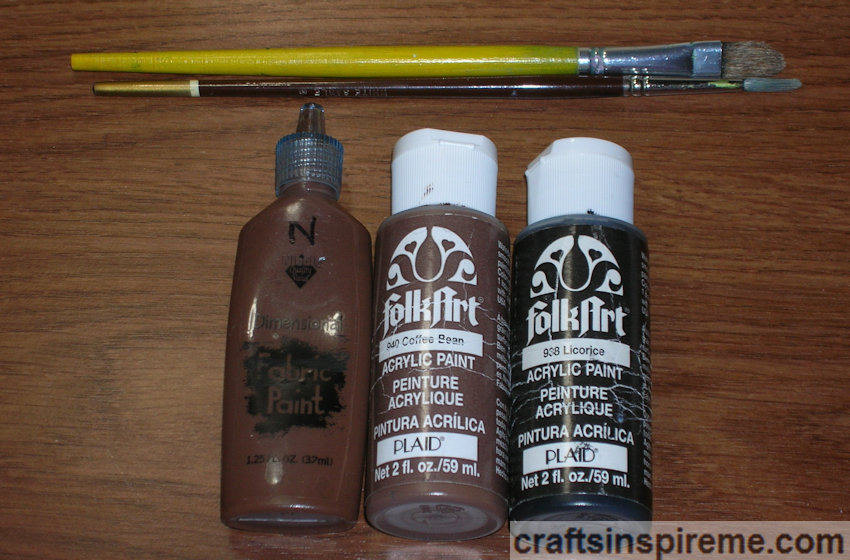
Supplies:
Wooden Chopstick (9” long x 3/8” thick)
Acrylic Paint – licorice black, coffee bean brown
1) Bottle fabric paint – brown
Paintbrushes
Clear Spray Paint: Matte Finish
Optional – Glue gun & 1) Faceted rhinestone. See “Advanced Painting” below.
Creating Texture
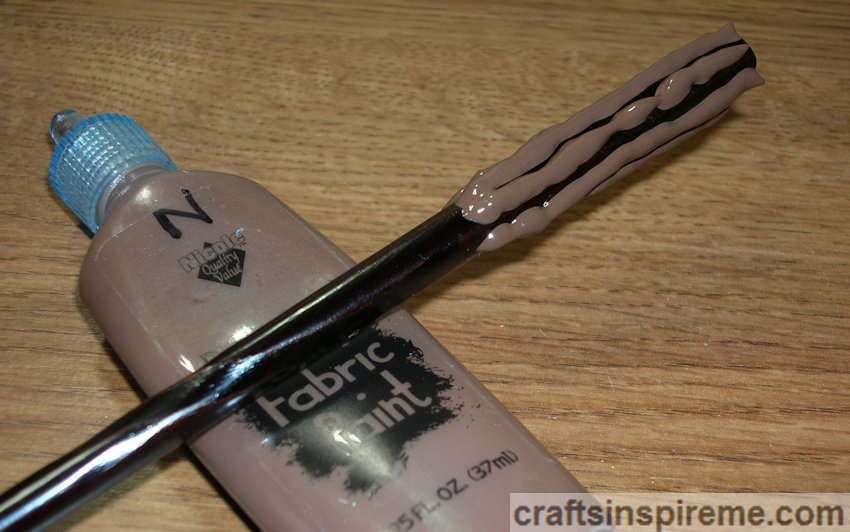
Step 1 – Using three-dimensional paint, draw long lines at top to create the basic texture as shown above.
Adding More Texture

Step 2 – Fill in with more texture, to create a rough tree bark appearance, including pointed edges across the top of the wand. Allow paint to dry overnight.
Painting Black
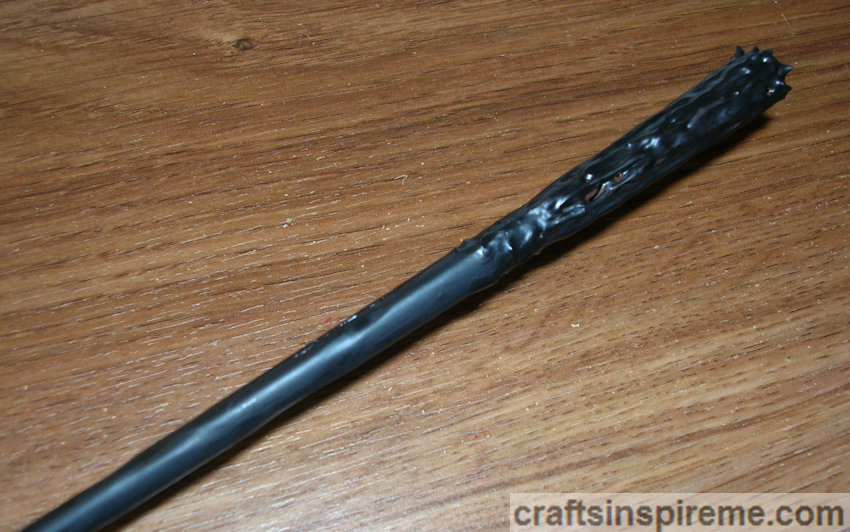
Step 3 – Paint the entire wand with black acrylic.
Dry Brushing Brown

Step 4 – Dry brush the rough bark with brown acrylic paint, allowing the black recessed areas to show through, as they do with real bark. Seal the paints with clear spray paint.
Harry & Hermione’s Finished Wands

This photo shows the two completed wands side by side. I wanted to take this project to the next level by creating more texture on Harry’s wand and more visual interest for Hermione’s.
Advanced Painting:
Hermione’s Wand – Defining the Leaves
Step 1 – Make the leaves more prominent by applying a thicker coat of the same three-dimensional glow in the dark paint on each individual leaf.
Close-Up Vines & Rhinestone

Step 2 – Create a glowing cap on the end of the wand and place a rhinestone in the center as shown. In case you didn’t know, fabric paint can be used in place of glue.
Glowing Wand
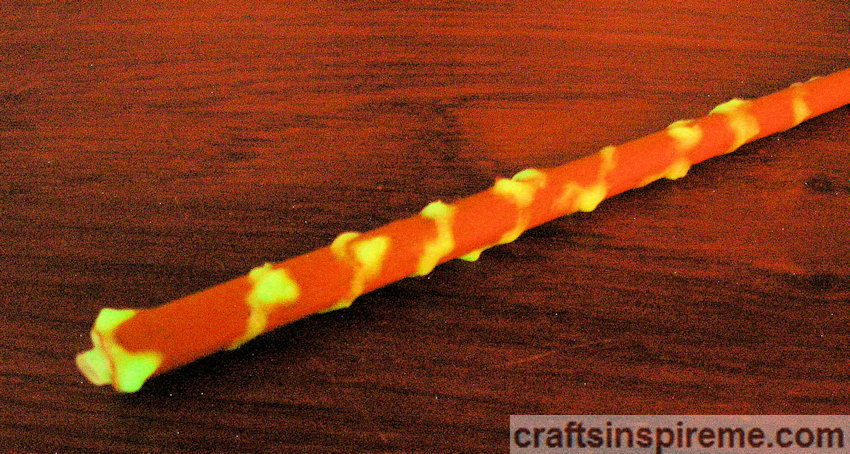
Step 3 – After being exposed to light, the vines, and leaves glow in the dark. You can test the glow by holding the wand under a bright light for several seconds and then switch off the lamp. Adjust the paint as needed.
Accent Painting the Leaves

Step 4 – Something still needed to be added, but I didn’t know what it was. Finally, I decided to apply a soft pastel green to the leaves, providing color as well as a subtle shimmer. Seal paints with clear spray paint. By day or night, this wand has stylish and surprisingly powerful.
Harry’s Wand – Creating Thicker Tree Bark

Step 1 – Using a glue gun, add long lines for more texture upon the handgrip.
Roughening the Texture
Step 2 – Use brown three-dimensional paint to roughen up the smooth lines of glue, to resemble tree bark more closely.
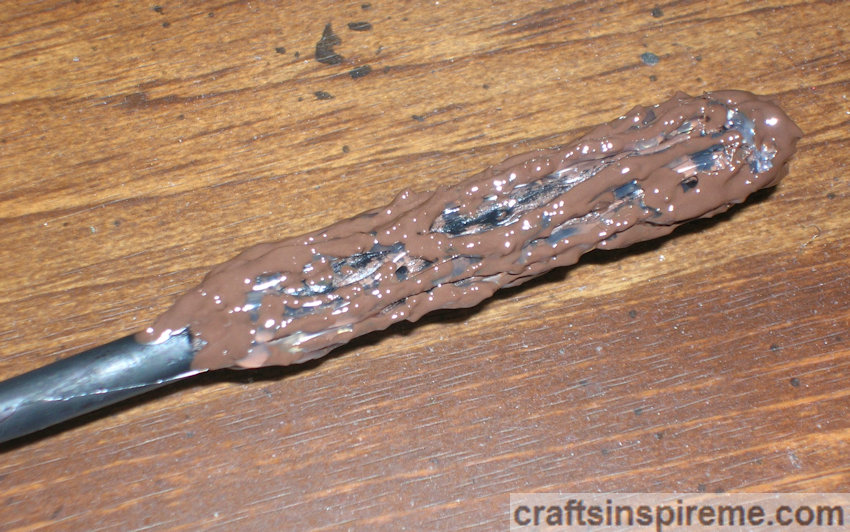
Painting Black
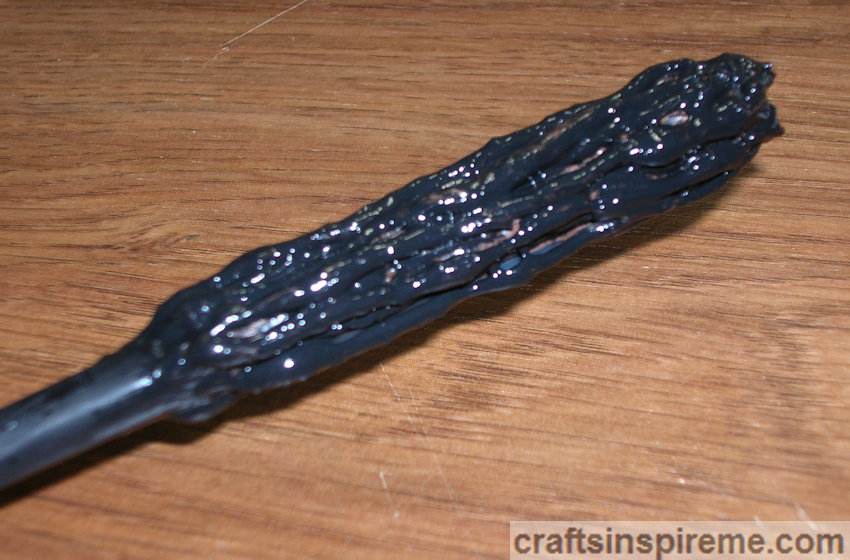
Step 3 – Paint the entire wand with black acrylic.
Dry Brushing Brown

Step 4 – Dry brush only the rough bark handle with brown acrylic paint, allowing the black recessed areas to show through, as they do with real bark. Use glow in the dark fabric paint to attach a rhinestone to the end of the wand as shown above. Seal paints with clear spray paint.
Harry’s Finished Wand

The thickened “tree bark” looks better, and the sleek black wand is the perfect choice for a powerful wizard.
Harry & Hermione’s Finished Wands

These two wands work well together, just like Harry and Hermione.
Close-Up – Both Finished Wands

I hope you have found a few inspirational ideas to create your own wands. Do you have a favorite wizard, or a favorite magical literary character? What kind of magic wand do you think that character would choose? Please let me know in the comments section. Enjoy the creative process, and let your ideas run wild.
For more Harry Potter crafts, please check out this post: “Harry Potter’s Magical Creatures.”
Thanks for Reading & Happy Crafting!

Amazing! I am a fan of Harry Potter, thank’s for share, so creative, I love it!
Best magical wishes
LikeLiked by 1 person
Thank you so much for your support and encouragement! Glad you like it. There will be more Harry Potter crafts coming soon. Best wishes to you!
LikeLike