

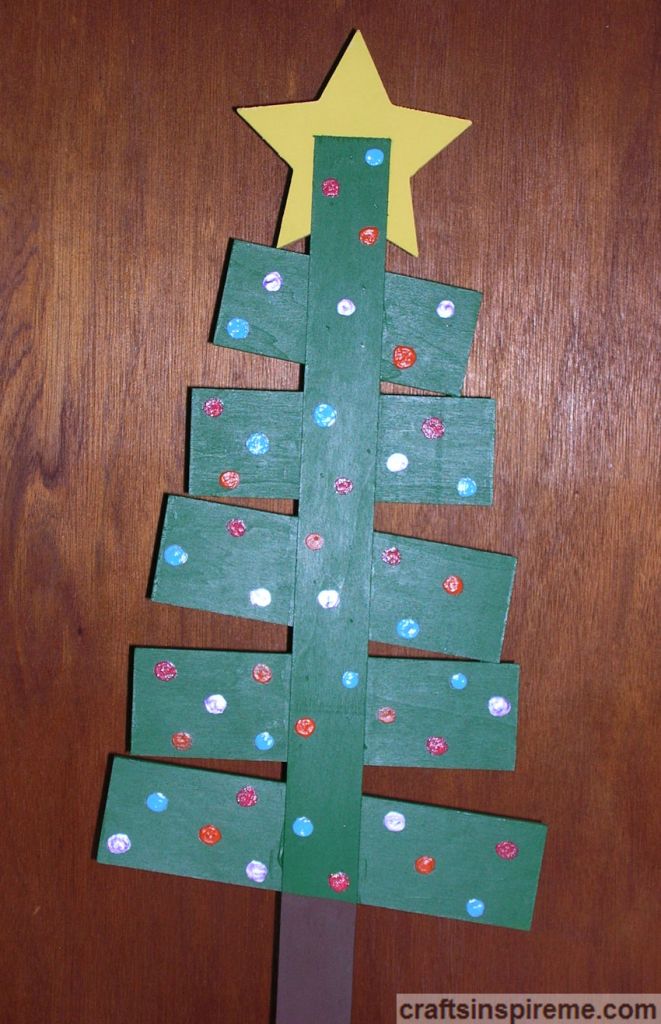
This Christmas tree is unlike most. It consists of individual flat pieces of wood, much like a signpost, ready for your painted decorations and inspiring words.
Words/Poetry
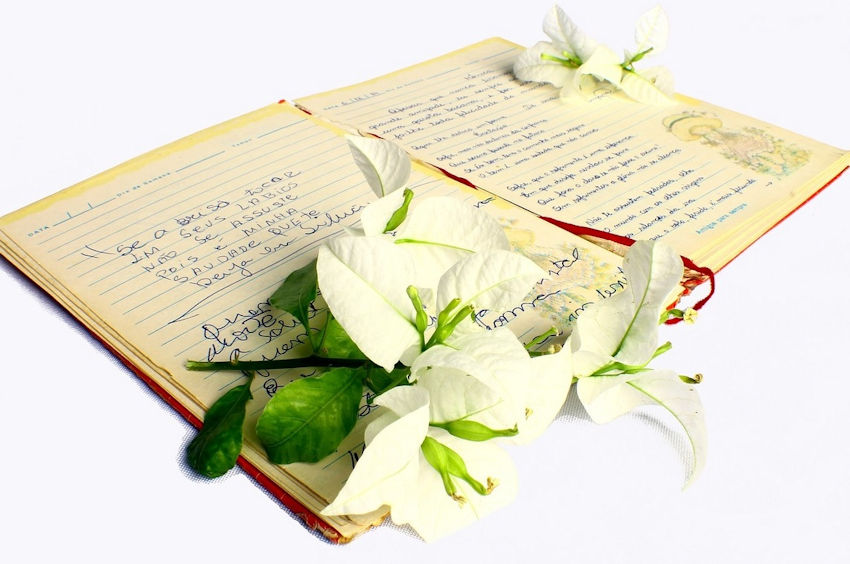
Most of my craft projects do not call for poetic or inspirational words. Grab a piece of paper and a pen and scribble down some possibilities. Take as much time as you need. Listen to song lyrics, read poems, or notice seasonal phrases from movies, books, or advertising.
Christmas Magic Sign

You will need to consider how many words/lines will fit.
Santa Christmas Sign

Use any fonts you like. You could use stencils for the lettering or freehand.
Merry Christmas Sign

Add decorative painted accents such as holly leaves and berries, or enhance your project with accessories like garland, and lights.
Decorated Christmas Tree

Even though this Christmas tree is made with flat pieces of wood, you still need to consider how to decorate it, starting with a color scheme.
Warm Colors

The warm color palette consists of reds, oranges, and yellows.
Cool Colors
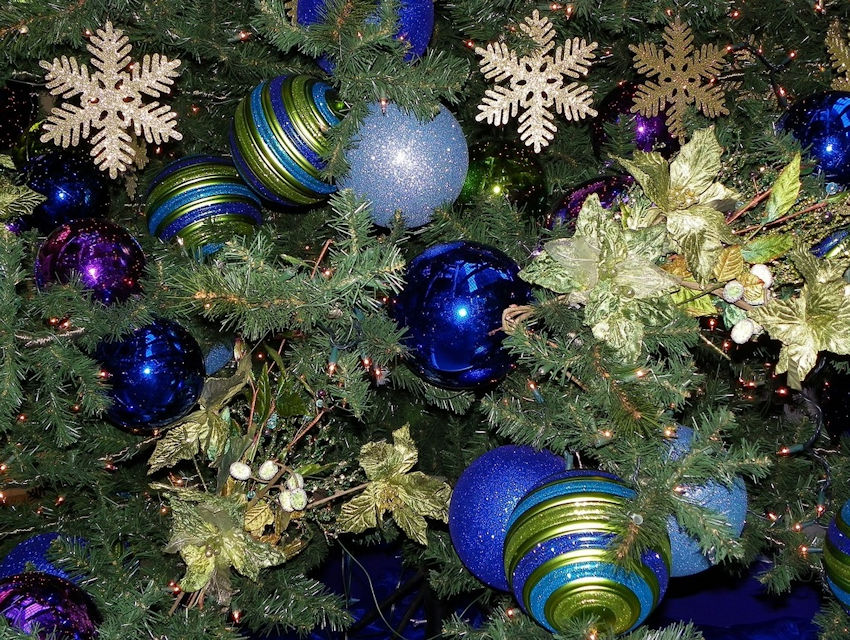
The cool color palette includes greens, blues, and purples.
Monochromatic

With a monochromatic scheme, all decorations are the same color, and the variety comes from unique designs.
Multicolor

Create a festive atmosphere with all the colors of the rainbow.
Christmas Tree Lights

Instead of painting Christmas ornaments, you may want to paint lights with metallic acrylics. Another option is wrapping the tree with mini, battery-operated string lights.
How to Paint a Wooden Christmas Tree:
Raw Wood Tree

This freestanding, raw wood tree may need light sanding, especially the edges.
Supplies

Supplies:
Wooden Signpost Tree (28-1/2” high x 10-1/4” wide x 1/4” thick) (base 8”x4”x1/2” thick)
Acrylic Paints – green, yellow, brown
6) Bottles fabric paint: black, purple, blue, orange, pink, glow in the dark white
Paintbrushes
Paint the Tree & Star – Front

Using acrylics, paint the star, the “branches” and the trunk. You will need a thin brush to paint the trunk between the slats of green. Paint both sides of the tree, the base and all the edges.
Paint the Tree & Star – Back

Because this tree is meant to be seen from both sides, I came up with a finished design for the back. Paint the trunk brown from the base to the bottom “branch,” and green for the remainder.
Paint Details – Back
Apply fabric paints in thick dots to resemble ornaments upon the tree.
Repaint Star – Back

I didn’t like the look of the squared off piece of wood on the back of the star and thought it would better to see the full star on both sides. To accomplish this, I extended the star shape and filled it in with yellow as shown. A smiling face was added to the star, using black fabric paint, to give it personality.
Finished Tree – Back

The back of the tree is now complete. Only two more steps to complete this project.
Finishing the Tree – Front

Using black fabric paint, write the words you have chosen upon each board. Finish by giving the star a cute face. Allow it to dry overnight.
Finishing the Tree – Front

Using glow in the dark white fabric paint, trace the black letters to make them stand out better against the green tree. Every night, when you turn out the lights, the glowing words will make you smile. And what a nice way to fall asleep with inspirational thoughts floating in your dreams.
I hope you enjoy this project and are inspired to explore your creativity. Good luck in all your artistic endeavors and have fun decorating for the coming holidays!
Merry Christmas, Happy Holidays & Happy Crafting!

I like what you did with the back of the star. A small step which makes a major difference.
LikeLiked by 1 person
🌟🎄 So dreamy 😍 I love all 😆Happy Holidays 🎄💕
LikeLiked by 1 person
Thanks! Enjoy the rest of the week! Hope you are staying well and your husband is feeling better
LikeLiked by 1 person
Thank you! Happy Holidays to you and your family, including the always adorable Panda Baby!
LikeLike
Thank you. Yes, I am well, and yes, he is feeling better!
LikeLiked by 1 person