
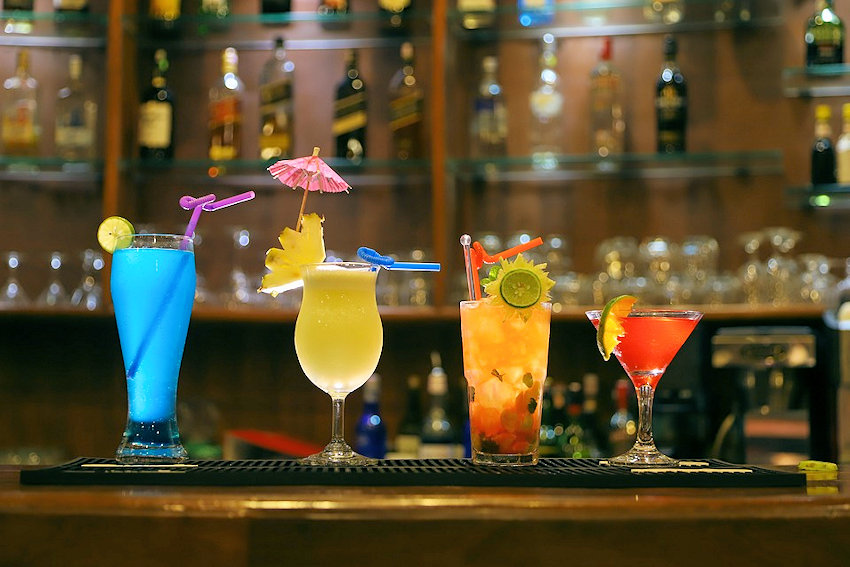
Regardless of whether you call it a bar, pub or saloon, bartenders frequently say to customers, “Pick Your Poison.” If you are unfamiliar with this expression, it means what kind of alcohol do you want. I found a “Pick Your Poison” sign, which will make a great addition to my brother’s bar. Let’s get started.
Unfinished Sign
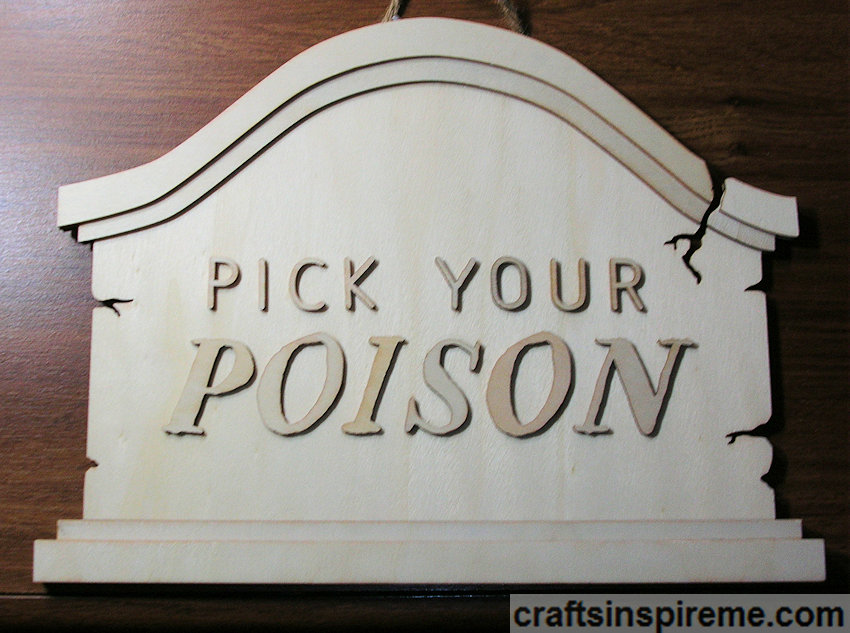
I purchased this sign at Michaels Arts & Crafts from their Halloween collection. Experiment with color schemes on scrap paper and then choose your supplies. Later in this post, you will see further experimentation using photo editing software.
Supplies

Supplies:
“Pick Your Poison” Sign (14” wide x 1” deep x 8” high)
Acrylic Paints – black
Magic Markers – green, black
Paintbrushes
First Line Colored Black

Using a black marker, color the top line of text. It may require a few coats.
Second Line Colored Green

Color the next line of text green. It may require a few coats.
Top & Bottom Trim Painted Black
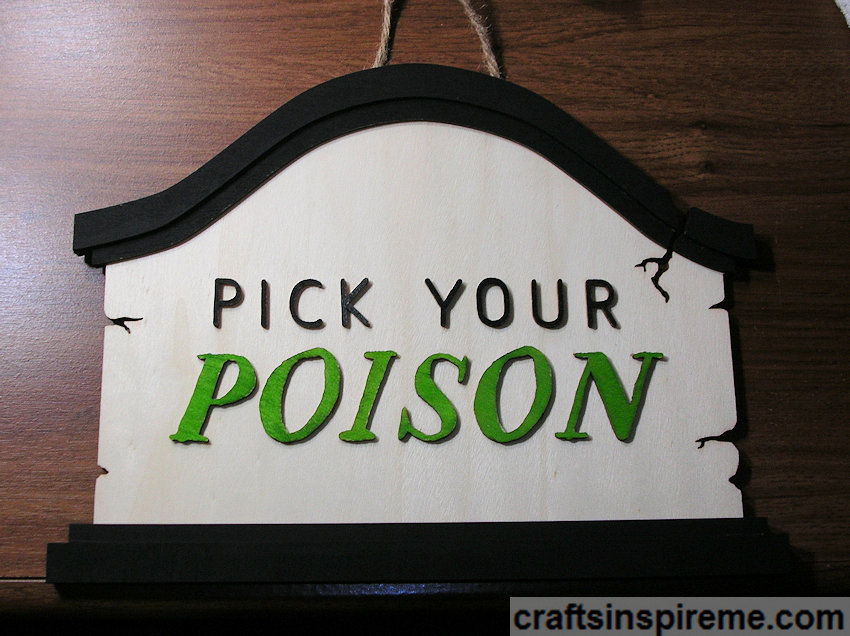
Paint the trim black. I wanted the word poison to really stand out but the marker just wasn’t enough. I switched to paints as you will see below.
Revised Supplies
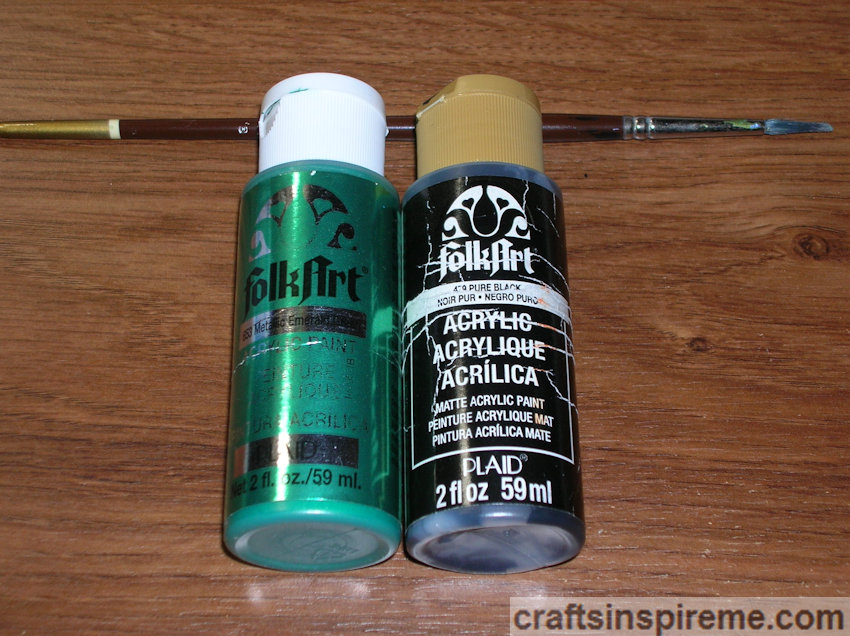
Revised Supplies:
Acrylic Paints – black, metallic green
Paintbrushes
Painted Letters
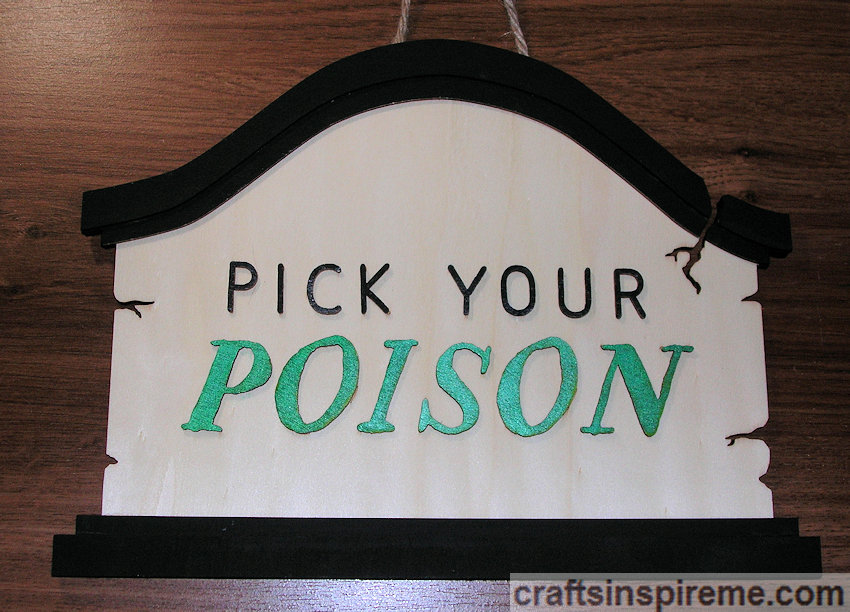
Paint the word Poison with several coats of metallic green. I considered adding drips of 3D paint to make the green letters appear to be bubbling or oozing but decided against it. You could stop at this point if you like the wood grain background.
Photo Editing – Experiment 1
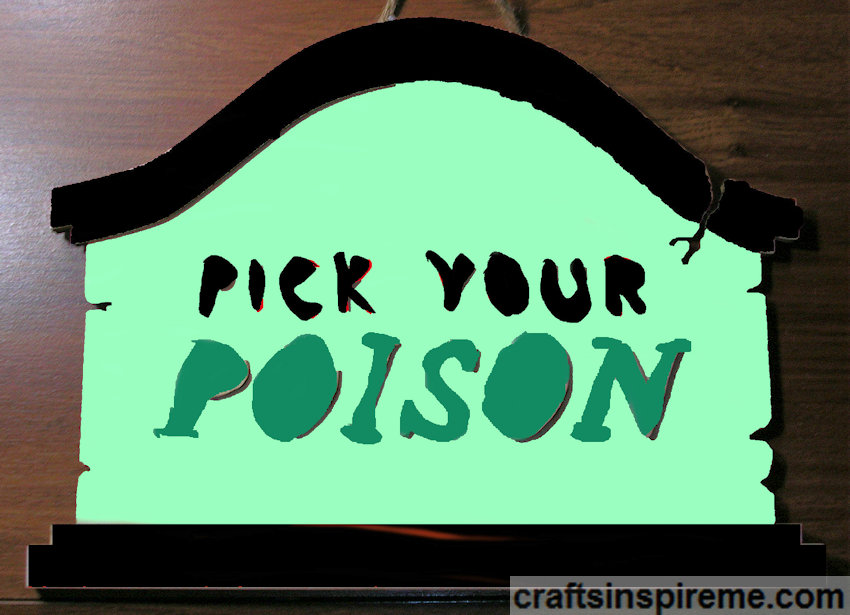
Using photo editing software, I experimented with different background colors. I was just dabbling so I apologize for the sloppy lettering. It was just what I needed to decide how to proceed.
Photo Editing – Experiment 2
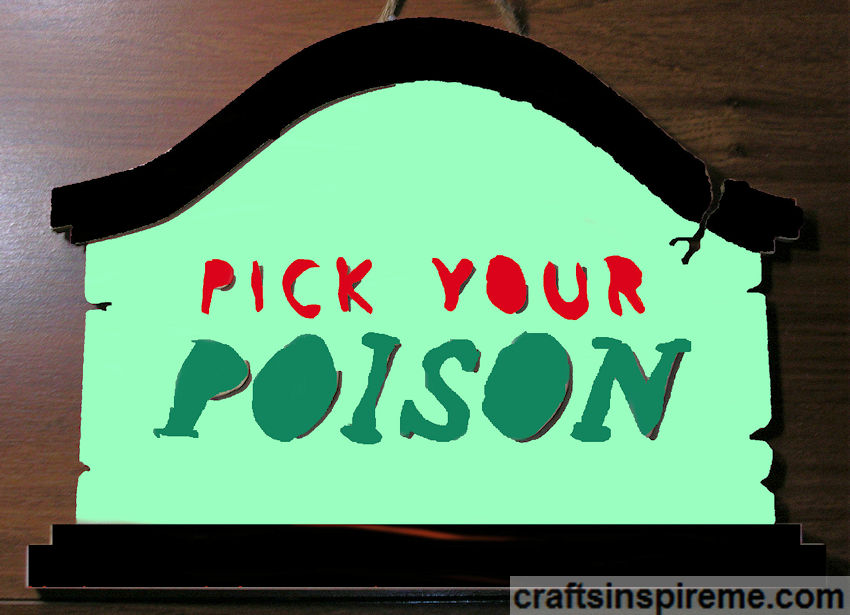
I also tested different color combos for the text against the new backgrounds.
Photo Editing – Experiment 3

Because I liked the high contrast and implied sense of danger, I chose red as the background color.
Finalized Supplies
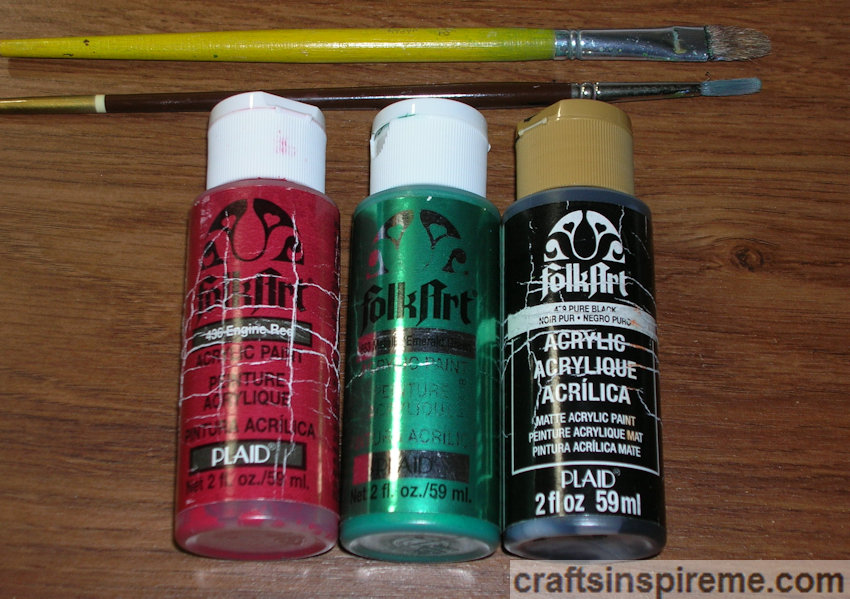
Finalized Supplies:
Acrylic Paints – black, metallic green, red
Paintbrushes
Painted Background Red
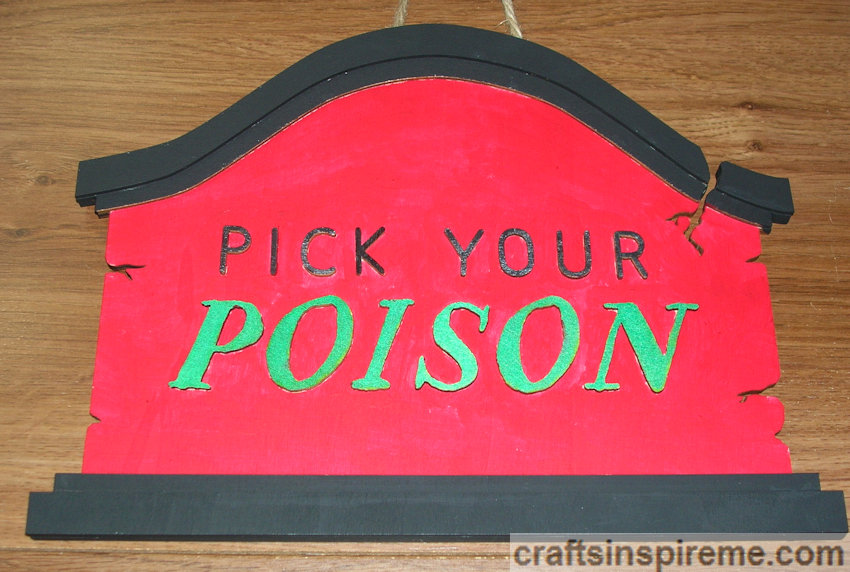
Paint the background red. Due to streaking, which did not appear until after the paint had dried, it took several coats of paint.
Finished Sign
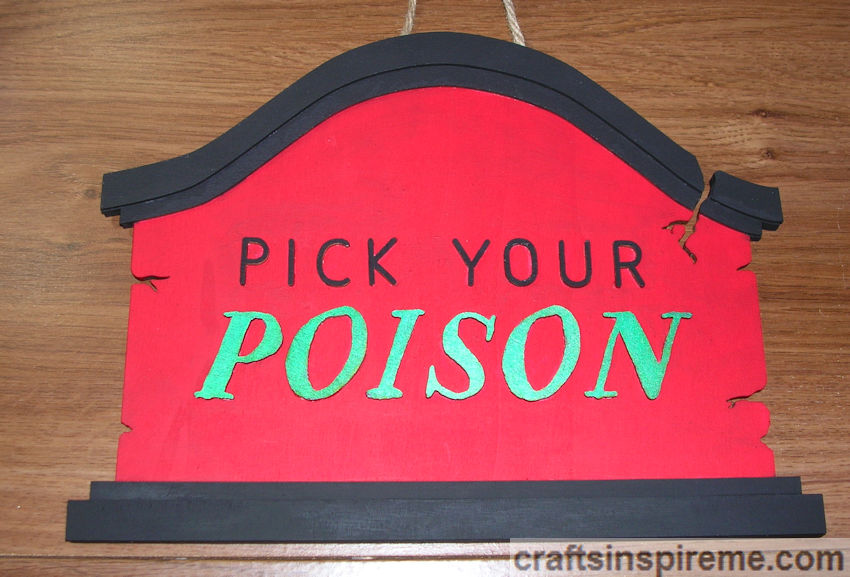
Here is the finished sign, ready to be hung above the bar.
I hope you enjoyed this quick & easy project as much as I did. Sitting here at the bar, I drink a toast to my readers. I’ll save the seat next to me in case you decide to join me.
Thanks for Reading & Happy Crafting!

How smart of you to use photo editing hardware to determine which colors you liked best. The sign turned out great!
LikeLiked by 1 person
Thank so much! It was a fun project. Have a great weekend!
LikeLike
Wow! Wow! Wow! Wow! Wow! Wow! Great idea! Love it! I want all! Dear friend you are very creative, awesome. I like the way you desing the letters, how use colors. Wonderful!
Thank’s for share! Happy crafting! Have a lovely weekend!
LikeLiked by 1 person
What a great idea, I’ve never heard of it. They are very nicely put together arrangements and colors, thank you very much. I wish you a wonderful weekend.
LikeLiked by 1 person
Thank you so much, my friend, for your enthusiastic support. I always enjoy hearing from you. All the best!
LikeLiked by 1 person
Thank you for your nice compliment. I am so glad you liked it. You have a great weekend too.
LikeLike
Always a pleasure, you are very creative. Thank’s a lot! All the best as well! Nice Sunday!
LikeLiked by 1 person
That turned out really cool!
LikeLiked by 1 person
Thank you very much! Have a great week.
LikeLiked by 1 person
Thank you, hope you have one too.
LikeLike