A little piece of paradise – Isn’t that what we all want? That means different things to different people. For many, the idea of a cozy grass shack on a tropical island is a common fantasy. Of course it goes without saying that we’ll expect all the comforts of home in that “shack,” but that’s not important. Visualizing the dream is the focus here. This time of year so many people visit the seashore. An ocean-themed centerpiece, created one piece at a time, brings memories of vacations past to mind, and inspires dreams of vacations yet to come.

Before & After Photos: Tropical Home – Front Facade. What was once a home for tiny gnomes transforms into a tropical retreat with orange silk flowers, and a bamboo pattern drawn by hand on the exterior walls using a brown Sharpie marker.

Before & After Photos: Tropical home – Back Facade. The bamboo pattern continues across the back, giving it that island vibe.

Before & After Photos: Lighthouse. Whoever heard of a lighthouse without a roof? To make the roof shown, fold the paper into a cone and staple it as needed to hold its shape. Glue a soup can lid to the bottom of the cone and paint it gray to match the lower portion of the building. Add twine along the edge and down the sides to resemble a standing seam metal roof. Tie several knots in a piece of twine and glue it to the peak of the roof. Tint the glass votive holder yellow using a highlighter, and line the inside with orange paper to suggest a brilliant light glowing from within the tower.

Before & After Photos: Sailboat. This sailboat only needed minor adjustments. The faded white stripes needed a fresh coat of paint, and the middle stripe was changed to orange. Because the opposite side of the sail was unfinished, the stripes and shells were duplicated on the back. A cute little blue bird was glued on top of the mast.
The Star of the Show: A Blue Ringed Octopus

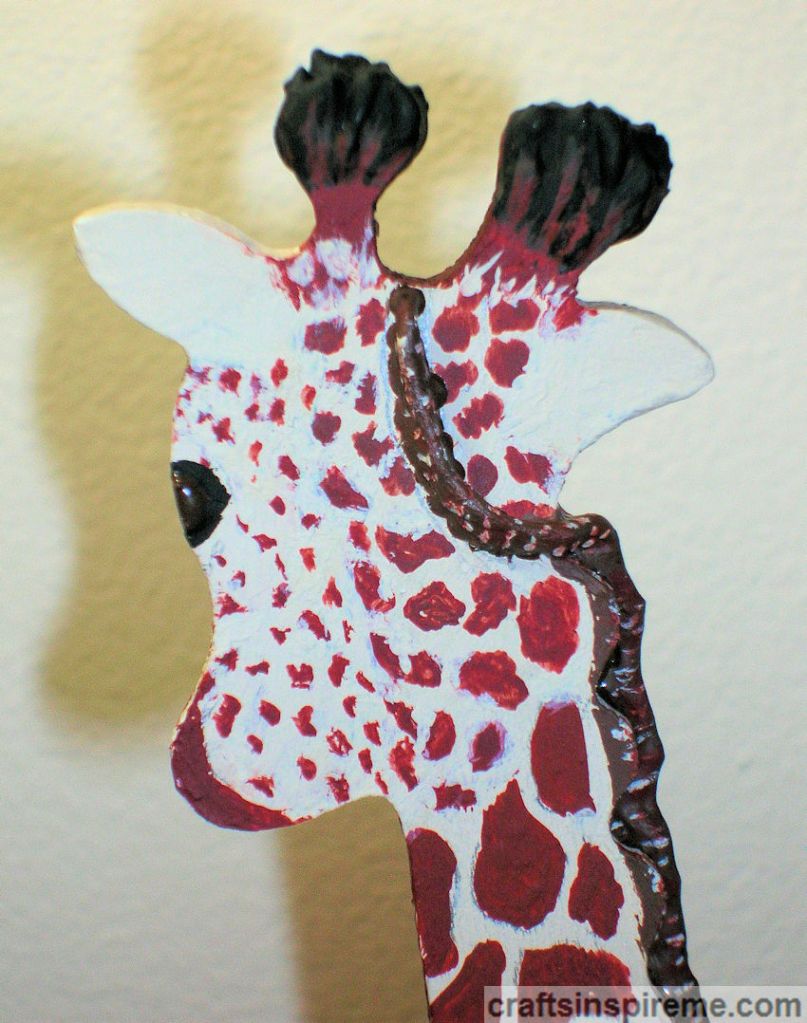
Before & After Photos: Octopus Closeup. It’s hard to believe the monochromatic octopus on the left is the same one on the right, but it is. It’s amazing what a difference a little paint can do.

Original Octopus Candleholder: This whole project started with this silver metal octopus candleholder. As you can see, it looks top heavy with the large pillar candles, and the octopus is rather hidden underneath. Round candles were another option, but he looked like a juggler! (lol)

As with all creative projects, it’s helpful to gather a few photos for inspiration. The blue ringed octopus is a fascinating creature. Fans of James Bond 007 will remember the movie, Octopussy, in which Maude Adams had an aquarium with this beautifully patterned octopus, and she also wore a white silk robe emblazoned with its colorful, exotic image. Each octopus has a unique pattern, and the blue iridescent rings are impressive creations courtesy of Mother Nature.

Supplies:
Octopus (7-1/2” high x 4-1/2” wide x 1-3/8” thick)
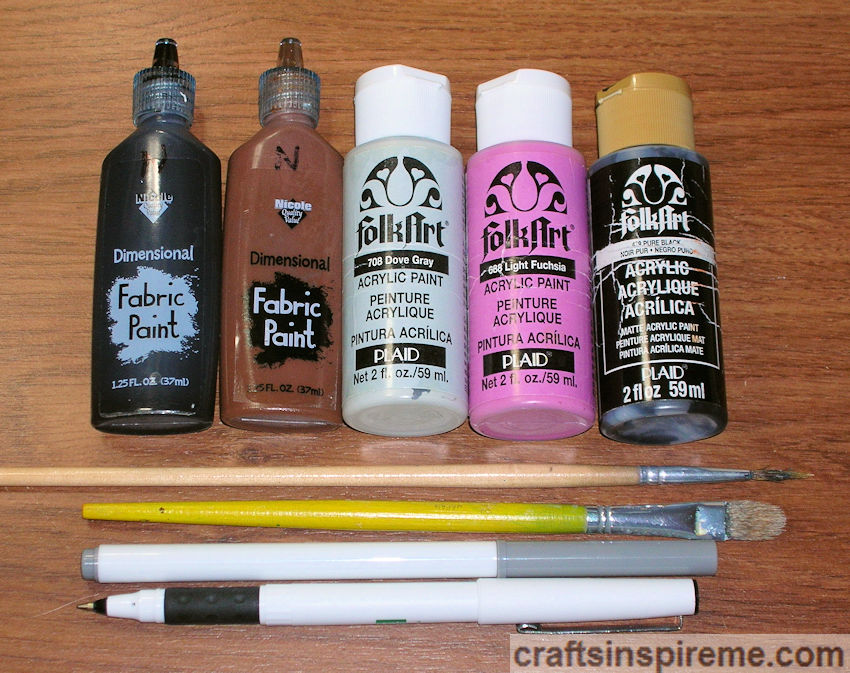
Acrylic Paints – tan, brown, black, yellow, white, & metallic blue
1) Bottle fabric paint – white
1) Bottle fabric paint – brown
2) Paintbrushes – one for base coat, and a fine brush for details
Paint Palette
Clear Spray Paint

This is how it looks without the candles. The large metal plates are too big, overpowering the beauty of this piece.

The plates were removed using a Dremel cutting tool, and the tips of the tentacles were filed smooth. Now you start to notice the amazing sculptural details created by the artist.

The color was the next issue to be addressed with two coats of tan paint. The artist painstakingly created a realistic looking octopus, but that thick coat of silver paint had obscured all those intricate details.

A brown pattern was applied to the entire body and the eyes were painted black.

Black spots were added, overlapping the brown.

Blue iridescent rings were applied over the black spots. Random yellow stripes wrap around the legs and head. A white dot was added to the pupil of each eye.

The eyes were made more realistic with the addition of brown irises and white outlines.

Two coats of clear spray paint were applied to protect the acrylic paints. White suction cups were added to the underside of the tentacles and allowed to dry. Next brown fabric paint was applied over each of the suction cups to provide shape and depth. This beautiful sculpture now has the rich, colorful appearance it deserves, and makes an interesting conversation piece.

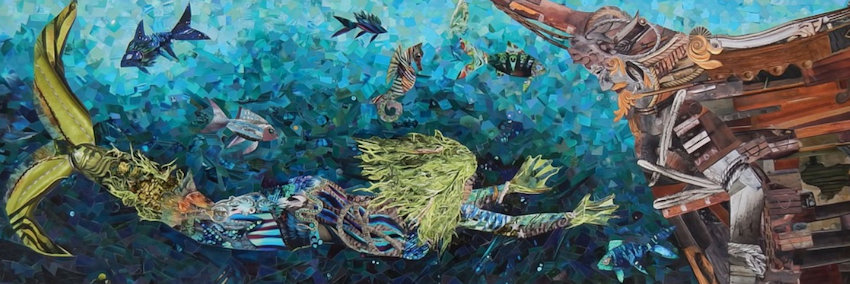
Photo: Completed Centerpiece. Black pebbles form little volcanic islands amid a vast ocean. In front of a cozy tropical home, a mermaid sits quietly reading, as a sailboat glides along the water. Another mermaid leaps out of the sea with a treasured seashell in her hand. The lighthouse makes a welcome rest stop for wildlife and a sunbathing mermaid. A feisty octopus playfully thrashes about the water’s surface. Palm trees swaying in the breeze display a pair of small signs that says it all: “Beach Please!”
Thanks for Reading & Happy Crafting!