Top Ten Posts 2018-2023

Hourglass

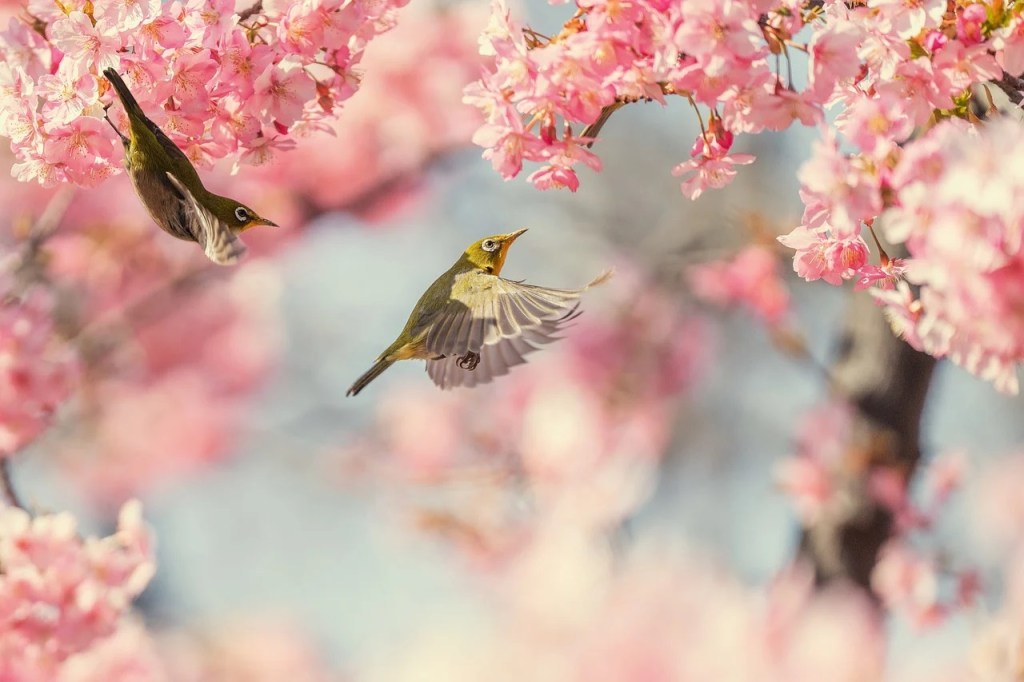
Time flies. It’s hard to believe I launched this blog in 2018. Today I thought it might be interesting to find out the most popular posts as voted by you, the readers. Below is a list of the Top 10 posts in ascending order:

Number 10: Decorating Easter Eggs

Hand Painted Eggs

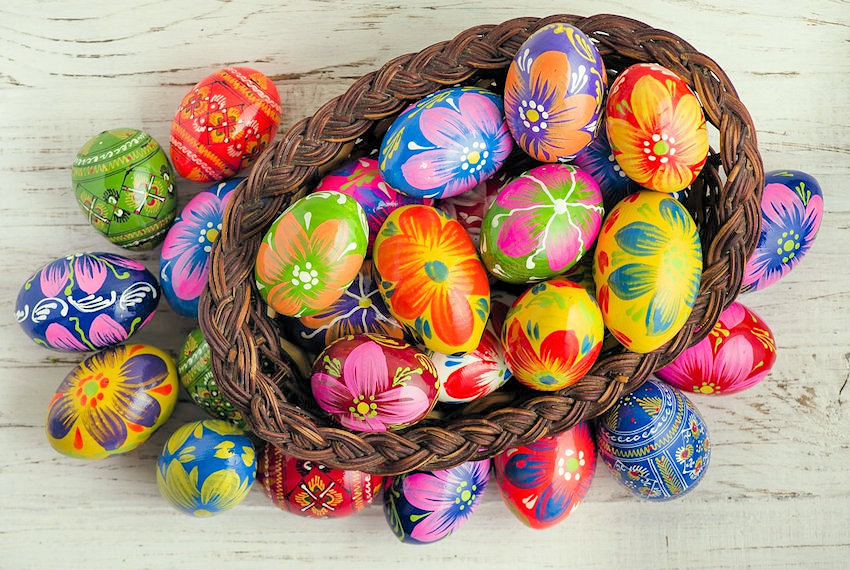
Dyed eggs are a staple of any Easter celebration.  To read more, please click here.

Number 9: Collages: Old School vs. High Tech

Undersea Collage

Collages can be created by two different methods: 1) “Old School” Traditional, or 2) High Tech.  To read more, please click here.

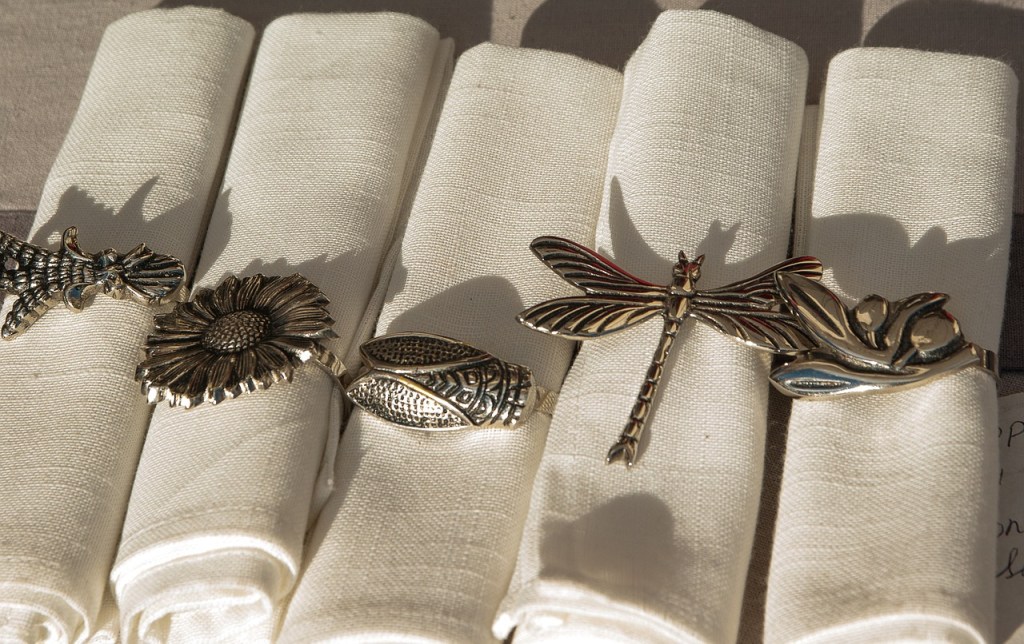
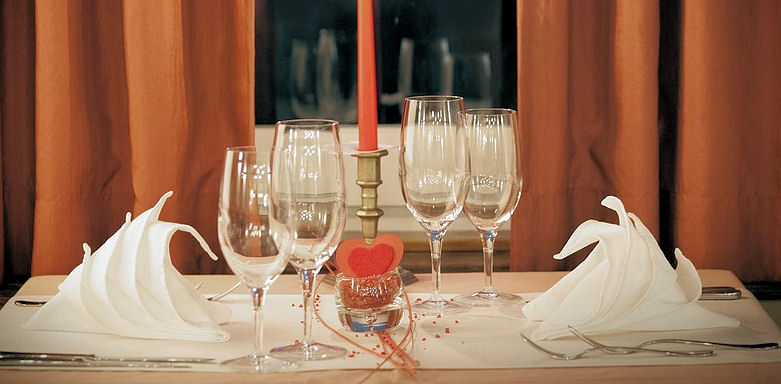
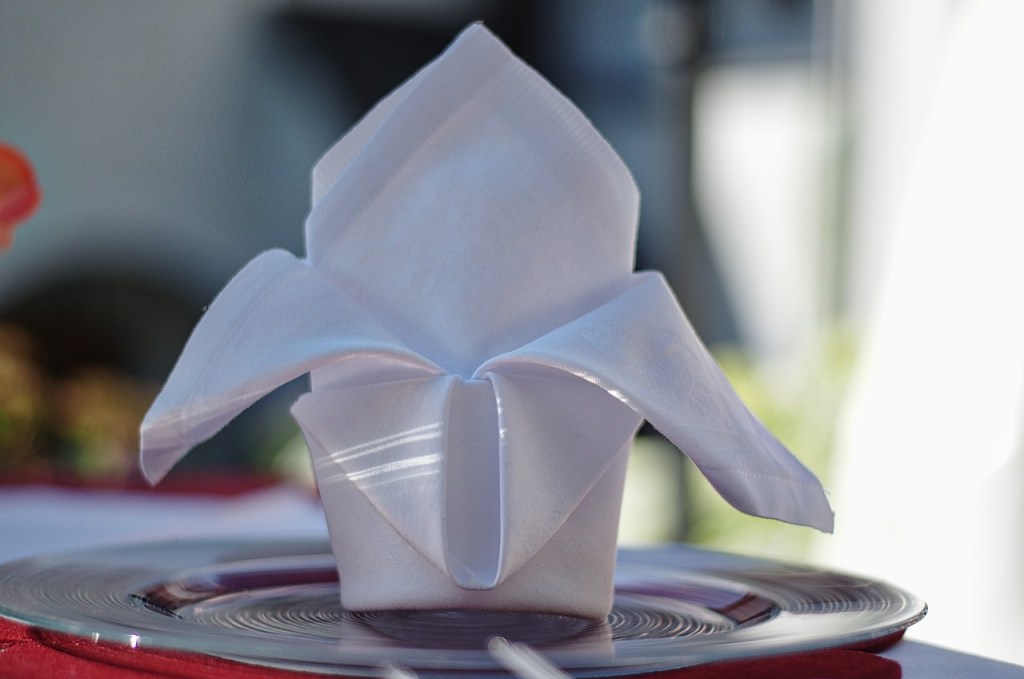
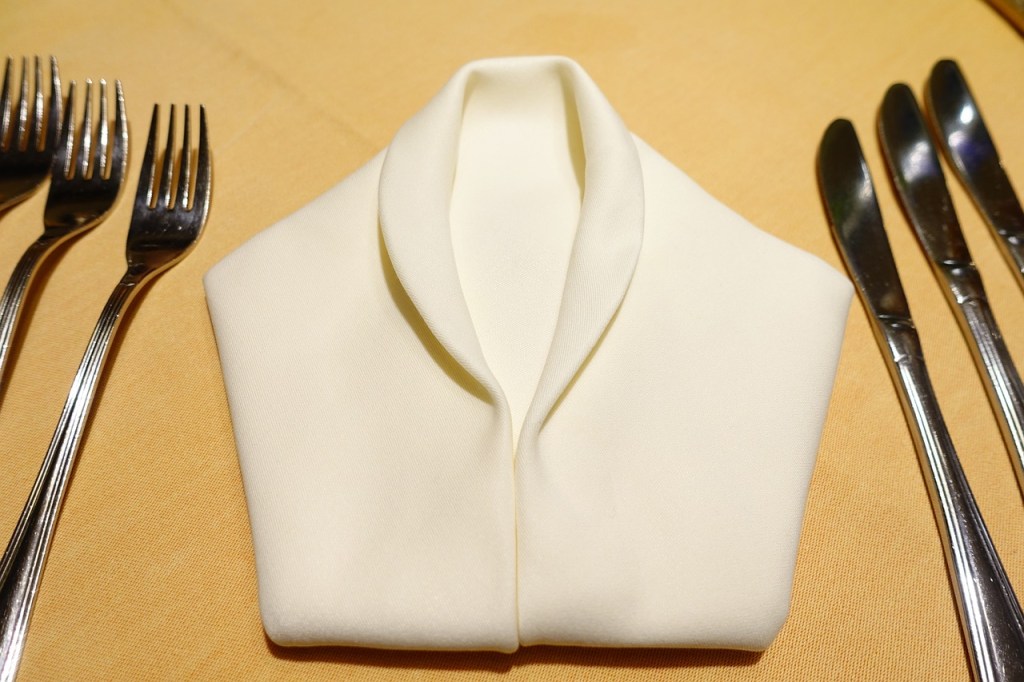
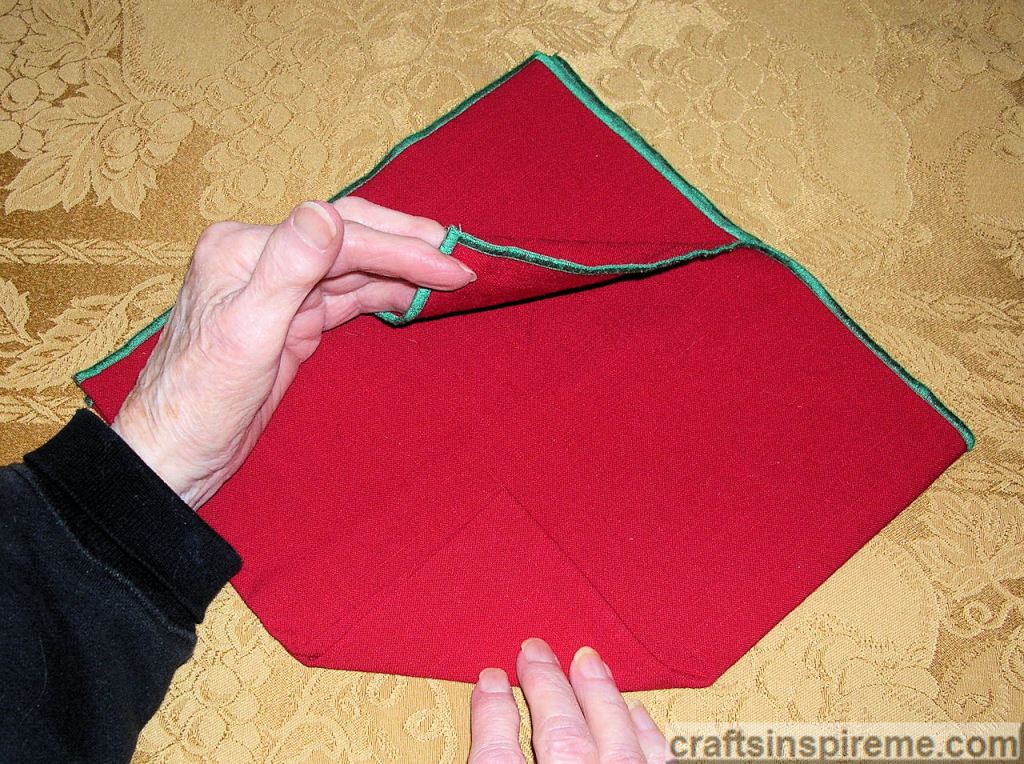
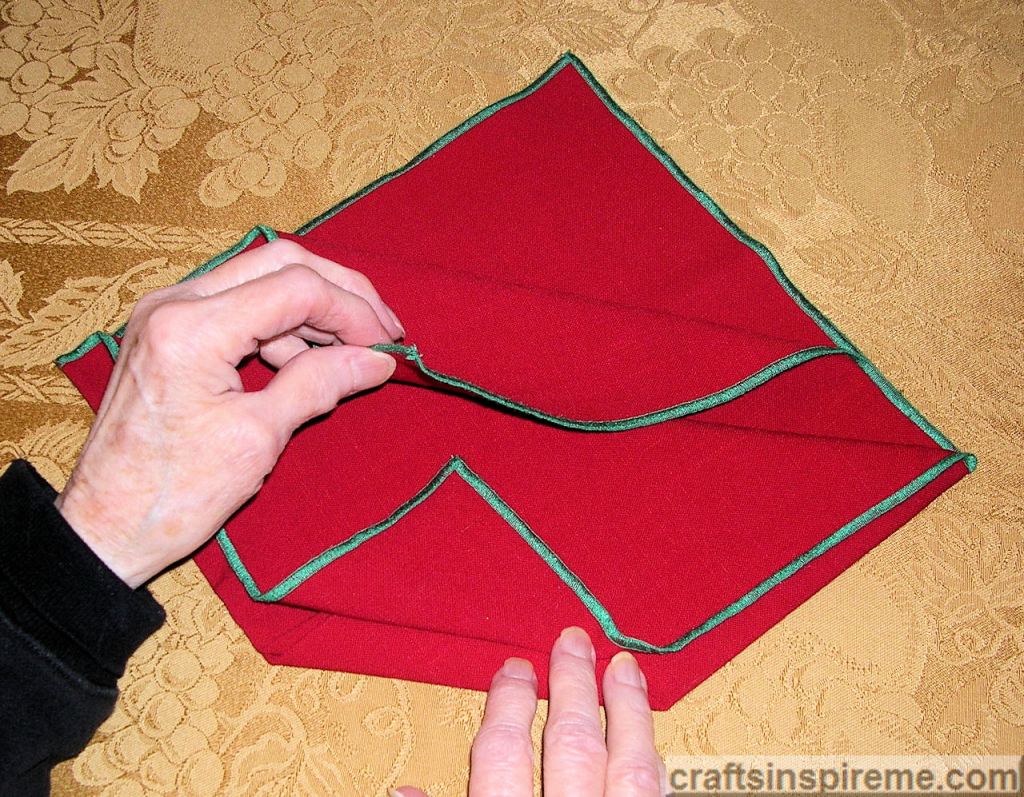
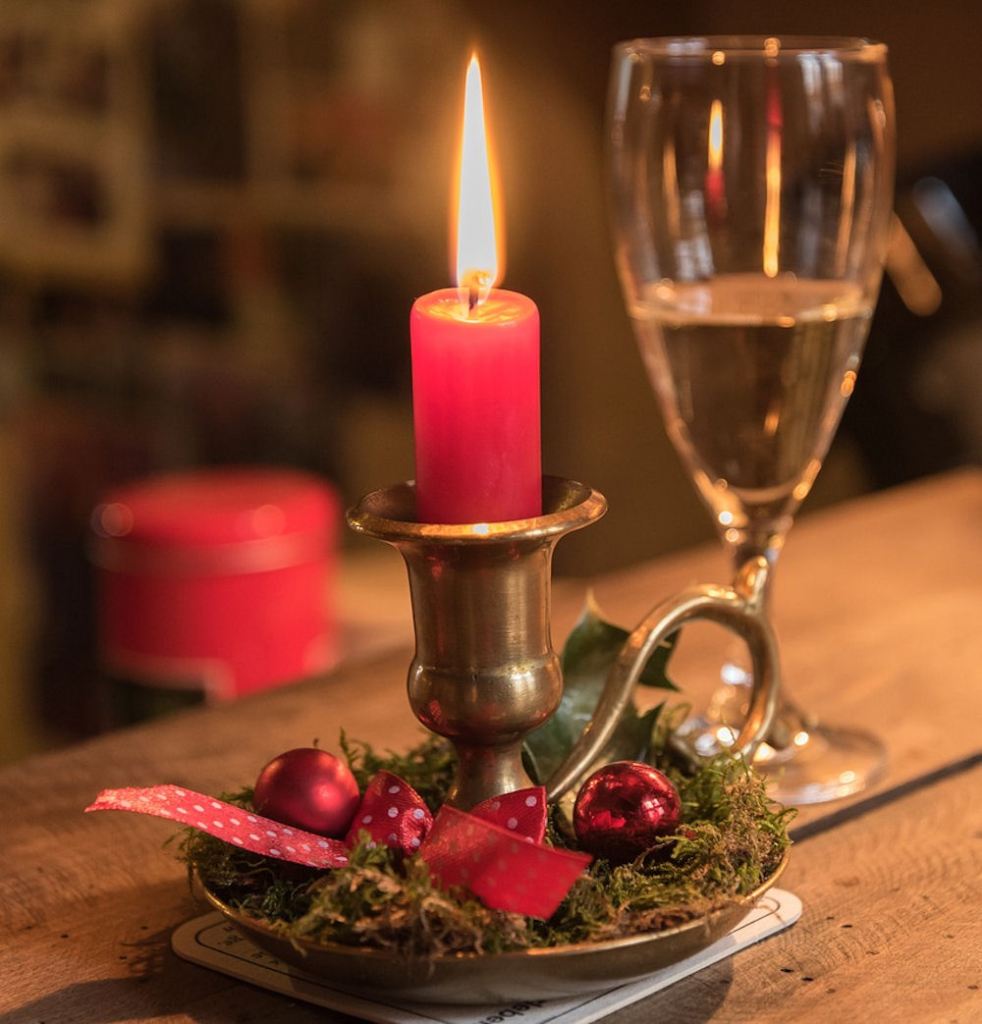
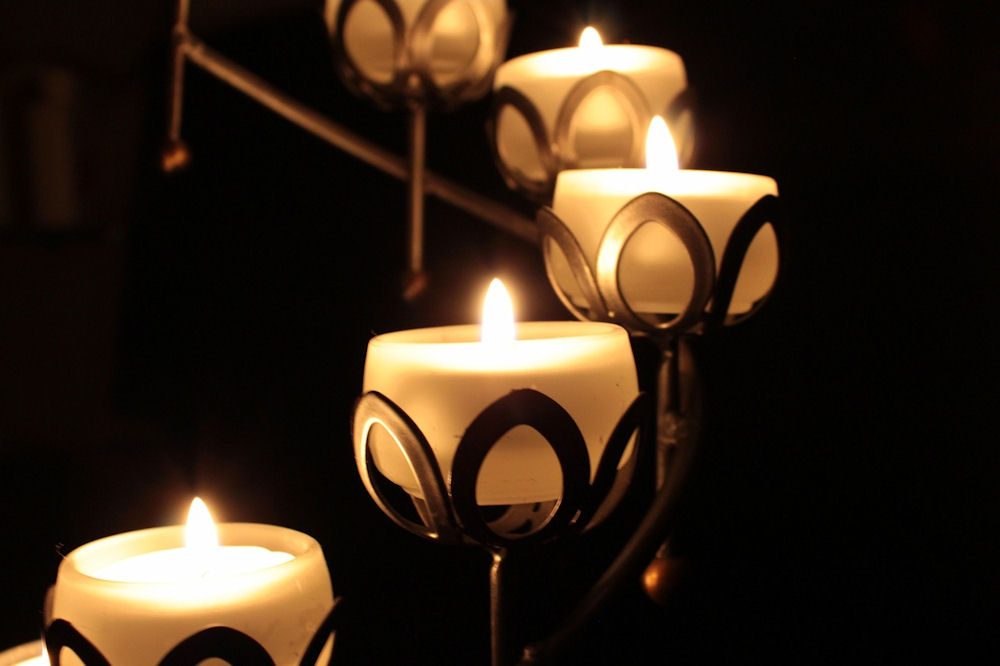
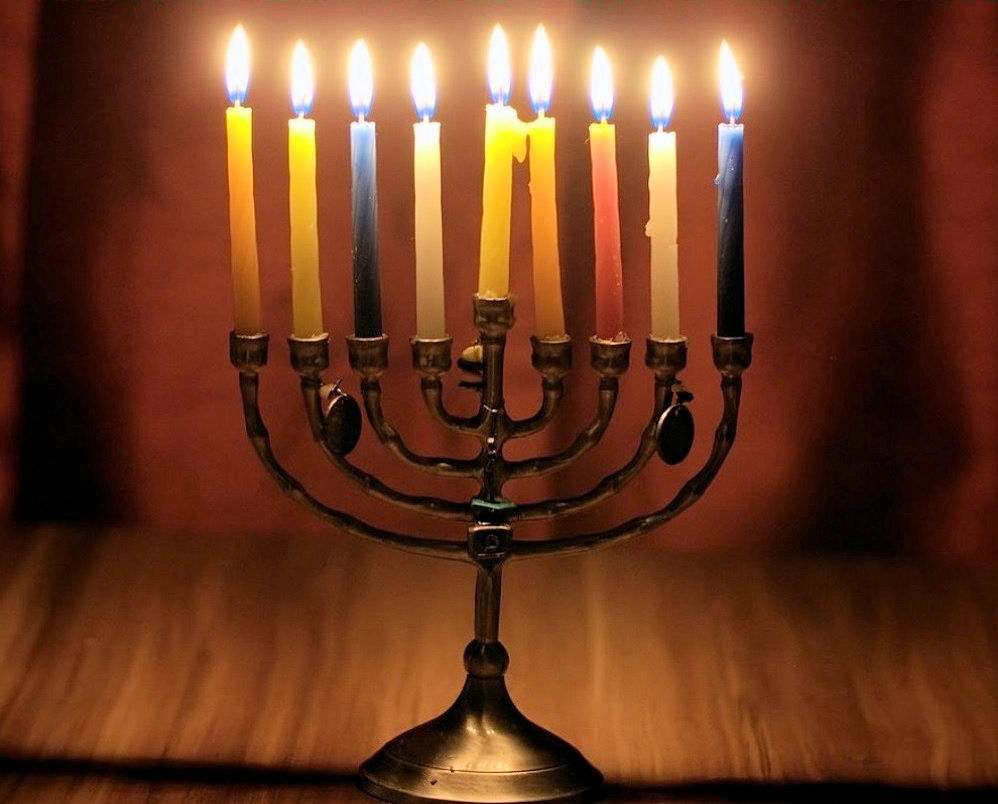
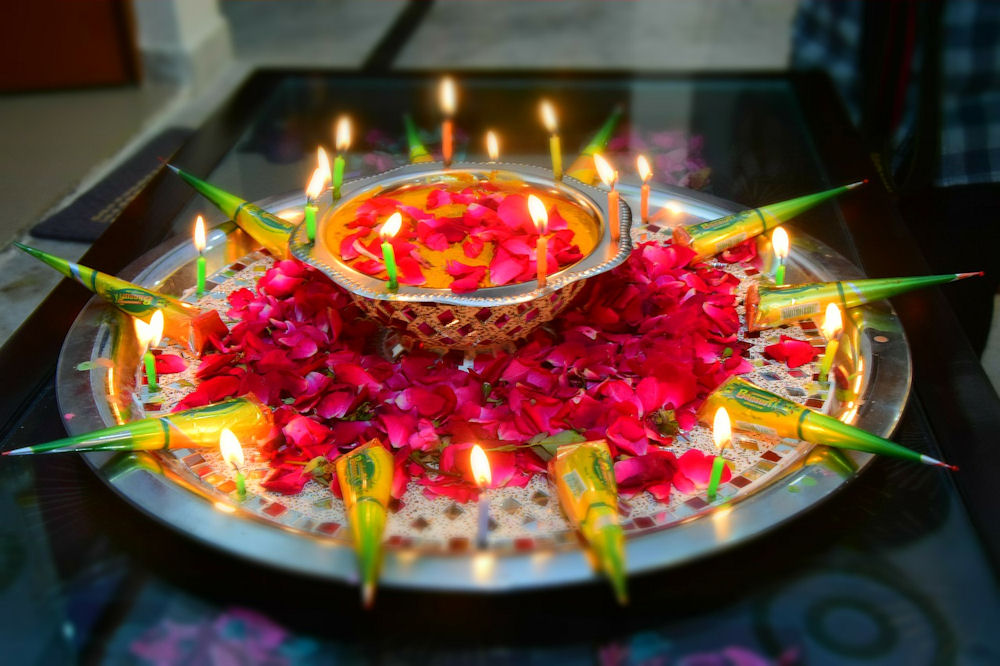
Number 8: Table Décor – Designs for All Occasions

Contemporary Table Decor

Welcome to part two of table décor. Last week we reviewed the basic elements used in decorating tables. Today, we will see table designs for most occasions celebrated throughout the year.  To read more, please click here.

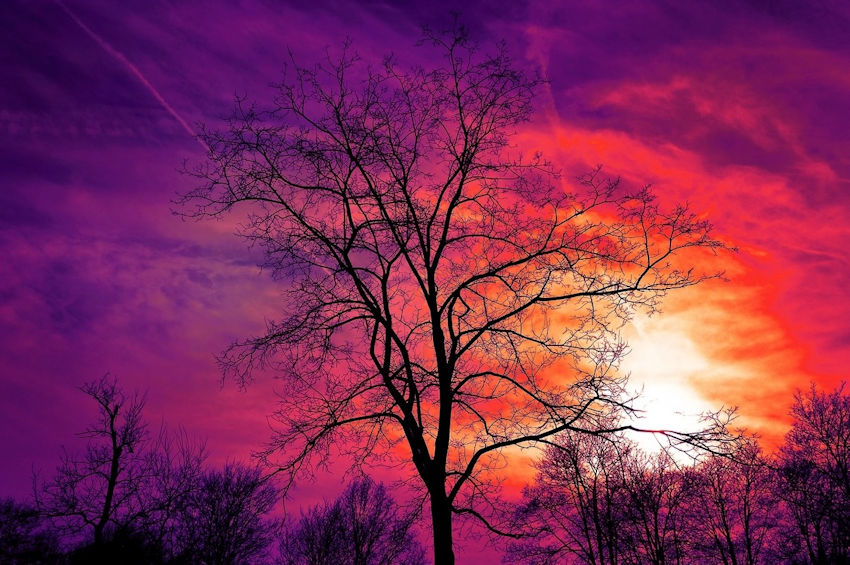
Number 7: Fun with Photo Editing

Photo Editing

Wouldn’t it be cool if you could simply change a gloomy sky to a gorgeous day with a wave of your arm?  We might not have that ability now, but we can certainly achieve this monumental task through the power of photo editing.  To read more, please click here.

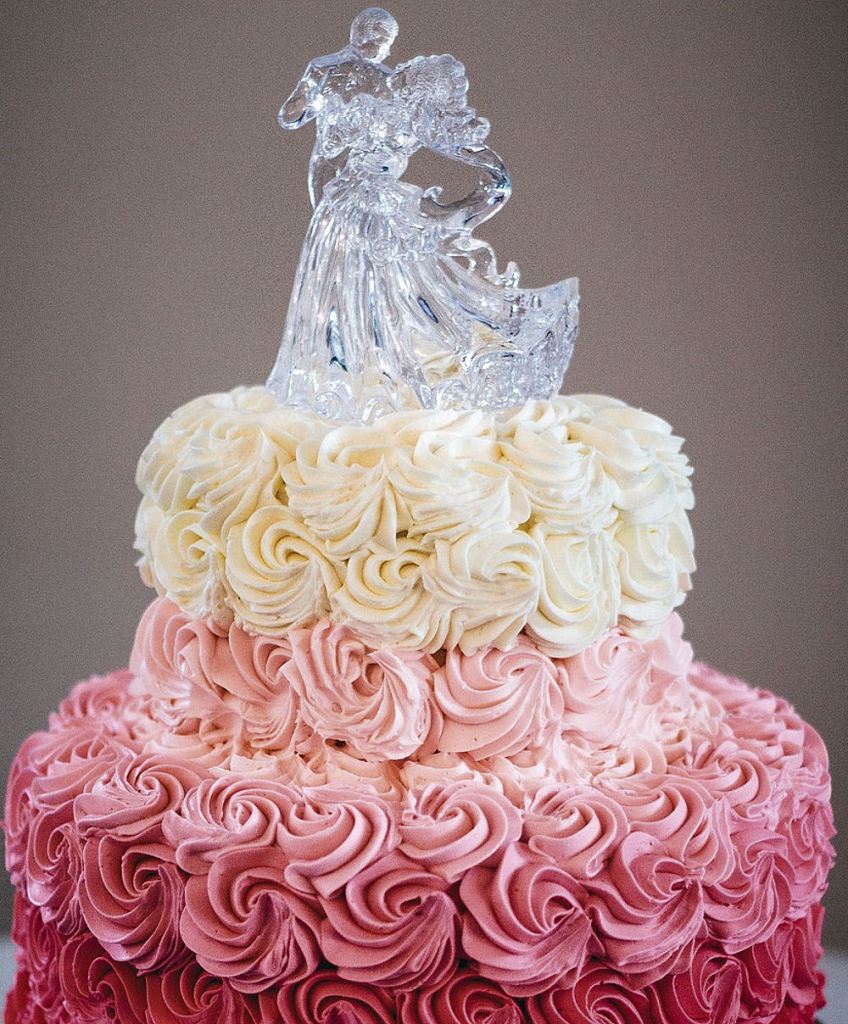
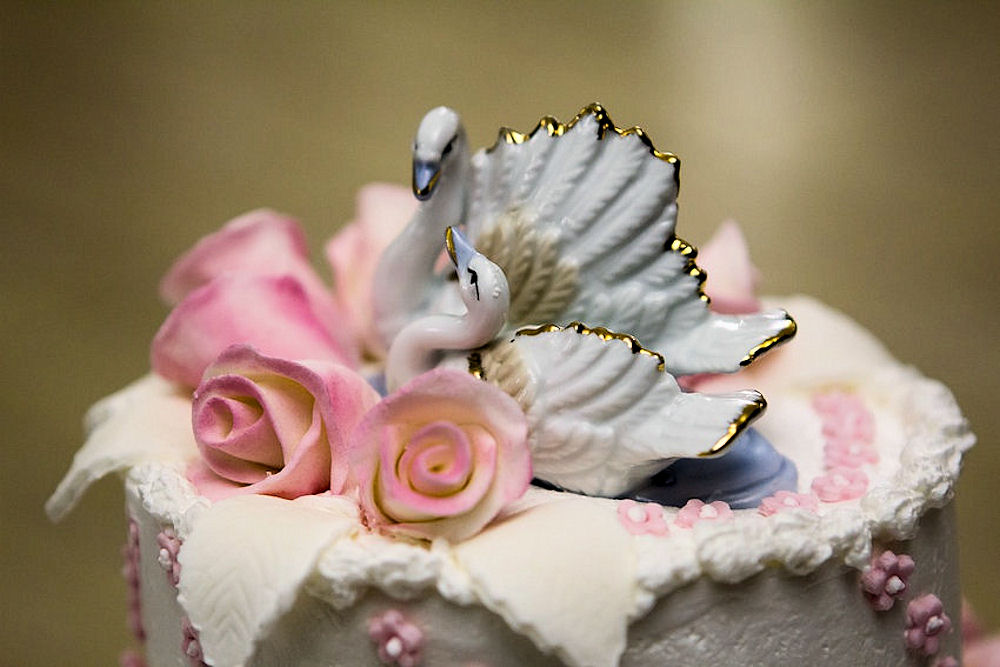
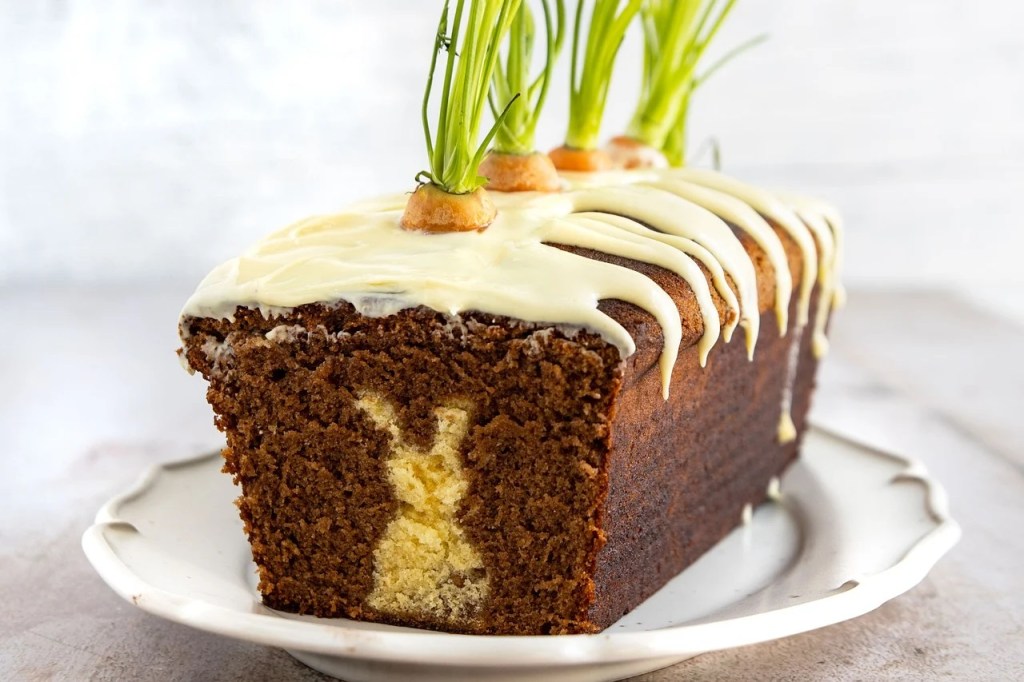
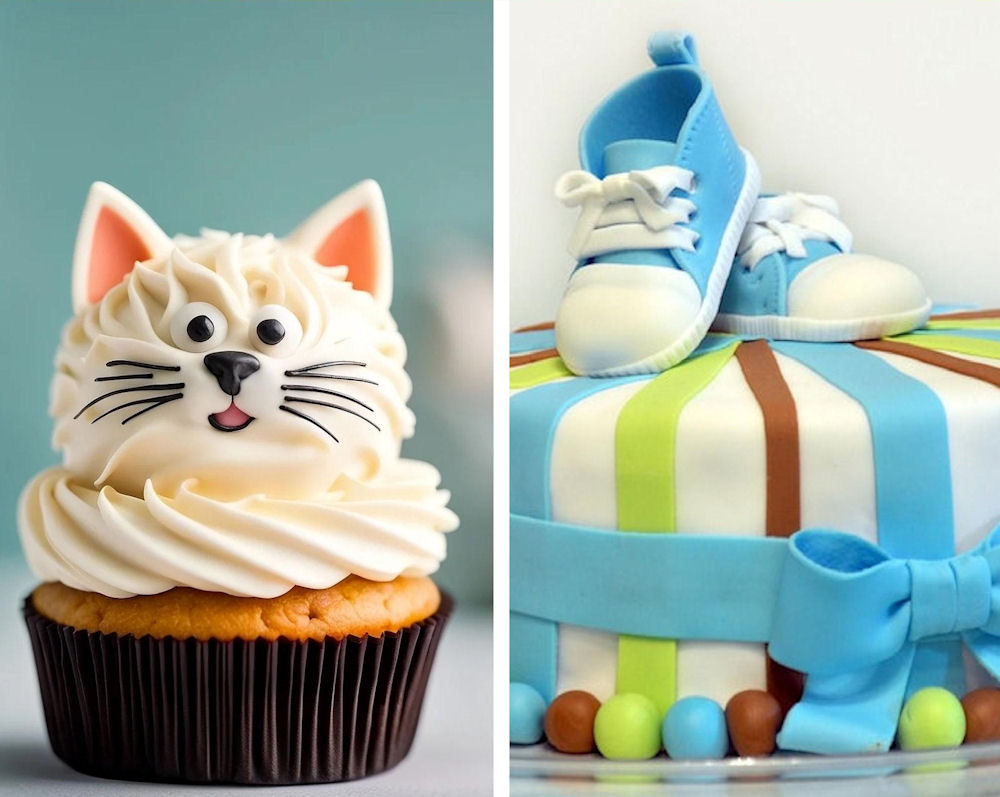
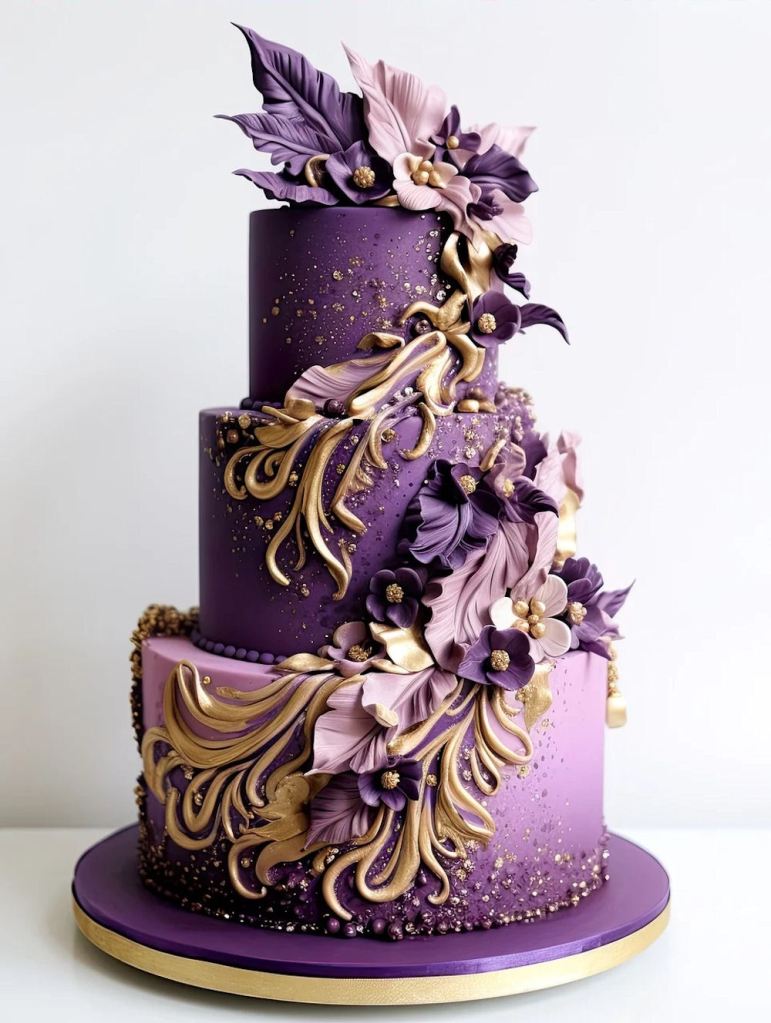
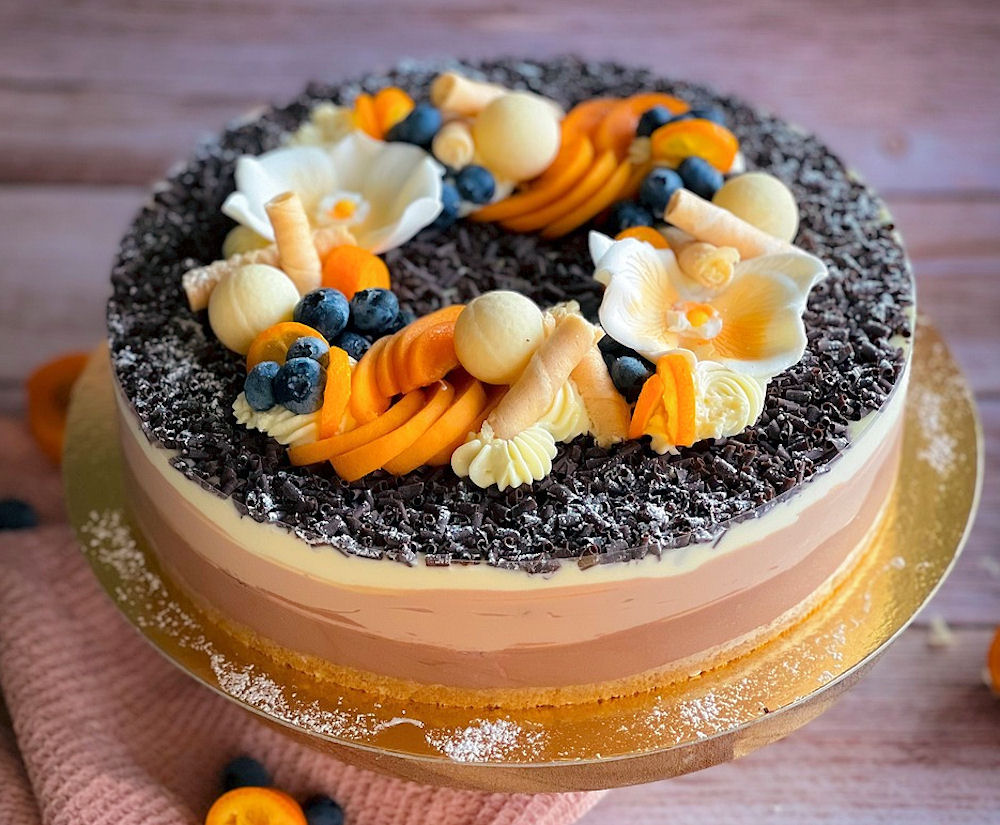
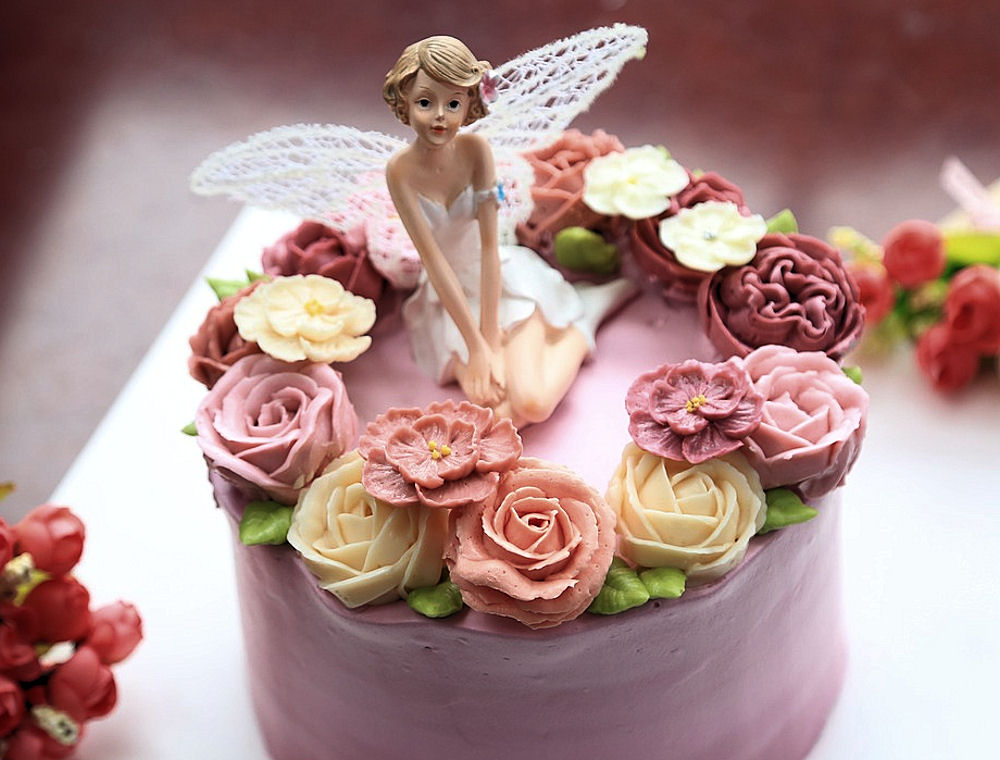
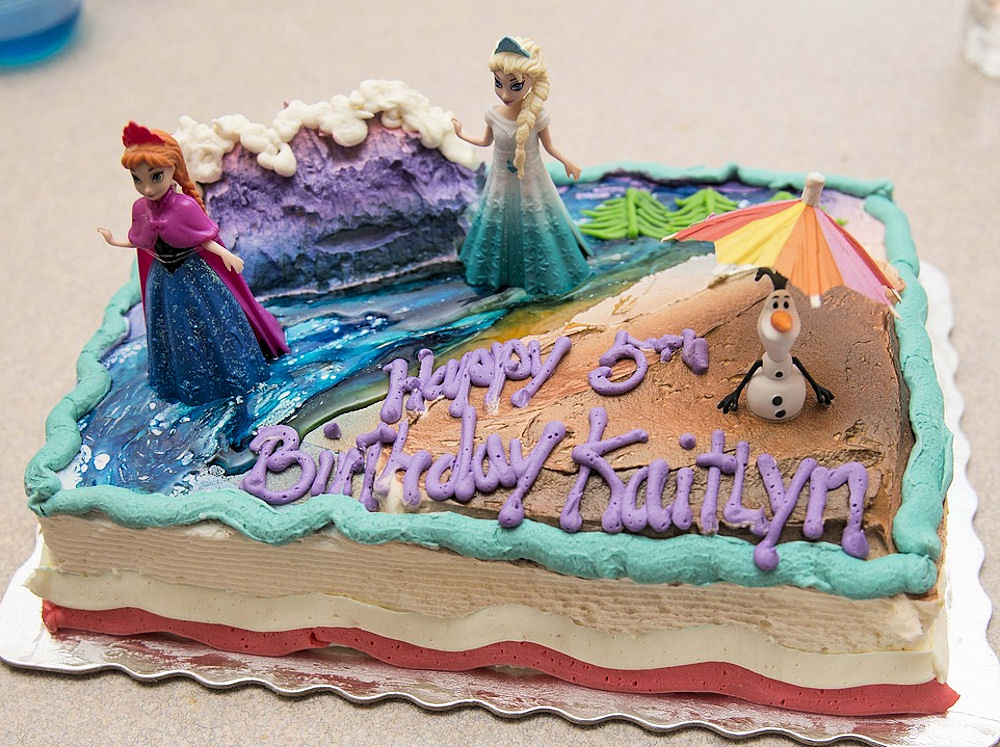
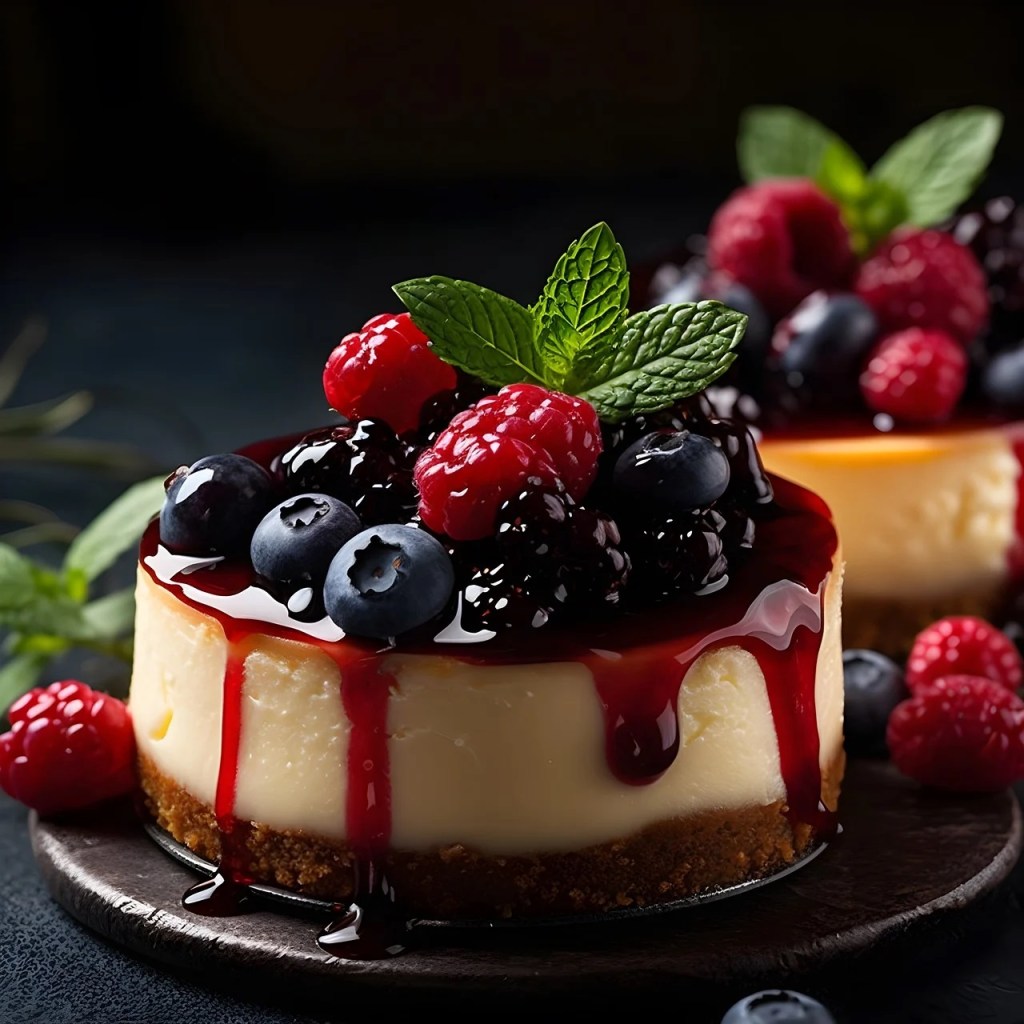
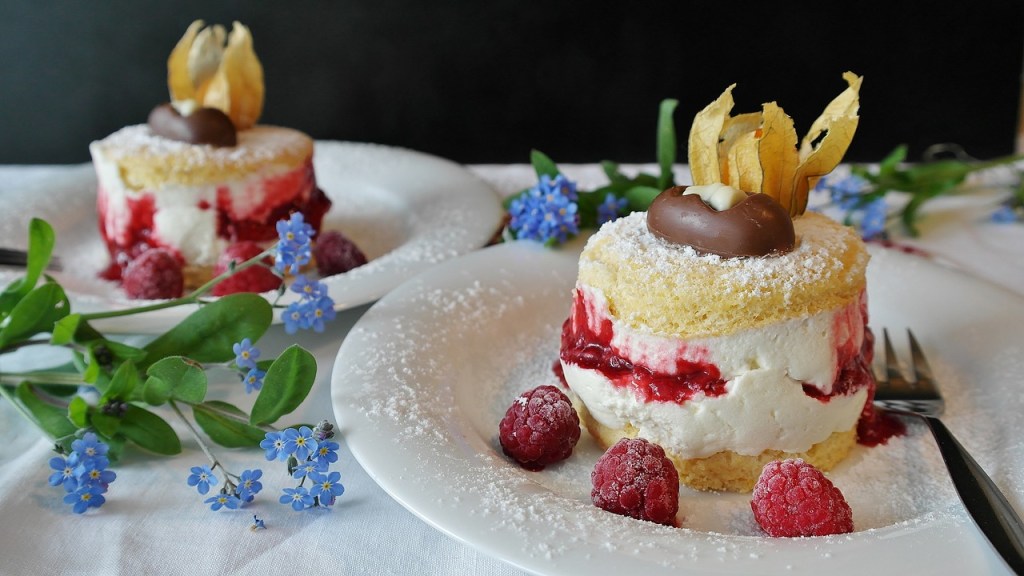
Number 6: Inspiring Cake Design

Sewing Machine Cake

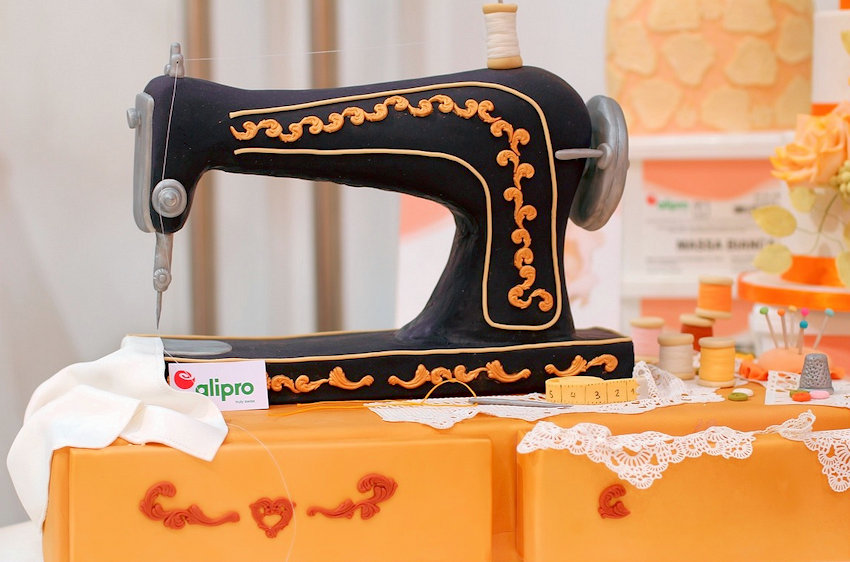
A well-designed cake sets the tone (e.g., romantic, playful, humorous), or complements the theme (e.g., fairytales, natural wonders, hobbies, holidays) for every celebration.  To read more, please click here.

Number 5: Pumpkin Spice & Everything Nice

Oven Roasted Vegetables

In Autumn, as the leaves begin to turn, pumpkin flavored items begin popping up everywhere, from coffee shops to fast food restaurants and even the local pub.  To read more, please click here.

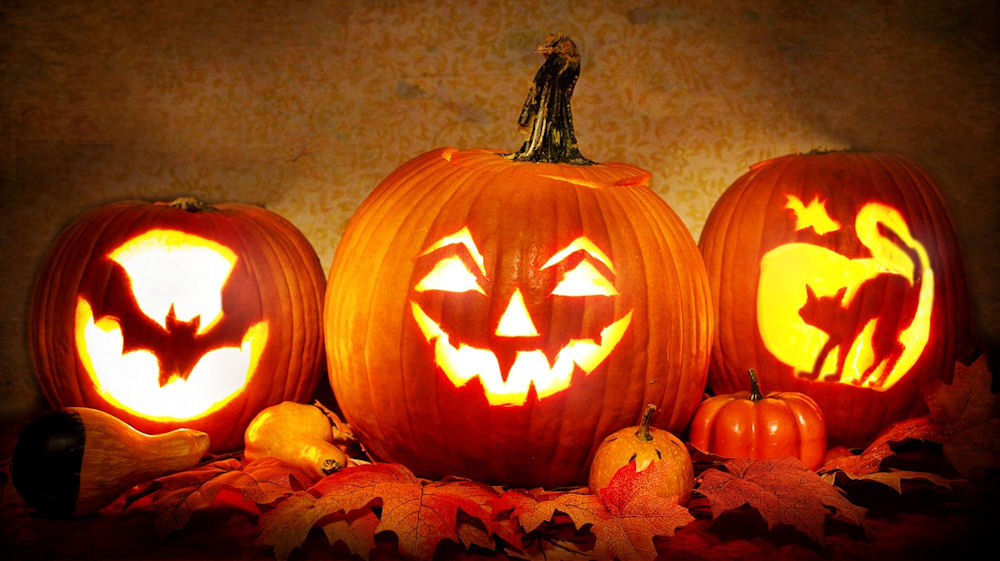
Number 4: Halloween: Naughty or Nice?

Pumpkin Pals

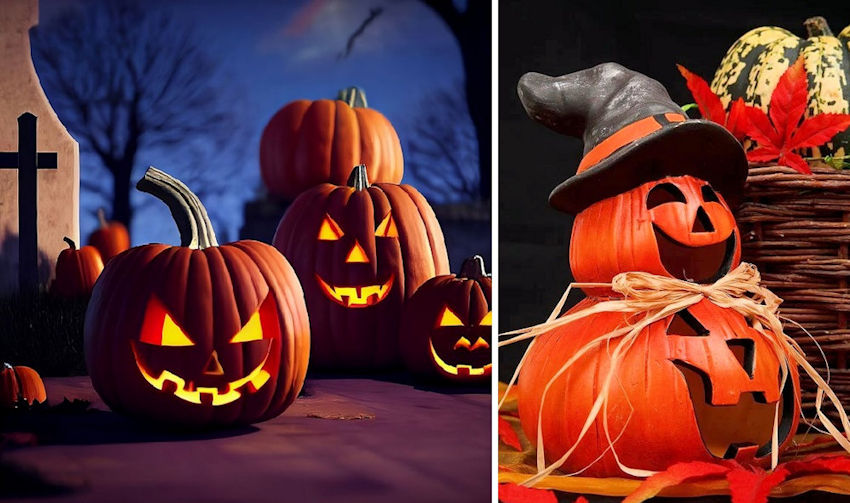
There are all sorts of Halloween themes and characters to help us celebrate this imaginative holiday.  To read more, please click here.

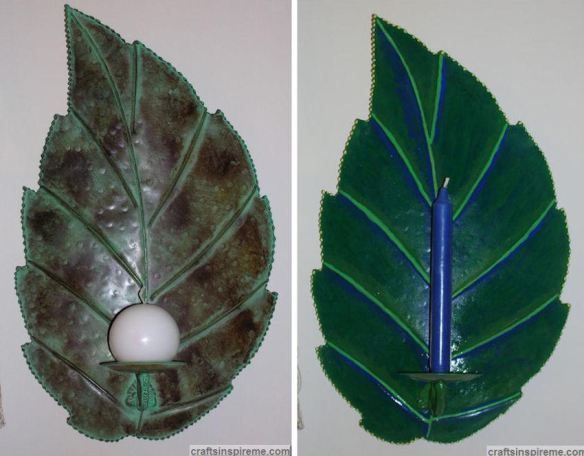
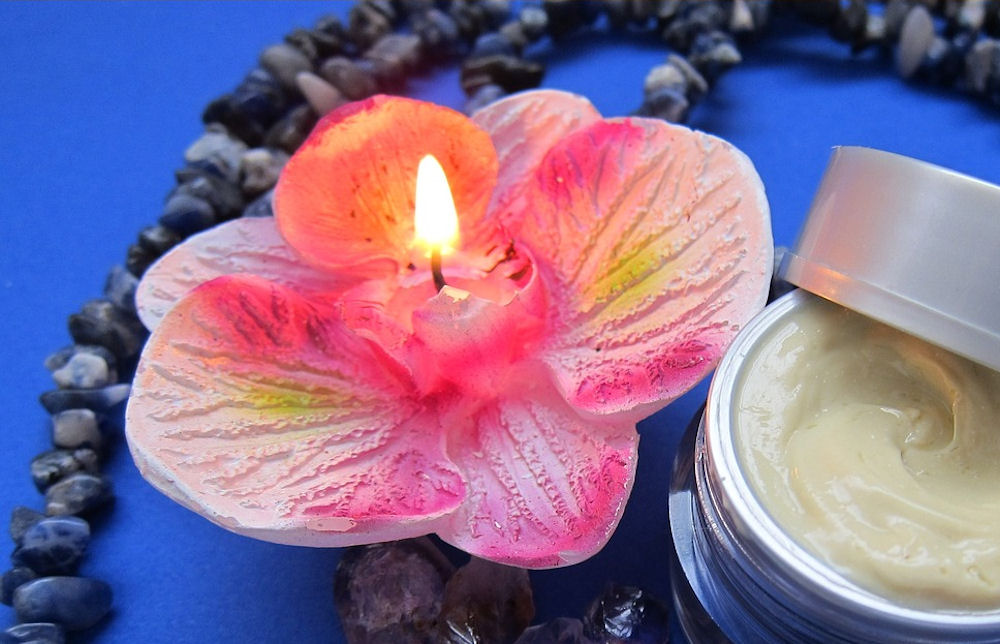
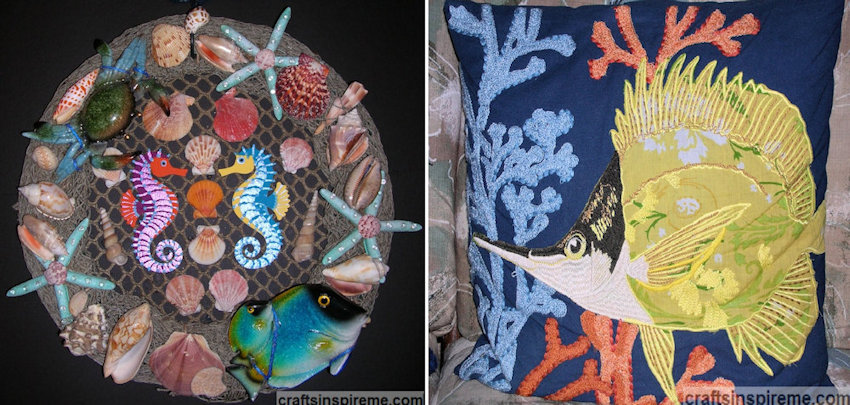
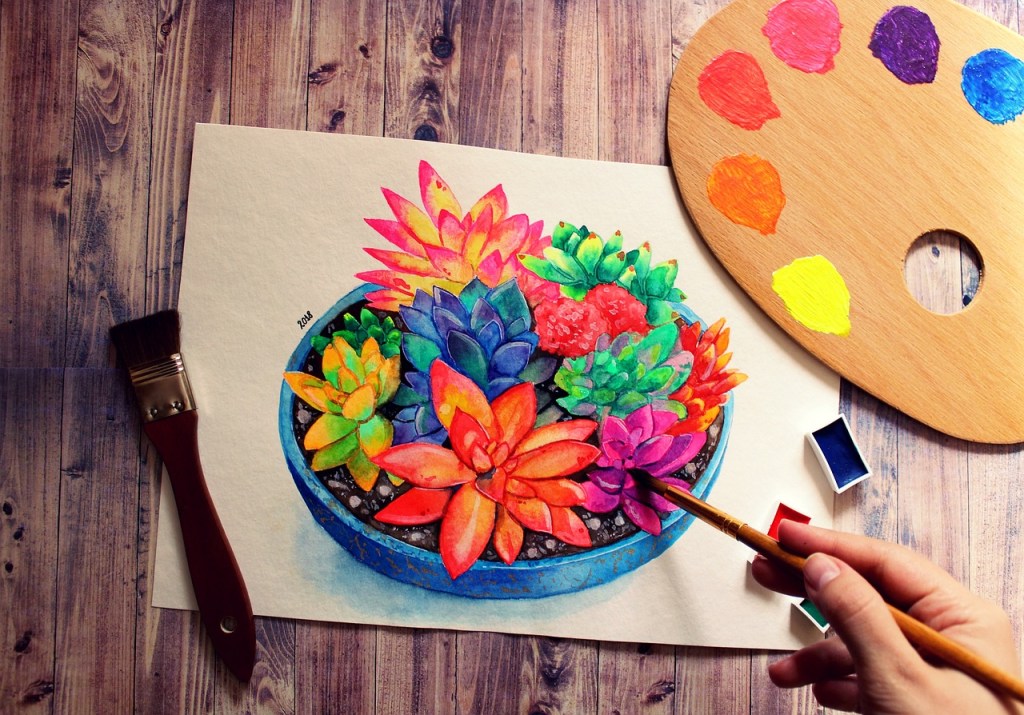
Number 3: One Craft Leads to Another

Colorful Sunset

Because we live in such a beautiful world, it comes as no surprise that we are inspired to create using every color of the rainbow. To read more, please click here.

Number 2: Inspiration: Lost & Found – Part 1

Ocean Wreath & Fish Pillow

Sometimes it feels like inspiration is impossible to find.  It hides in plain sight, masquerading as mundane items in our daily lives.  To read more, please click here.

Number 1: Blogging Vacation

Woman in Kayak

Throughout the summer, I usually take a break, by posting every other week.  This year there were so many inspirations to share I simply kept going.  To read more, please click here.

3D Painting

And there we have it – the top 10 posts from 2018 through 2023.  There are always new ideas to explore, and I’ll be sure to include more of your favorites.  Your opinions are greatly appreciated, and I look forward to so much more in the future.  If you have any suggestions for posts, please let me know. 

Thanks for Reading & Happy Crafting! 

Problem Solving for Tree Frogs

Tree Frog
These beautiful candleholders were purchased many years ago in Sanibel Island, Florida. Unfortunately, there’s a hidden problem, and it’s not the tree frogs.

Candleholders Before
Thick layers of tropical leaves weave their way around the base with three colorful tree frogs crawling among the foliage. Can you spot the problem? If you think it’s the candles, you’re right!

Closeup Top Candleholder
As you can see from this photo, the glass top of each candleholder will only fit a votive size candle. Proportionally, they would look much better with tall slim candles but they just won’t fit. We’re going to change that! The same procedure can be followed for any candleholders you may have. Let’s get started!

Supplies:
Candleholder Supplies
Supplies:
2) Candleholders
6) 12” Navy taper candles
Cardstock (See Crafting Tip in Step 1 for alternatives)
Glue stick
Scissors (or an X-Acto knife)
Fillet glove (optional protection when cutting)
Circle template
2) Rubber bands
Crinkle Paper (or mini glass marbles)

Additional Supplies:
Candleholder Paints
Painting Supplies:
Acrylic Paint – brown
Bottles of fabric paint – brown, dark green, yellow, medium green
Paintbrush

Creating Candleholder Caps
Cardstock Circles & Glue
Step 1 – To accommodate slimmer candles, we need to create a cap for the top of each candleholder. Measure the top of the candleholder. If you are using cardstock, cut 3) small 2-1/2” circles, and 2) large 3” circles. Glue the small circles together, one on top of the other like a layer cake. Glue the two large circles together in the same fashion. Center the small circles on top of the large and glue them together. Repeat this step to make the cap for the second candleholder.

Crafter Tip: This project was completed during the Covid 19 lockdown. I had to work with what I had on hand. In hindsight, I believe caps made from matt board or a sheet of plastic would be more rigid, and would only require cutting out two circles, one for each candleholder.

Tracing the Candles
Trace Candles
Step 2 – I decided to use three 12” tall taper candles in each candleholder. Hold the three candles in the center of each cap and trace the shape with a pen or pencil. Cut out the center of each cap following the triad shape of the candles.

Finished Caps
Assembled Cardstock Caps
You now have two caps for the candleholders. Test each to ensure a good fit on the candleholders. Test-fit the candles for a snug fit in each cap. Make adjustments by trimming as needed. Because the taper candles vary in size, be sure to label the bottom of each cap with “L” for left and “R” for right to ensure the candles will fit in a later step.

Painted Base Coat & Glass Marbles
Cardstock Caps Painted Brown
Step 3 – Paint the tops and edges of the caps brown to blend with the branches in the base. You may need to add mini glass marbles or crinkle paper to the bottoms to adjust the candles to the desired height.

Candles in Caps
Banded Taper Candles
Step 4 – Slide the candles into the cap. Adjust the cap’s position as needed. Wrap the candles with a rubber band beneath the cap to secure their positioning.

Final Candle Placement
Fitting Tapers in Candleholders
Step 5 – Place the candles and cap into the top of the holder. Temporarily slide the cap up to fill the void with marbles or crinkle paper. This will stabilize the candles in an upright position. To ensure that the caps will stay in place, I tacked three spots along the edge of each cap with hot glue.

Crafter Tip: I found that the crinkle paper provided firmer support than the glass marbles, which have a tendency to shift.

First Layer of Leaves
1st Layer Leaves
Step 6 – Create 3-dimensional leaves on top with fabric paint in colors similar to those found in the base.

Second Layer of Leaves
2nd Layer Leaves
Step 7 – Allow drying time. Add another layer of leaves overlapping the previous one.

Fourth Layer of Leaves
4th Layer Leaves
Step 8 – Allow drying time between layers. Add as many layers as you like to build up thick foliage.

Finished Candleholders
Completed Candleholders
These are the completed candleholders with their new candles.

Candleholders – Before & After
Before & After Frog Candle Holders
Note how much better they look with the taller candles. The blue candles and new three-dimensional painted green and yellow leaves accentuate the rainforest colors in the frogs and foliage.

When you can’t find the candles you need, it’s time to flex your creativity muscles. If you have had a similar creative challenge, please share your experiences in the comments section.

Thanks for Reading & Happy Crafting!

Beach Bear Rita

A Day at the Beach

What could be better than a day at the beach? All you need is brilliant sunshine, soft sand underfoot, foamy waves…

Flamingo Float

and a few beach toys for hours of fun.

Original Beach Bear

This adorable girl is ready for the beach, with a fashionable swimsuit, playful inner tube, and a pail for collecting treasures. Beach Bear Rita is a crocheted teddy bear pattern by Red Heart Yarn. The step-by-step instructions can be modified as you go to personalize your creation. 

Bear’s Body with Swimsuit, Arms, Head & Ears

Bear Body Arms & Head

We changed the swimsuit from striped to solid navy with white trim. The white scalloped edge on the bottom is an added feminine touch.

Bear’s Facial Details & Accessories

Bear Details & Accessories

The facial expression is happier than the original. We gave her little stud earrings and two bracelets. The bow is part of the original design and was difficult to make. (Didn’t seem to be worth the effort)

In Progress Flamingo Inner Tube

Flamingo Inner Tube

The inner tube was supposed to be a duck, but we already had pink yarn, so it became a flamingo. We followed the duck head instructions and then elongated the shape and came up with a two-tone beak.

Finished Inner Tube, Pail & Fish

Flamingo Fish & Red Pail

The pail and fish are included in the instructions, but we changed the fish from orange to blue, and used contrasting yarn for the fins.

Fish in Pail & Inner Tube Around Bear’s Waist

Putting It All Together

The fish easily slides into the pail and the inner tube fits nicely over her swimsuit.

Completed Bear per Instructions

Finished Bear Original Design

As mentioned above, we made a few minor modifications to the original instructions, but overall, this is how she looks when finished. The bow is too big, and she appears to be bald. The top of the swimsuit is bland, and the fish is almost invisible inside the pail. You’ll see below what we did instead.

Rita’s Big Makeover:

A New Hairdo

Close Up

She’s a bear, so shouldn’t she be hairy? (lol) We gave her bangs and tied her new hair up in a cute ponytail. (See back view photo at end of this post)

Crocheted Bracelets & Scalloped Edge on Swimsuit Top

Upper Body New Design

The bracelets are upgraded, and the fashionable scalloped edge trim on the swimsuit top draws attention to her happy face.

Flamingo has a New Friend

Midsection New design

The idea of adding a crab evolved out of the lack-luster fish. We thought about not making the fish at all, but in the end, kept both. The pail is not big enough for two, so I placed the crab on the inner tube as though he clamped on to hitch a ride as Rita played in the ocean.

Side View

Right Side View New Design

This fashionista is ready for a day at the beach, the pool, or the fashion runway.

Back View

Back View New Design

The full ponytail gives her a fun vibe and the blue and white hairbands match her swimsuit.

New & Improved Beach Bear Rita

Finished Bear New Design

Here she is after completing her makeover. The fish received some much-needed details, including bigger outlined eyes, and a two-tone tail. I repositioned him in the top of the pail and added curly yarn “water.”

I hope you like this adorable, crocheted bear. The pattern can be easily found online. Making it was a lot of fun, and every time I see her, I smile. Good luck with your future craft projects.

Thanks for Reading &Happy Crafting!

The Icing on the Cake

Bakery

When I have too much time on my hands, I love baking desserts. Everybody has their favorites and with a craving like that you simply can’t shake it off. Cake decorating unleashes your creativity to delight the eyes as well as the tastebuds. So, dream on. Let design ideas flow through your mind. It’s so close you can almost taste it. And if you want your cake to stand out, a cake topper should be at the top of the list. Let’s go explore some of the options…

Dance the Night Away

Bride & Groom Dancing

Slow Dancing, Swaying to the Music

Bride & Groom Slow Dancing

The Princess Bride

Bride & Groom Whispering

On the Wings of Love

Swans Cake Topper

What Lies Beneath

Carrot Cake

Peaceful Easy Feeling

Cascades Lotus Cake

A Few of My Favorite Things

Cat & Sneakers Cakes

I Want Candy

Chocolate Hearts Cake

The Bold & the Beautiful

Dramatic Floral Cake

Terra Nova

Earthly Delights Cake

Here Comes Peter Cottontail

Easter Cake

The Secret Garden

Fairy Garden

In the Garden of Eden (In-A-Gadda-Da-Vida)

Flowers & Leaves Cake

Never Too Much

French Pastry

Fields of Gold

Gold & Blue Cake

Little Mermaid Meets Little Prince

Little Mermaid & Little Prince

Castles in the Sand

Sand Castle

Walk the Dinosaur

Dinosaur Cake

Fire & Ice

Disney's Frozen Cake

Jungle Love

Jungle Cake

Need You Tonight

Wild Berry Cheese Cake

Fork, please! lol Did you notice the photo titles are song lyrics, tv shows, or movies? I don’t know why I did it. After the first two, I was hooked on a feeling, challenging myself to come up with more. Hope you enjoyed seeing these desserts, which are sure to inspire sweet dreams.  While I wander off in search of a sugar fix, please let me know your favorites.

Thanks for Reading & Happy Crafting!

P.S. There are additional song lyrics within the text of this post. Please let me know your guesses and I will update it soon with the answers. Have fun!

Spring Break

Spring Break Kermit

Warm weather appears to be arriving and spring break is in full swing. I will be taking a break from blogging for a while to catch up on a few things.

Resting Deer

Rest and relaxation are at the top of the list.

Birds & Cherry Blossoms

Taking time to “smell the roses” and admire nature is always a good idea.

Raspberry Shortcake

Baking desserts are my favorites and there are many new recipes I have been wanting to try. Yummy!

Mosaic Fish

Last, but not least, I have neglected several art projects in progress and many others yet to be started. I hope to let my creativity soar and will return to blogging with plenty of fresh ideas and inspirations.

I will do my best to keep up with all your blog posts and look forward to reading and commenting.  I truly appreciate my followers and visitors and send best wishes to all.

Thanks for Reading & Happy Crafting

Happy Easter 2024

Easter Bunnies Painting an Egg

Easter is quickly approaching and dying eggs are part of the fun.

Painted Bunny Decoration

Decorate with lots of cute bunnies.

Decorated Easter Cookies

Enjoy delicious Easter-themed cookies.

Decadent Chocolates

And devour lots of chocolate. What’s the best thing after Easter? The after-Easter candy sales! Lol

Easter Dogs

I hope you have a wonderful weekend, and I wish you a Happy Easter, Happy Spring, and Happy Crafting!

The Art of Napkin Folding

Fanned Napkins

We have all admired table settings at restaurants and weddings. Napkins play an important practical as well as artistic role in the dining experience. Napkin Folding is a special art form, which anyone can learn. We will start with napkin rings, followed by beautiful examples of napkin art, and conclude by making one of our own: a Christmas Tree Napkin. Let’s get started…

Napkin Rings:
Metal Napkin Rings

Napkin Rings Metal

Beaded Napkin Ring

Napkin Rings Jeweled

Engagement Napkin Ring

Napkin Rings Diamond

Folded Napkins:
Rolled Napkins

Rolled Napkins

Fanned Napkin

Fanned Napkin

Artistic Napkins

Artistic Napkins

Artistic Napkins

Artistic Napkins

Ocean Waves Napkins

Artistic Napkins

Easter Napkin (this design can also be a shamrock for St. Patrick’s Day)

Easter Napkin

Iris Napkin

Floral Napkin

Flower Napkin (with a fresh cut bloom)

Floral Napkin

Shirt Napkin

Shirt Napkin

Swan Napkins

Swan Napkins

How to Make a Napkin Christmas Tree:

Christmas Tree Napkins

Place a Large Square Napkin on a Table.

Large Square Napkin

Fold It in Half.

Fold Napkin in Half

Fold It in Half Again to Form a Square.

Make Napkin Square

Turn It Toward You. (loose edges at top & folded sides at bottom)

Turn Point Toward You

Fold a Small Triangle at Bottom.

Fold Small Triangle

Peel Down One Layer Toward Bottom

Peel Down One Layer

Fold Another Triangle Overlapping the First. (leave about an inch of the bottom layer exposed)

Make New Triangle

Repeat Process for Each Layer

Repeat Process

Last Layer Completed

Make Last Triangle

Fold Left Side Back to Form Half of Tree

Fold Back Left Side

Half Finished Christmas Tree

Half Tree Complete

Finished Christmas Tree Napkin

Completed Napkin Tree

Adjust the top of tree and folds as needed. Congratulations! You have successfully completed your first napkin folding project. Preparing for a wedding or a large dinner party? Only 199 napkins to go. lol

There are lots of how-to videos online or challenge yourself to come up with an original design. Have fun with it. What is the best folded napkin design you have ever seen? I loved the birds of paradise napkins at a Hawaiian restaurant. Please let me know your thoughts and ideas.

Thanks for Reading & Happy Crafting!

Crafting Day & Night

Eiffel Tower Day & Night

“As different as day and night” is a common expression. When we find ourselves stuck inside, we’re often looking for ways to be entertained. For many, crafting is the answer. A little effort goes a long way, and everyone loves seeing “Before” and “After” photos. These crafts will surprise and hopefully inspire you to create a little crafting magic of your own.

Sledding Centerpiece

Before:  Wooden Sled Wall Art.   After:  Snowman & Friends Centerpiece.
(Click here for how to instructions)

Foxy Santa

Before:  Misfit Christmas Decoration.   After:  Foxy Santa with new hat and tail.
(Click here for how to instructions)

Seashell Plaque

Before:  Drab Wall Art Print.   After:  Seashells, Sea Urchin & Starfish Framed Art.
(Click here for how to instructions)

Piggy Before and After

Before:  Colorless Pig Statue.   After:  Pink Pig with lots of personality.
(Click here for how to instructions)

Before & After Pumpkins

Before:  Faded Lawn Decoration.   After:  Bold Halloween Jack-O-Lanterns
(Click here for how to instructions)

Headless Dog Before & After

Before:  Snowman with Headless Dog.   After:  Restored Dog.
(Click here for how to instructions)

Light House Before & After

Before:  Incomplete Candleholder.   After:  New Lighthouse Roof & “Light.”
(Click here for how to instructions)

Octopus Before & After

Before:  Monochromatic Candleholder.   After:  Blue Ringed Octopus Sculpture.
(Click here for how to instructions)

Candlestick Before & After

Before:  Difficult Candle Size.   After:  Candleholder for Taper Candles.
(Click here for how to instructions)

Leaves Before & After

Before:  Dull, “Muddy” Wall Sconces.   After:  Vibrant Tropical Leaves & Candles.
(Click here for how to instructions)

I hope you enjoyed these projects. Take a look around your home for any items that could use a little refreshing. You’ll be amazed at what you can accomplish. Good Luck!

Thanks for Reading & Happy Crafting!

The Ambiance of Candlelight – Part 2

Two-tone Christmas Candle

Welcome to Part 2 of the Ambiance of Candles. In this post we will see beautiful candles and displays to inspire your creativity. Let’s begin…

Decorative Candles:
Twisted Pillar Candle

Twisted Pillar Candle

Leaf Shaped Candle

Leaf Shaped Candle

Scented Flower Shaped Candle

Scented Flower Candle

Specialty Molded & Hand Painted

Molded & Hand Painted

Hand Dipped & Carved Ball Candles (with applied accents)

Hand Dipped & Carved

Candle Holders:
Painted Wood Tea Light Holder

Painted Wood Candle Holder

Clay Pot Candle Holders

Clay Pot Candle Holders

Pottery Candle Holder (Illusion – pottery appears to be melting too)

Pottery Candle Holder

Decorative Ceramic Candle Holder

Ceramic Candle Holder

Glass Hurricane & Cylinder Candle Holders (with seasonal accent marbles)

Glass Cylinder & Hurricane

Crystal Candle Holder

Crystal Candle Holder

Antique Brass Candlestick

Antique Candlestick

Crystal Candlestick

Crystal Candlestick

Tropical Candlesticks

Tropical Candlesticks

Floral Candlestand

Candle Stand Floral

Spiral Candlestand

Candle Stand Spiral

Hanukkah Menorah

Hanukkah Menorah

Candle Chandelier

Candle Chandelier

Creative Candle Displays:
Perforated Ceramic Candle Holders

Ceramic Candle Holder

Day of the Dead Altar

Day of the Dead Altar

Indian Wedding Décor

Indian Wedding Decor

Sculptural Candelabra

Sculptural Candelabra

Glass Luminaries

Glass Luminaries

Floral Centerpiece

Floral Centerpiece

Jack-O-Lanterns

Jack O Lanterns

Advent Wreath

Advent Wreath

Glass Mosaic Candle Holder

Glass Mosaic Holder

Candelabra Floral Centerpiece

Glass Mosaic Holder

Ice Cream Sundae Candles

Ice Cream Sundaes

Furniture showrooms often display candles like these to make you feel at home and inspire purchases. For me, it stimulates my appetite and fuels the desire to rush home for a sweet treat. lol

Dinosaur Collection

Dinosaur Collection

I wanted to conclude this article on a humorous note. If you have a dinosaur collection, why not showcase it with candlelight? Fire has a primitive quality, which flickers and highlights the textures, colors, and razor-sharp teeth of these prehistoric creatures. Kids and adults will appreciate this whimsical display.

I hope you have enjoyed this exploration of candles and the effects of candlelight. Do you have any favorites? Please let me know in the comments. If you missed Part 1, please click here.  

Thanks for Reading & Happy Crafting!

The Ambiance of Candlelight – Part 1

Retail Candle Display

Prior to the discovery/invention of electricity, candles were our only source of light. Today, we use candlelight to enhance the ambiance of any space, both indoors and outside. This post covers the basics of candles, from melted wax, to finishing options, and types of candles. It concludes with several examples of candles enhancing a setting and evoking emotional responses.

Adding Fragrance to Melted Wax

Melted Wax & Fragrance

Pouring Melted Wax into Glass Candleholders

Molding Melted Wax

Cooled Wax

Cooled Wax

Candle Enhancements:
Multicolor Additives

Multicolor

Metallics & Textures

Metallics & Textures

Hand Painting

Hand Painting

Decorative Accents (inside and outer surface)

Seashells Mixed In Wax

Fragrances

Fragrances

Specialty Molds

Specialty Molds

Twisting Hot Wax

Twisted Taper Candle

Fabric Wrapping

Fabric Wrapped

Types of Candles:
Ball Candles

Ball Candles

Birthday Candles

Birthday Candles

Taper Candles

Taper Candles

Beeswax Candles

Beeswax Candles

Floating Candles

Floating Candles

Hand Dipped & Carved Candles (w/ decorative accents)

Hand Dipped & Carved

Pillar Candles

Pillar Candles

Votive Candles

Votive Candles

Jar Candles

Jar Candles

Candle Tin

Candle Tin

Tea Light Candles

Tea Lights

LED Tea Light Candles

Tea Light LEDs

LED Color Changing Candles (with Remote Control)

LED Technology

Glass Oil Lamps

Oil Lamps

Feelings Evoked/ Atmosphere Created with Candlelight:
Aww  (So cute!)

Awww Moment

Honor & Remembrance

Honor & Remembrance

Faith & Hope

Faith & Hope

Romance

Romance

Terror

Terror

Tranquility

Tranquility

I hope you have enjoyed this exploration of candles and the effects of candlelight. Do you have any favorites? Please let me know in the comments. In Part Two, we will see beautiful candles and multiple display options.

Thanks for Reading & Happy Crafting!