When decorating for Halloween, there are two decisions to be made:
1. Choose a Theme. 2. Choose a Fear Factor.
What is the fear factor? Think of it as how much you want to frighten people, based upon a 3-level scale. Level 3 is Nightmares. Halloween themes at this level provide good old-fashioned scares like when someone sneaks up behind you and yells Boo. You jump and maybe scream in shock…and then you tell them they’re grounded for life. (lol) Let’s see how the desired emotional reactions affect our choices in Halloween décor.
Nightmare Themes:
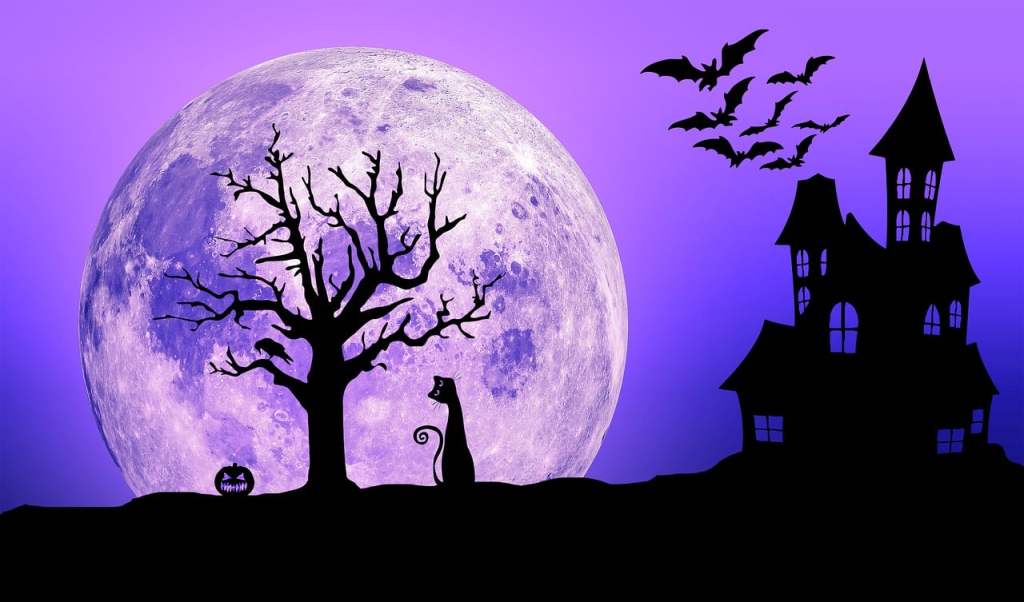
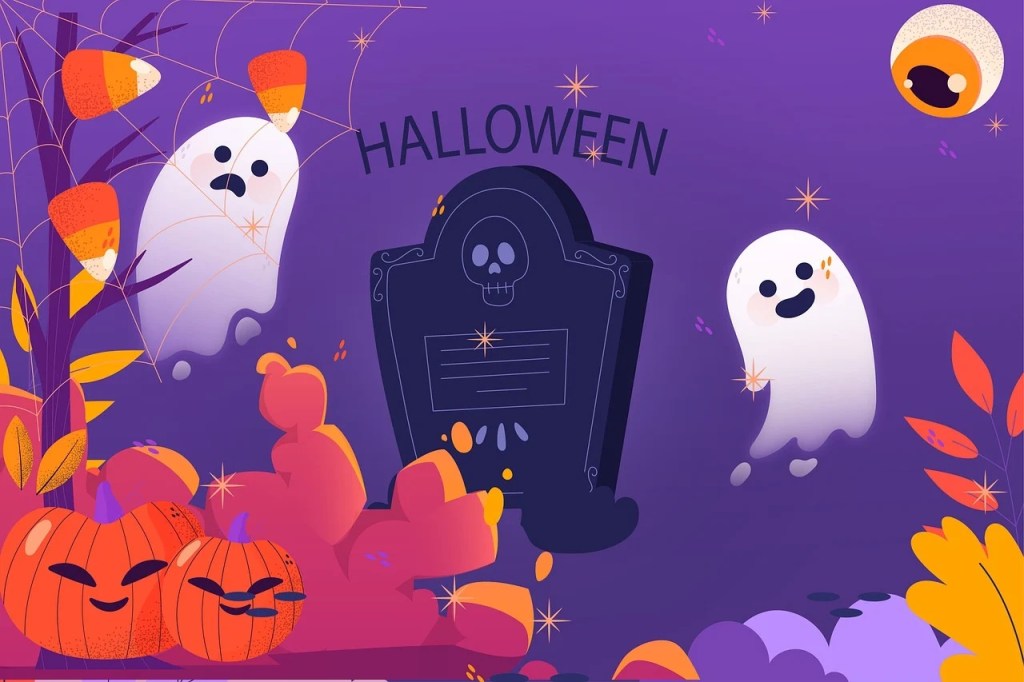
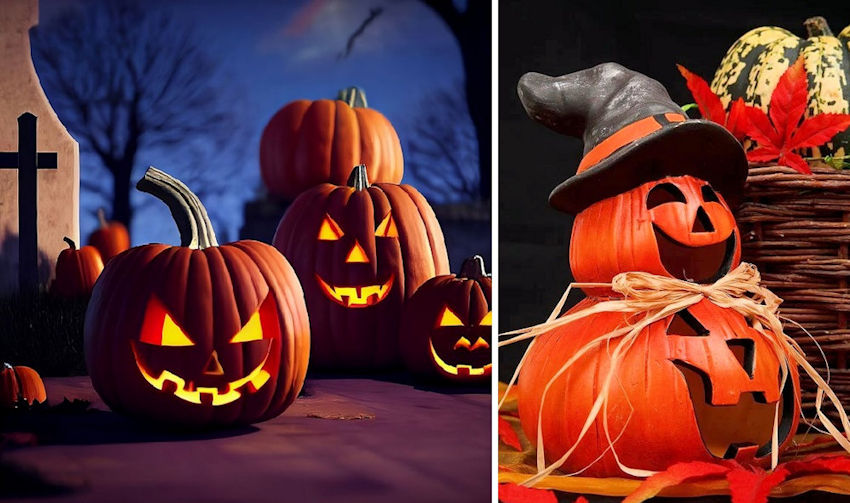
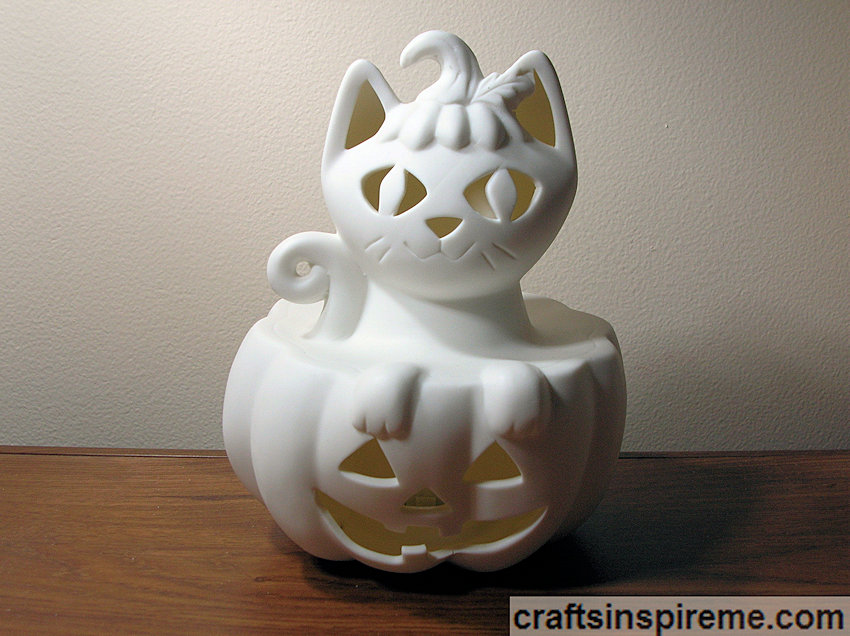
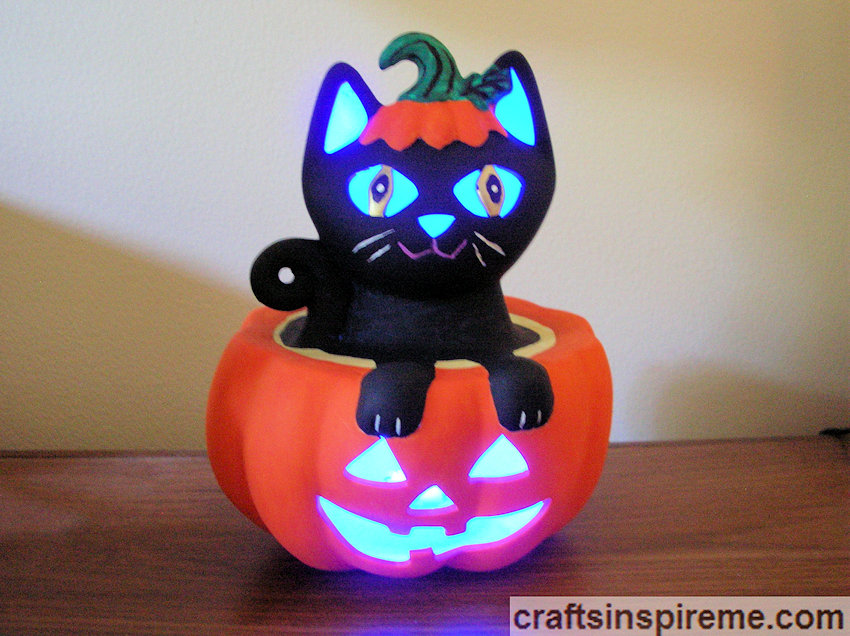
Jack-O-Lanterns

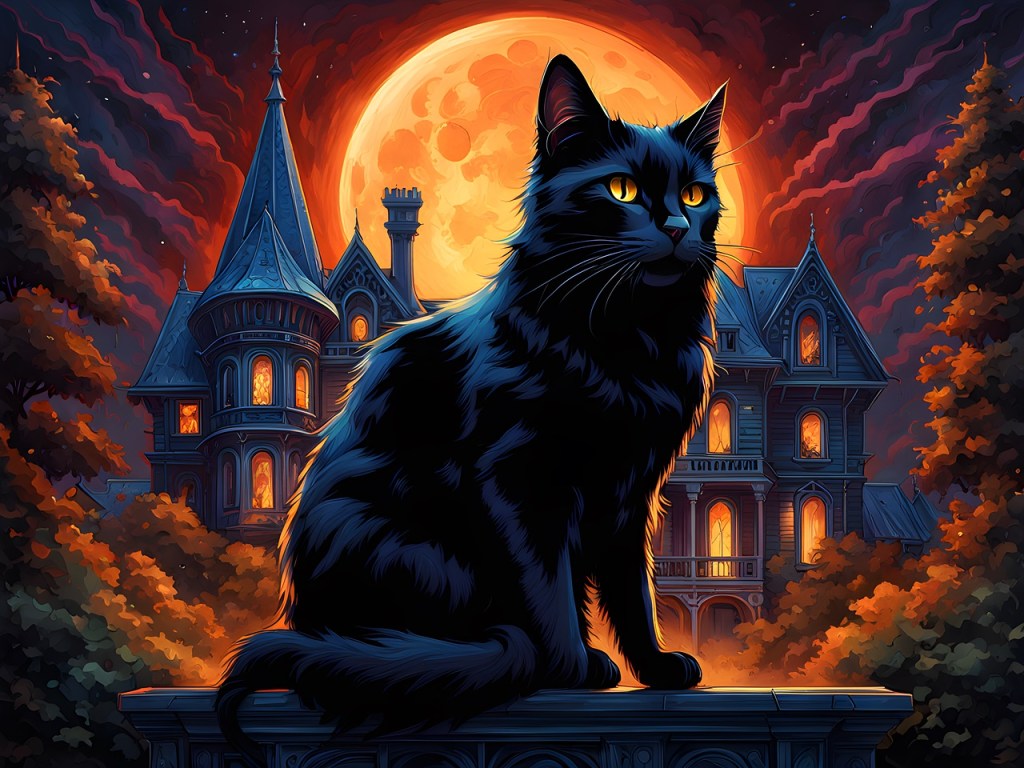
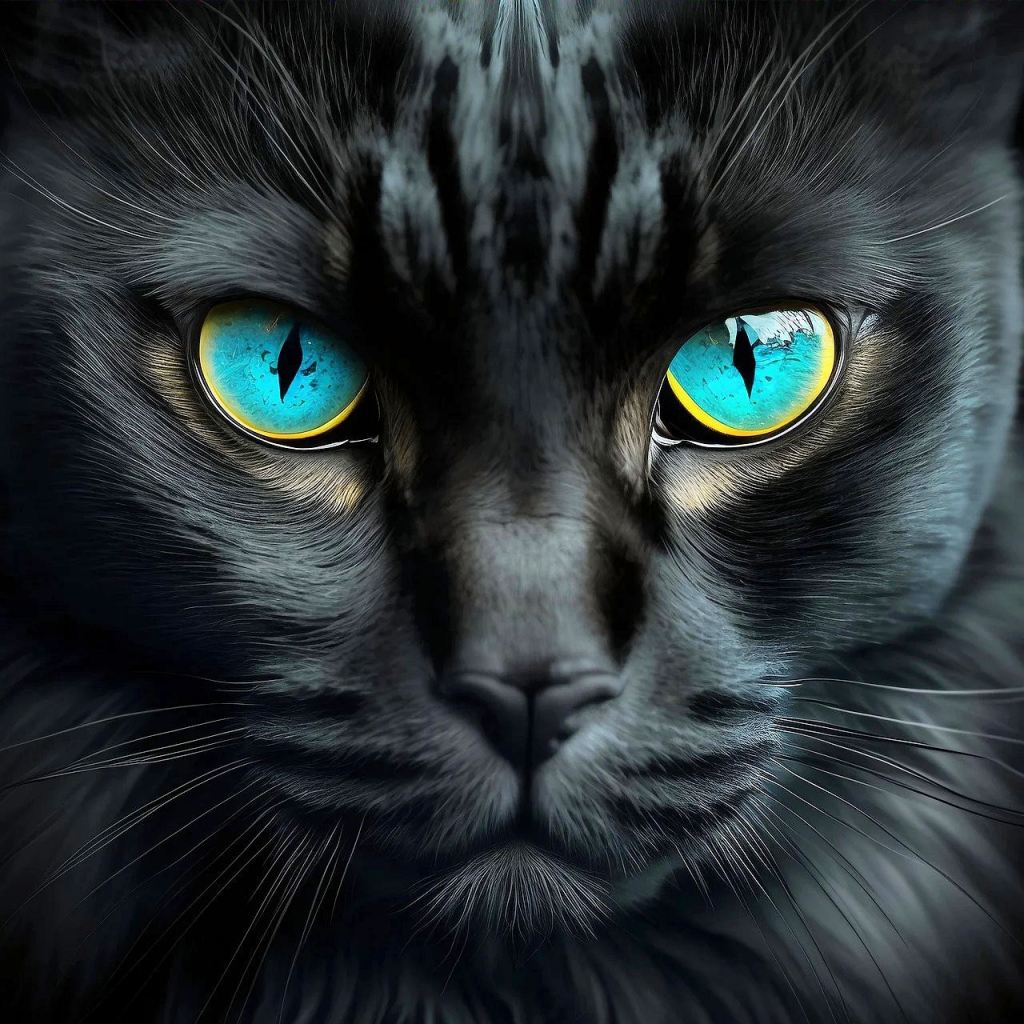
Black Cats

Mummies

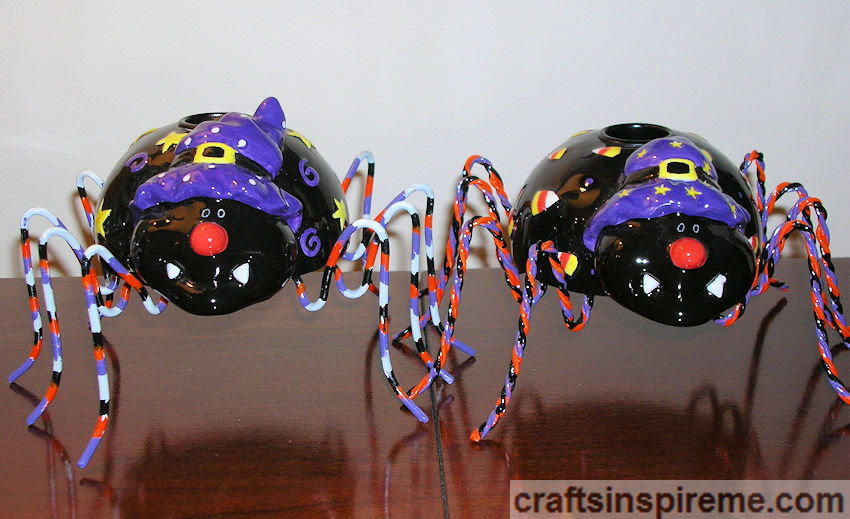
Spiders

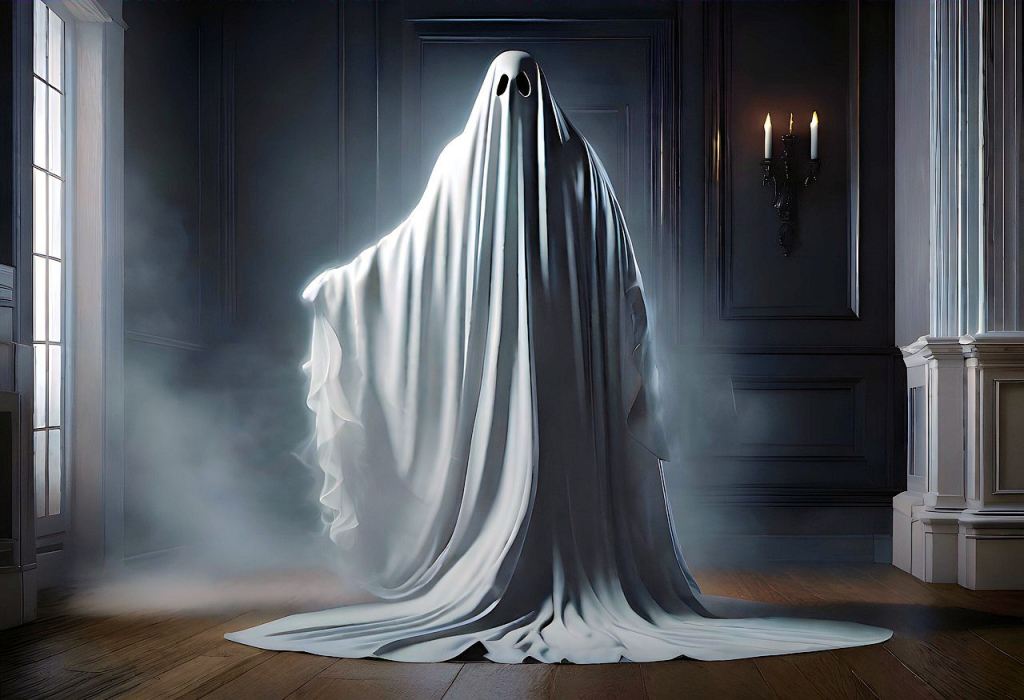
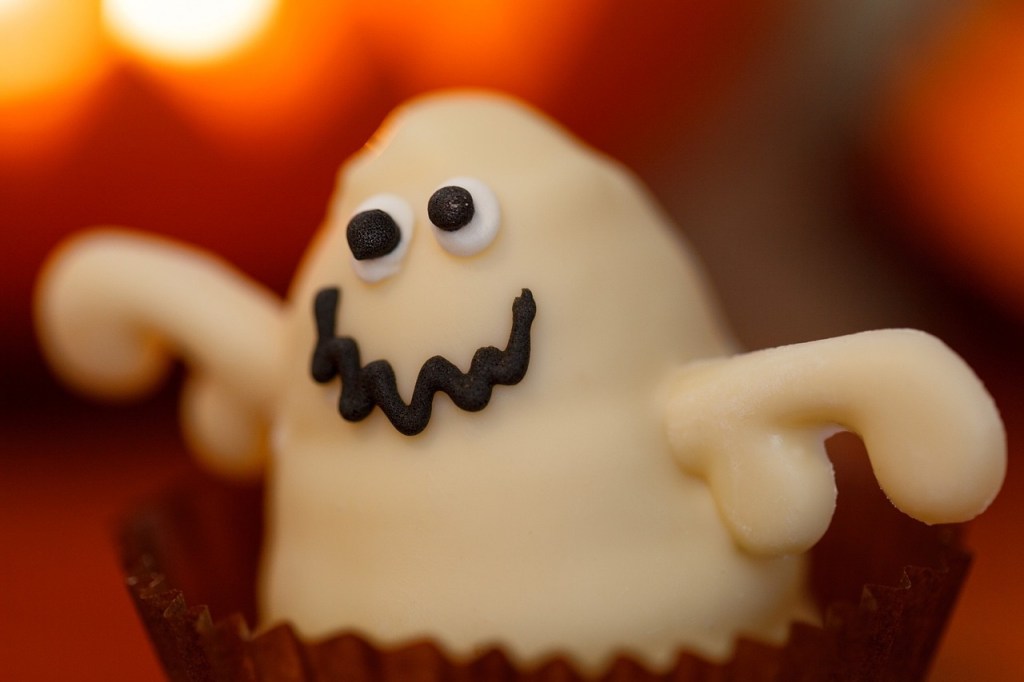
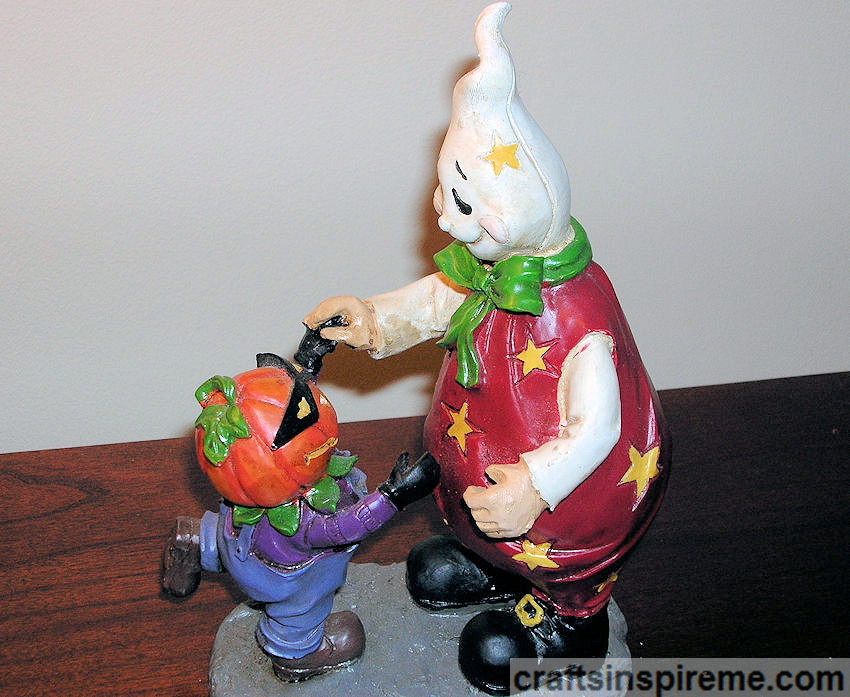
Ghosts

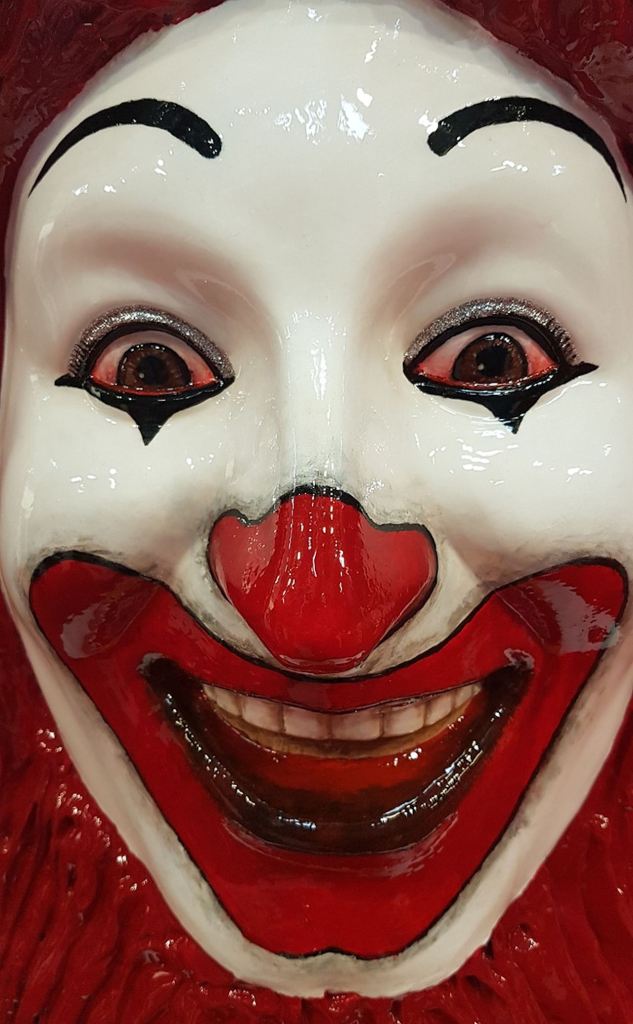
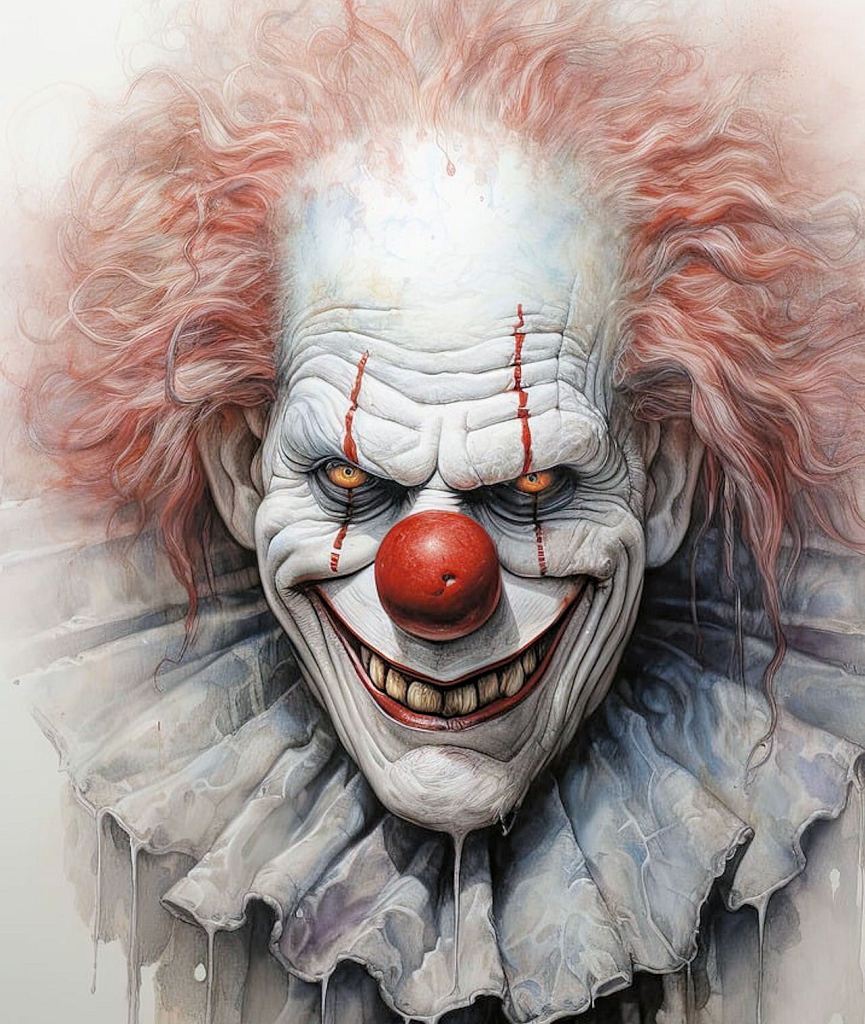
Clowns
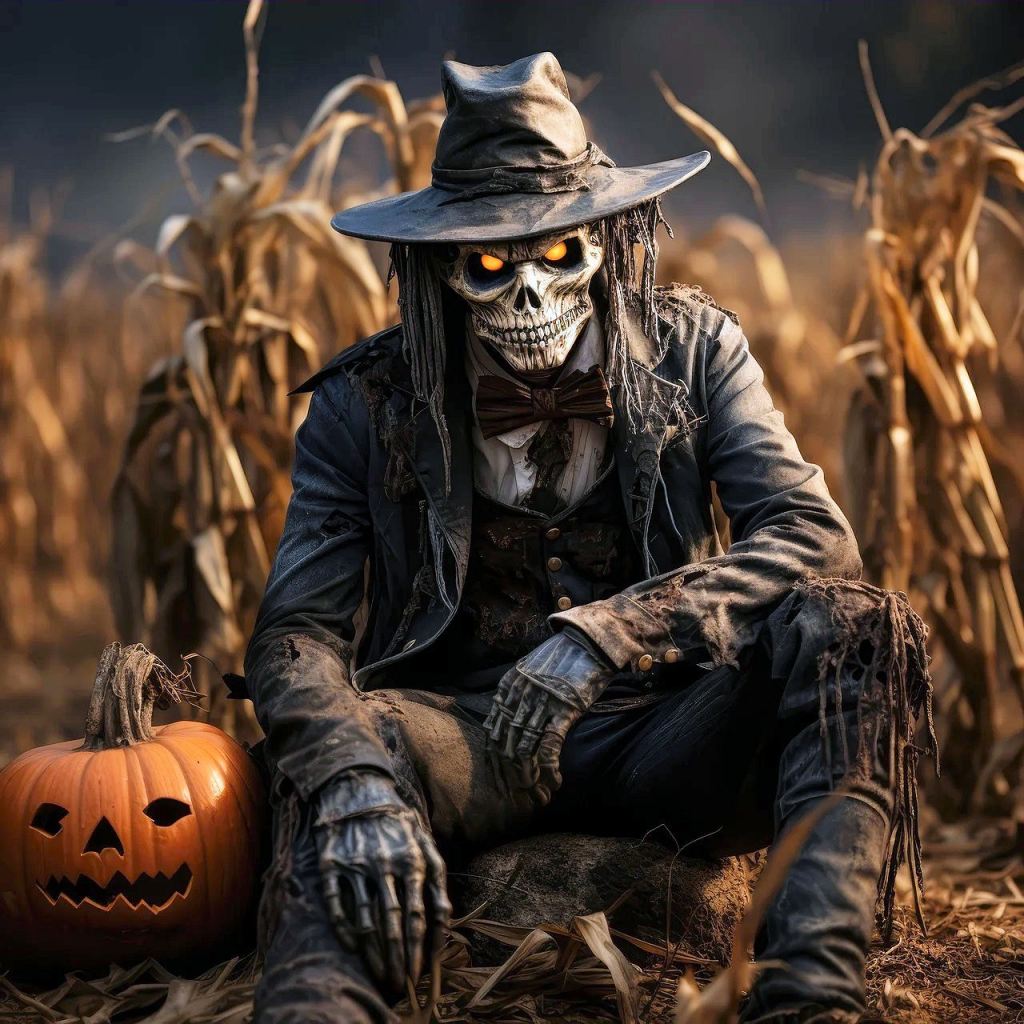
Scarecrows
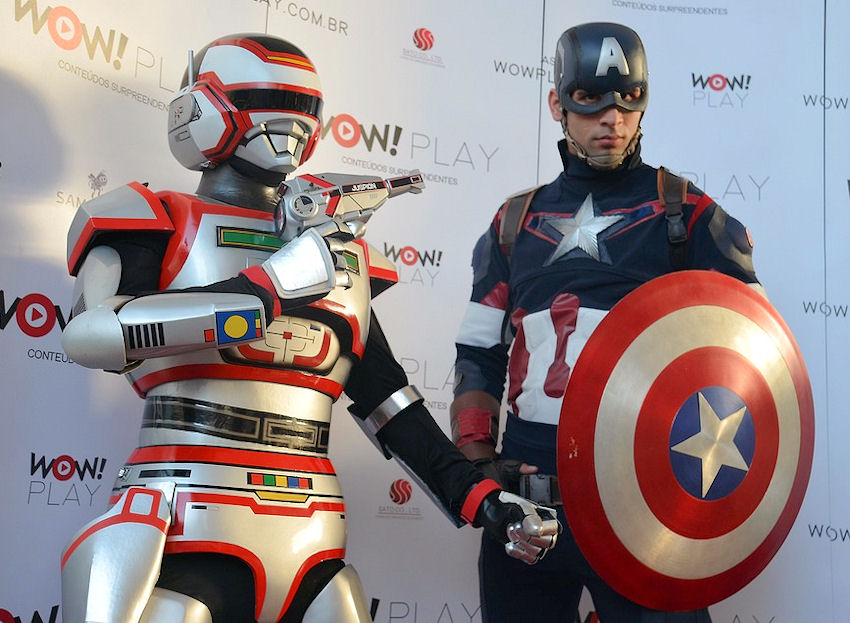
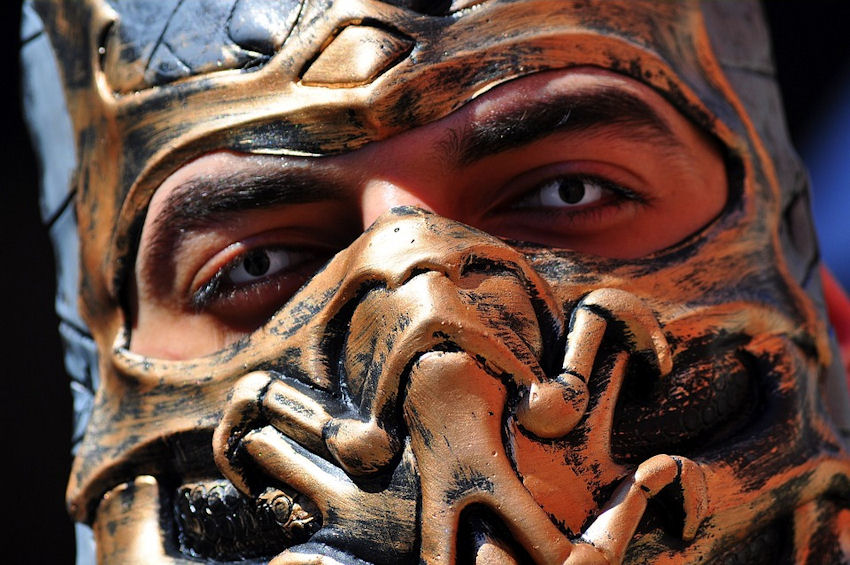
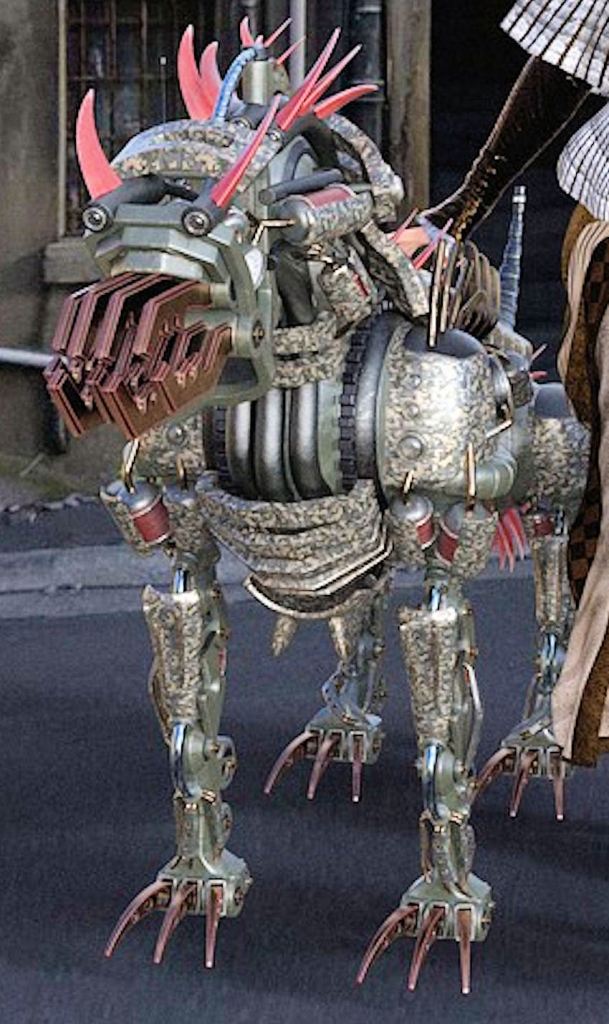
Monsters

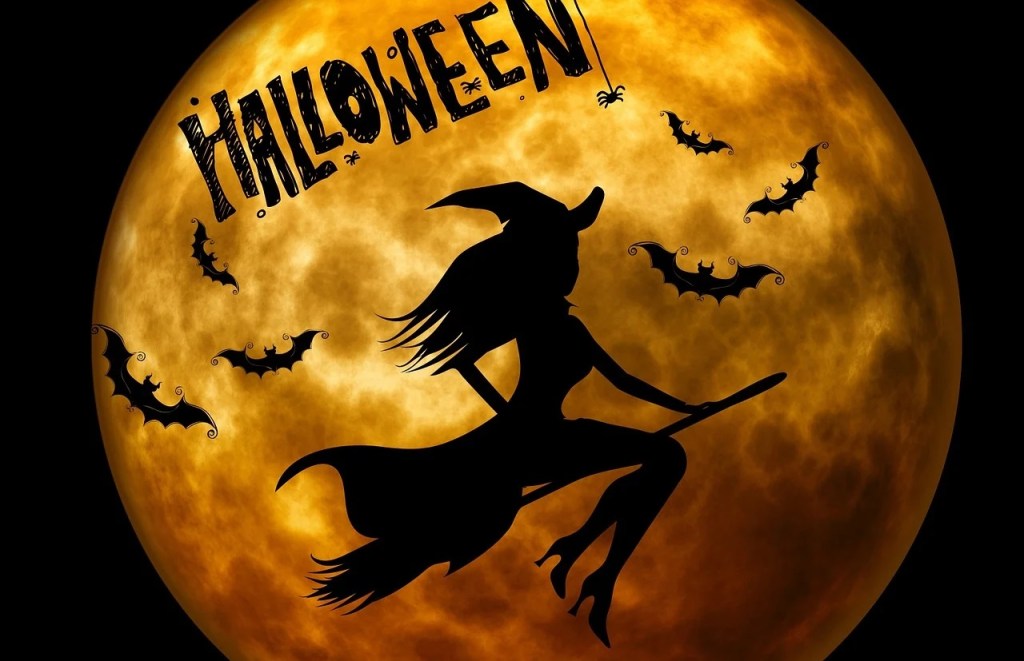
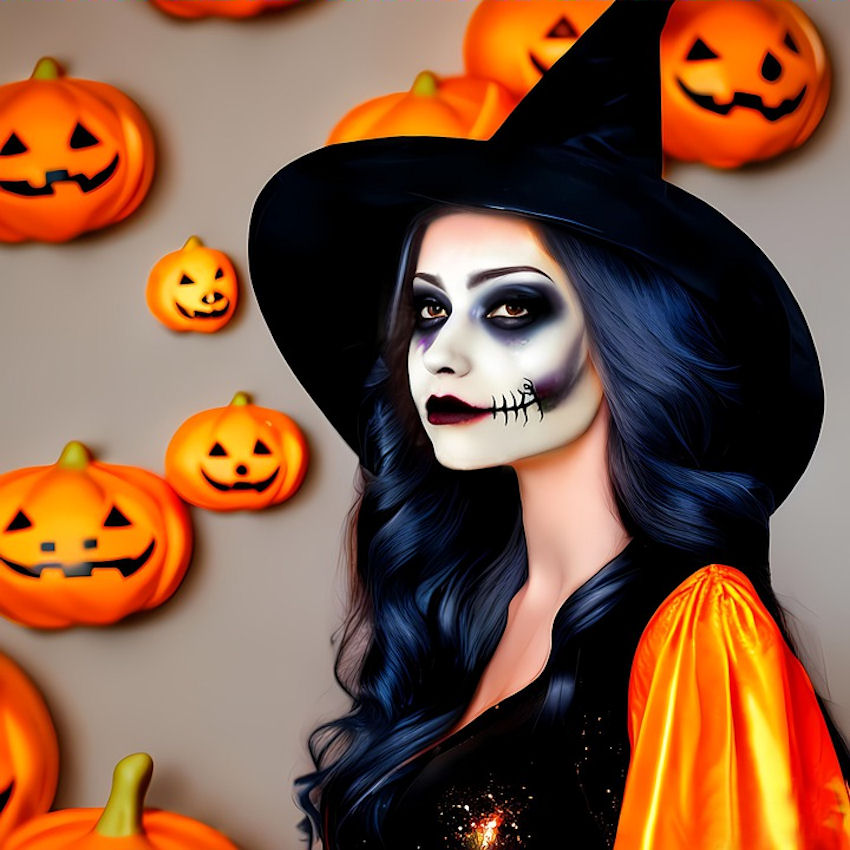
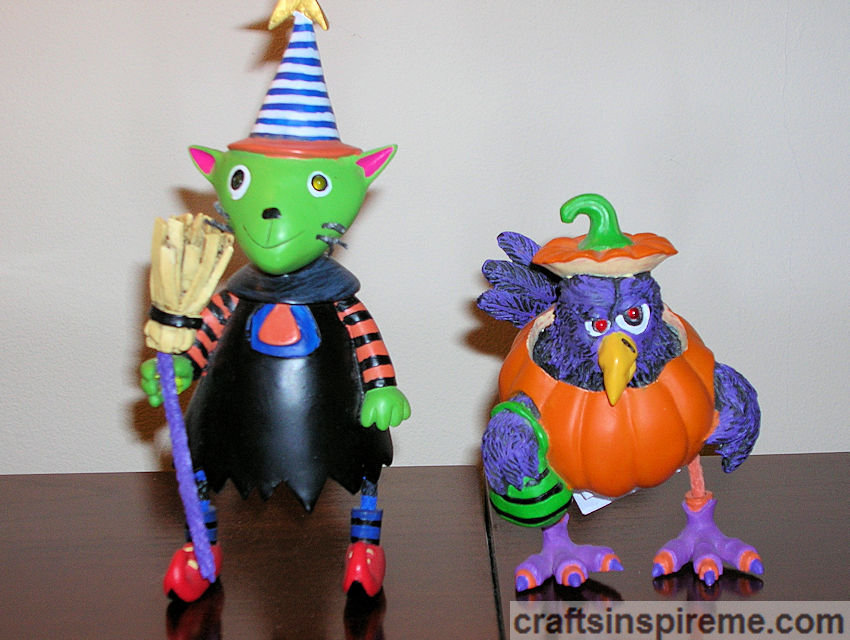
Witches

Haunted House
Pumpkin Patch
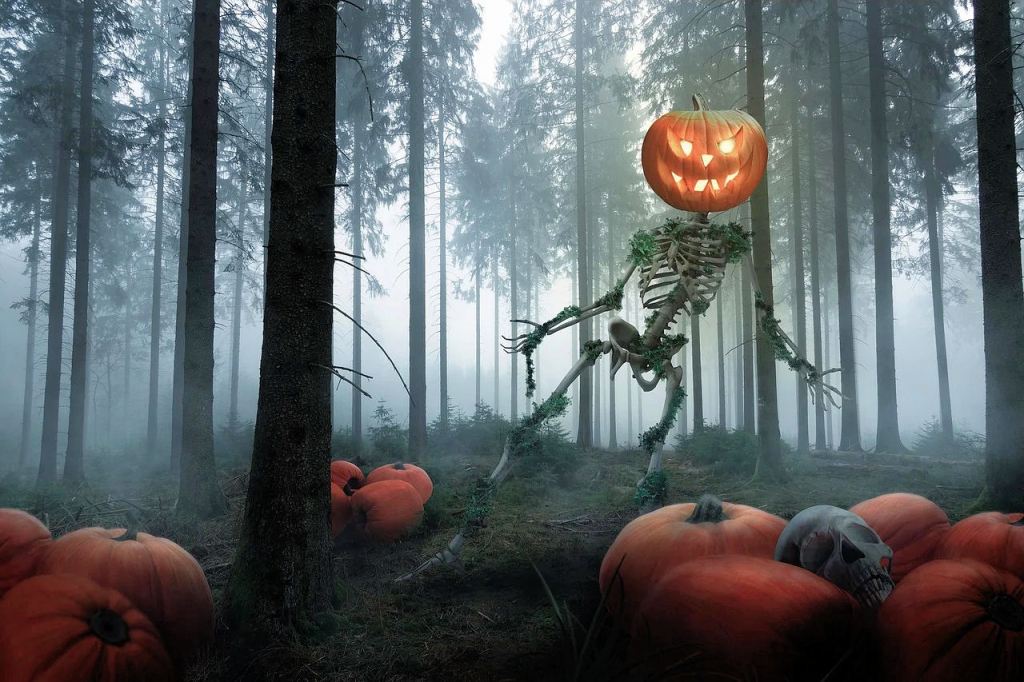
Skeletons

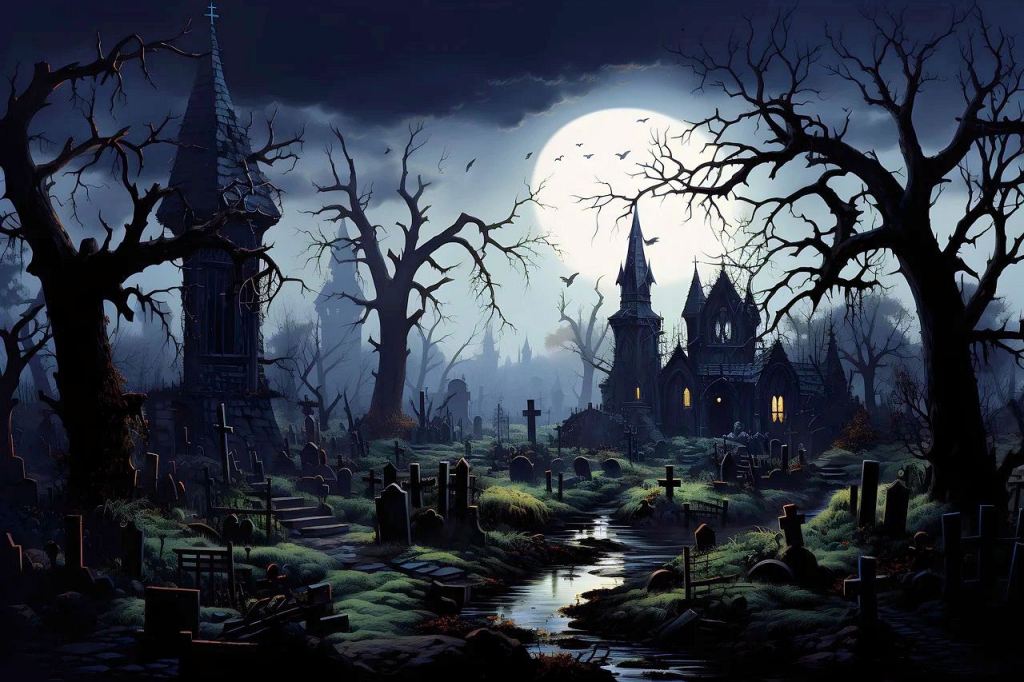
Graveyard & Zombie

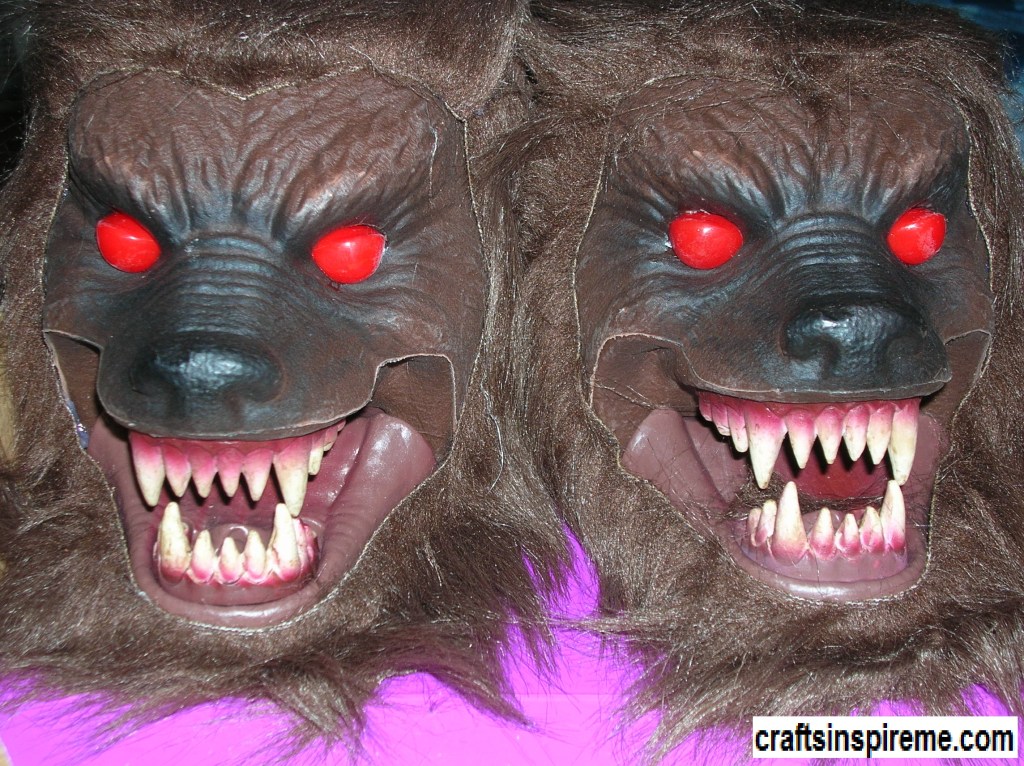
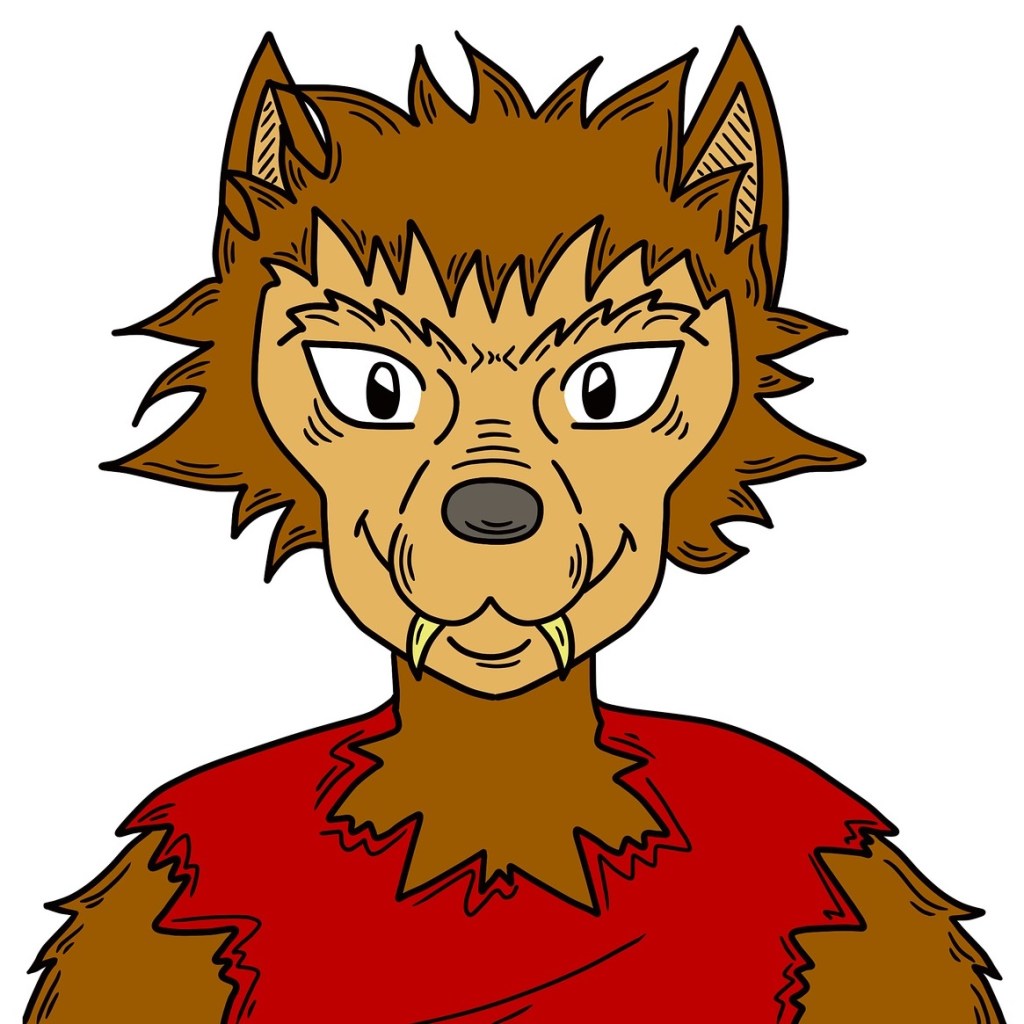
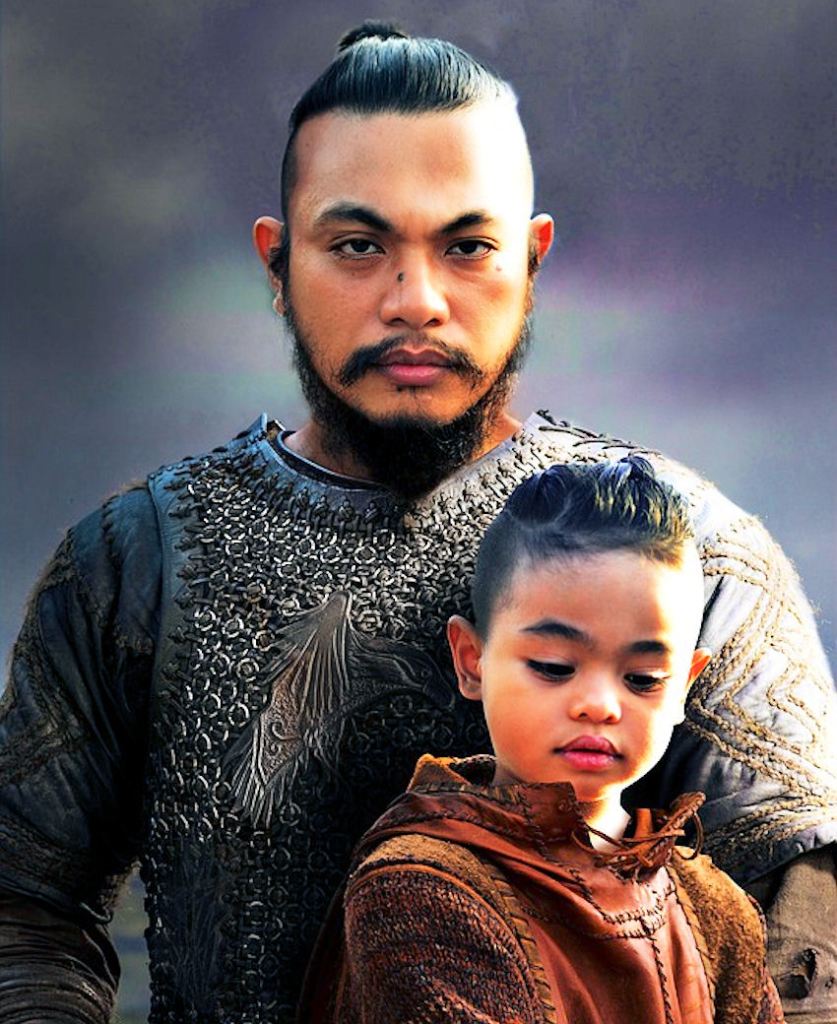
Werewolves

Bats

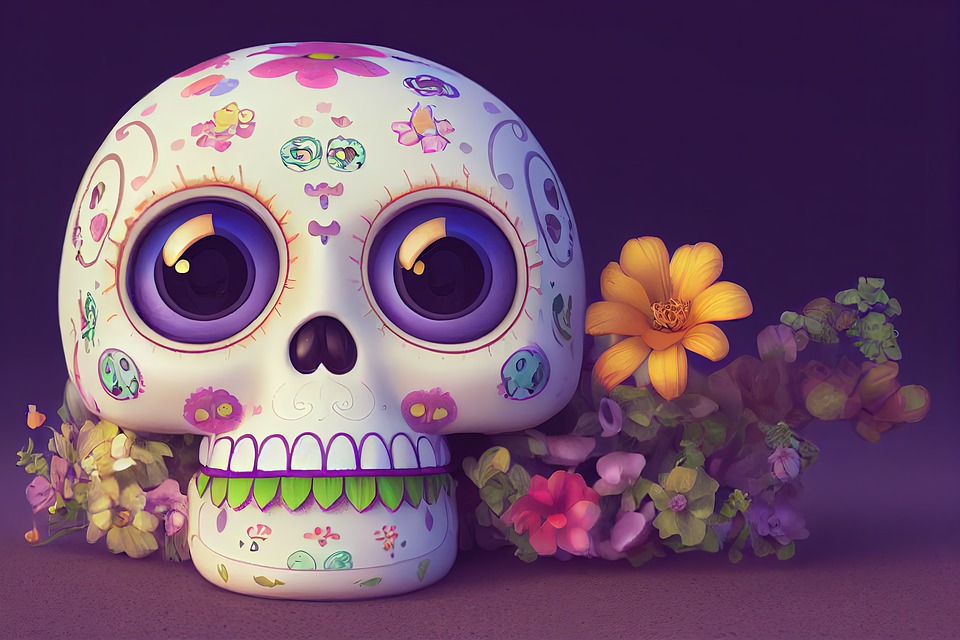
Day of the Dead

Vampires

Haunted Corn Maze

Haunted Village

Haunted Bog

Onion Monster

Insects

Headless Horseman

Vampires & Werewolves (Extra Credit for Living Chess Pieces. lol)

Gremlins

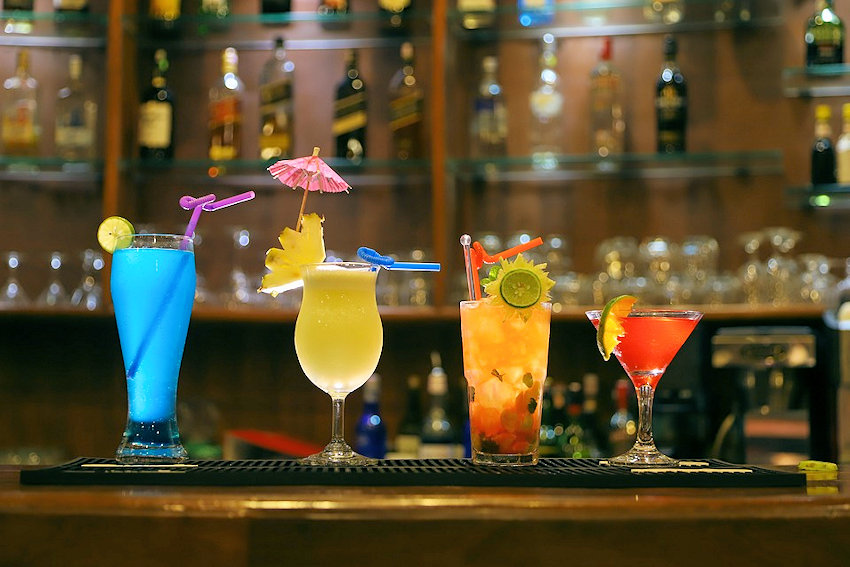
Nightmare Themed Foods:
Beverages

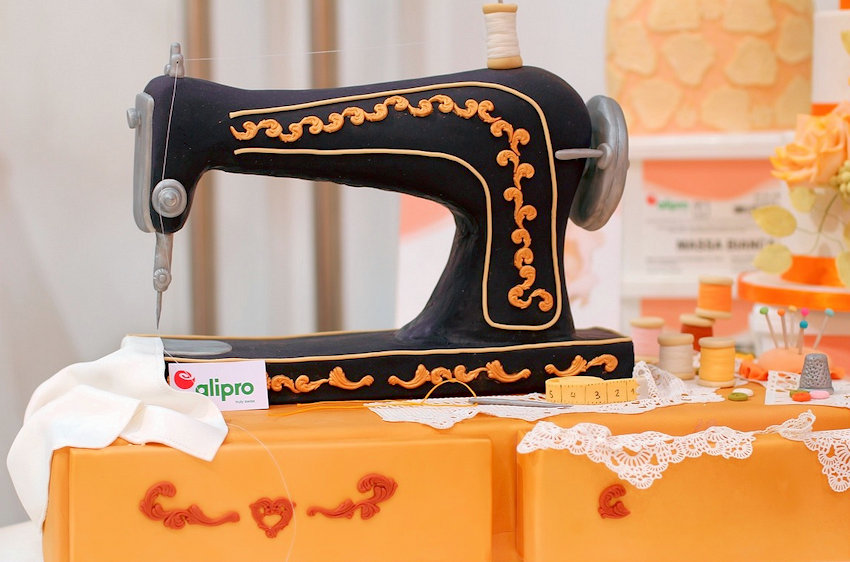
Cakes

Desserts

Pastries

Let’s Toast to Halloween

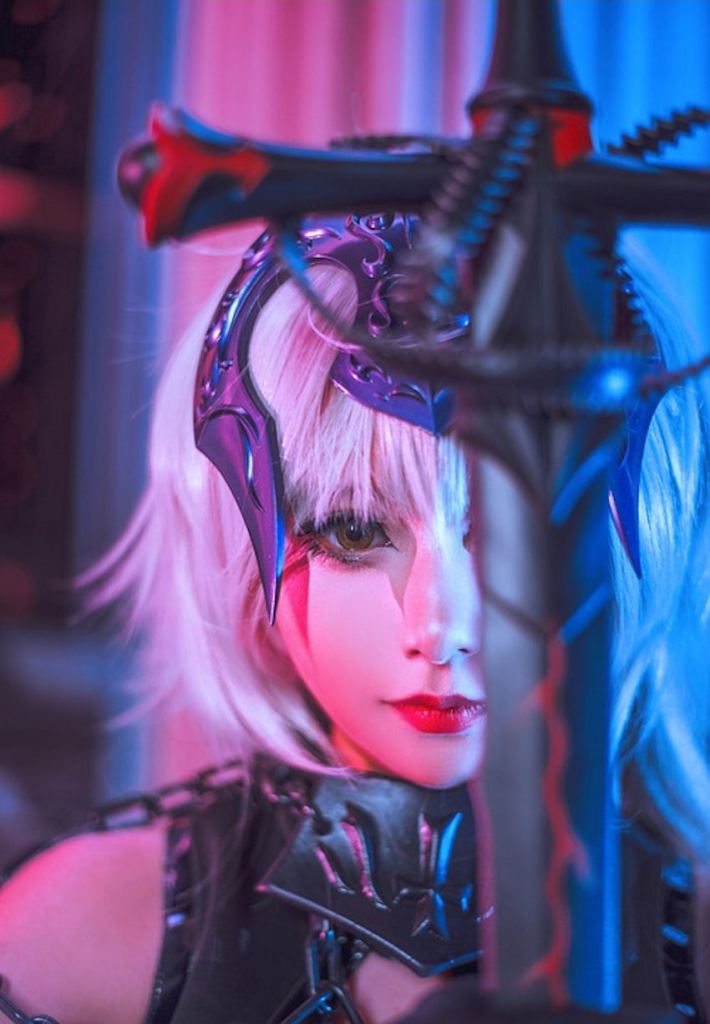
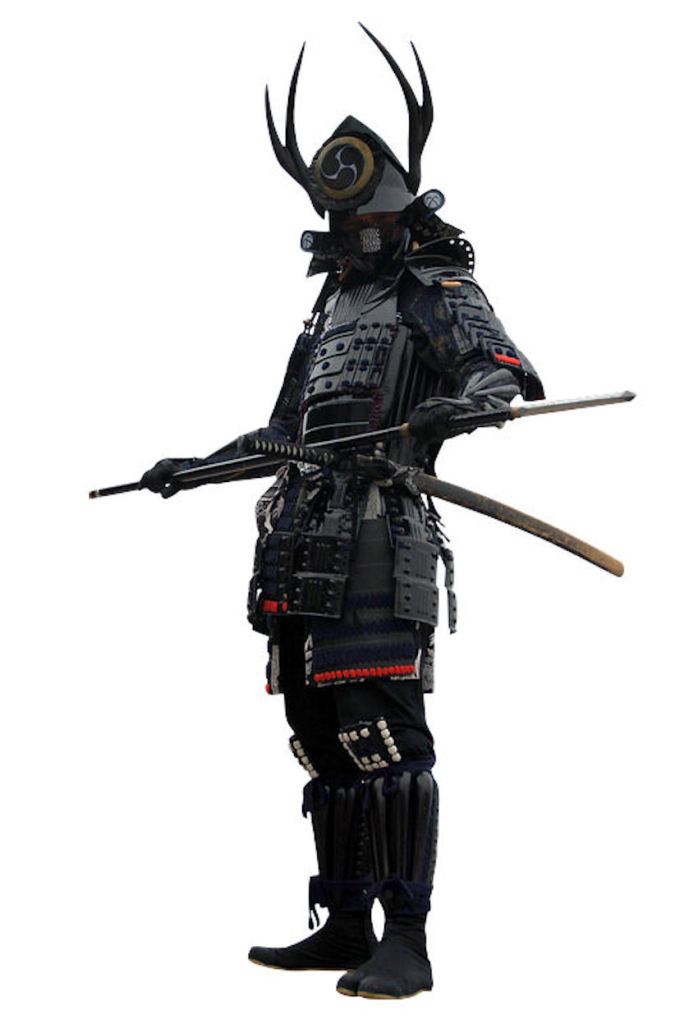
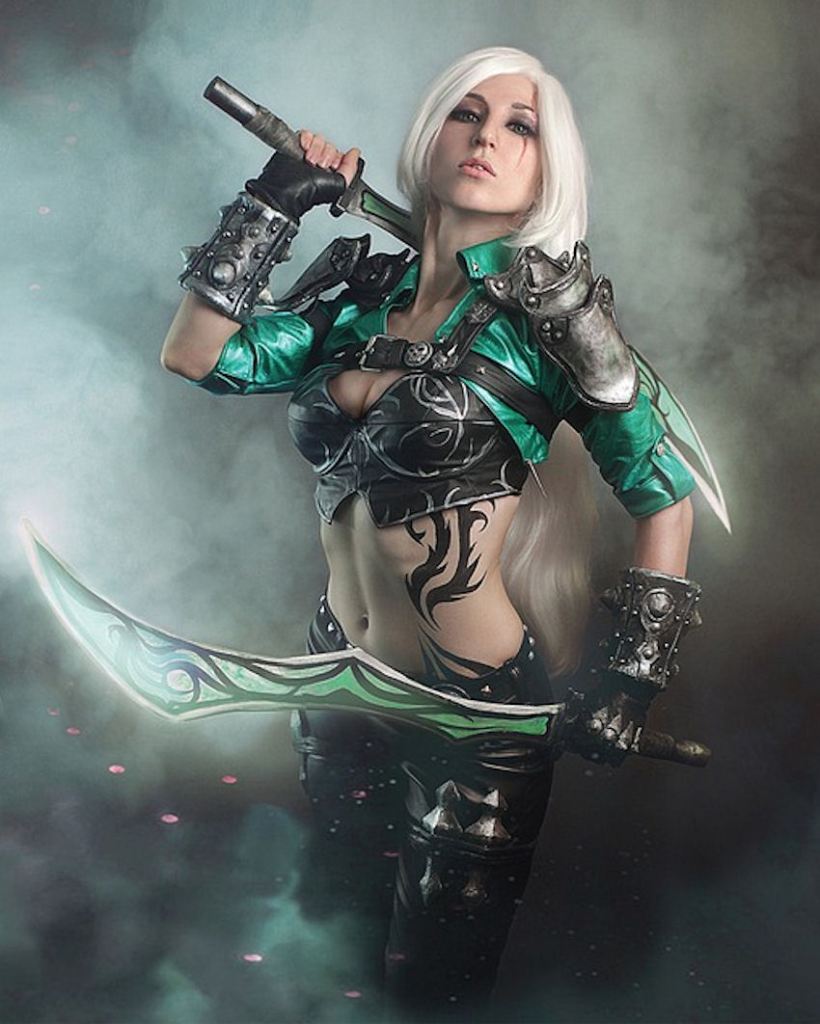
Halloween Nightmares themes explore the unknown and isn’t that mankind’s biggest fear? Being more complex, these characters appear out of the darkness via motion (costumed actors or animatronics), light, sound and fog, triggering screams or bad dreams for days to come.
Stay tuned for the fourth and final post in this series for a frightfully fun side-by-side comparison of Halloween themes. In case you missed the first two parts, please be sure to read part 1 Kid Friendly and part 2 Creepy for more inspiring ideas. Please let me know your favorites in the comments.
Thanks for Reading. Happy Halloween & Happy Crafting!