Ever wonder how many spots a cheetah has? I wish I could tell you, but I lost count during this week’s project. a painted wooden cheetah.
Inspirations:
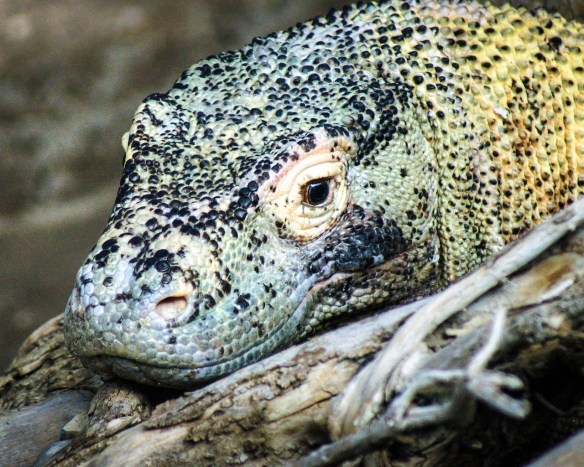
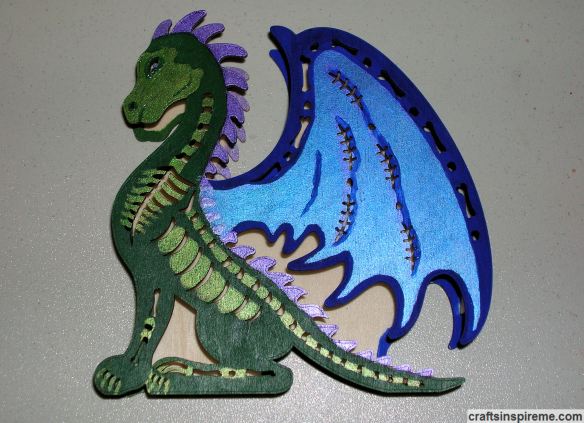
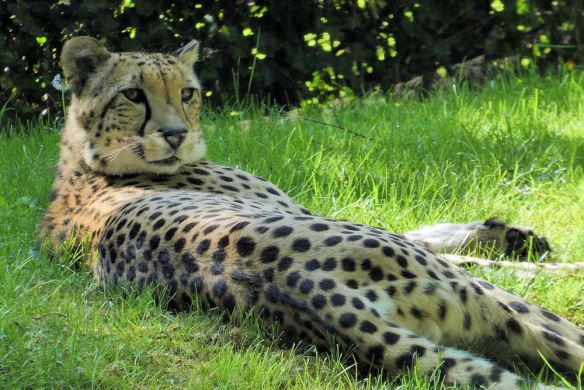
Resting in the Shade
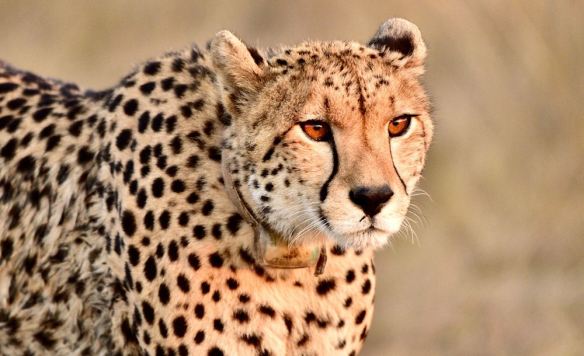
Look at that gorgeous coat! It’s beautiful but also serves as camouflage. The black tear-like markings help these stealthy predators by cutting the sun’s glare.
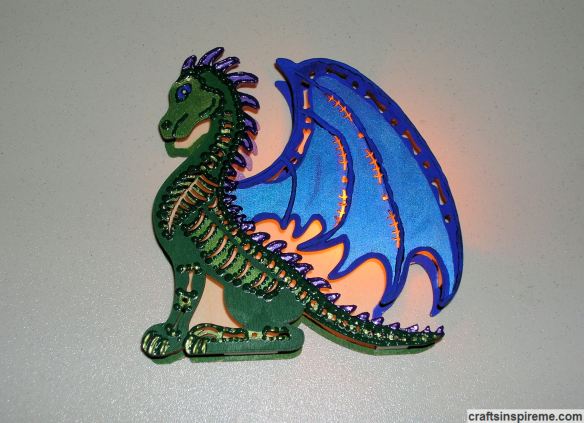
Mother & Cubs
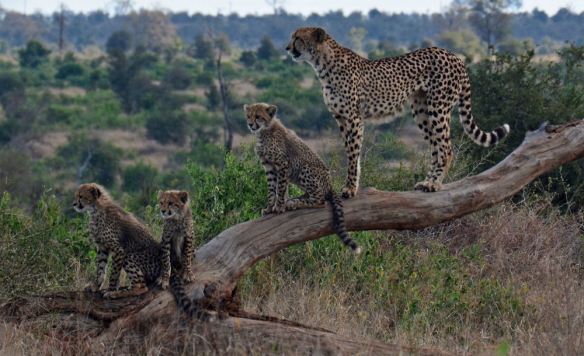
Their long muscular legs and bodies make cheetahs the fastest land animals. They often stand on trees and rocks for better views of their hunting grounds.
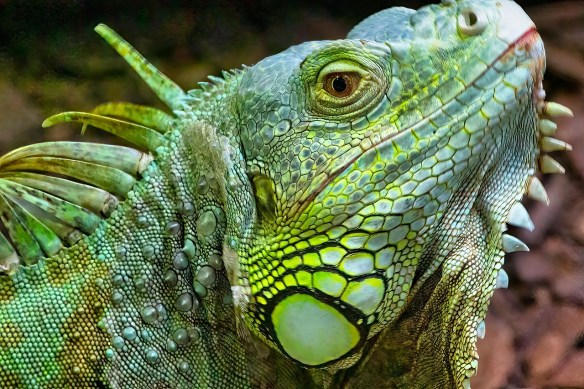
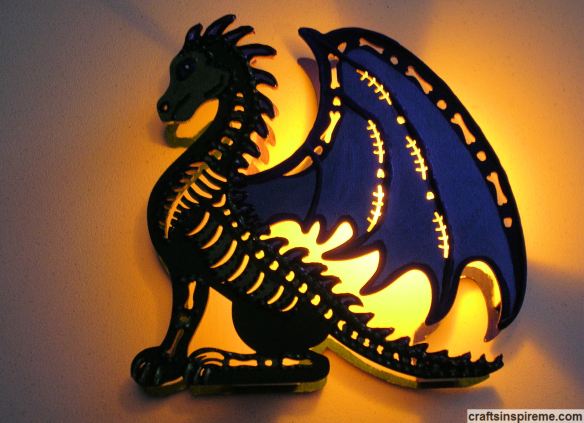
Keeping a Lookout
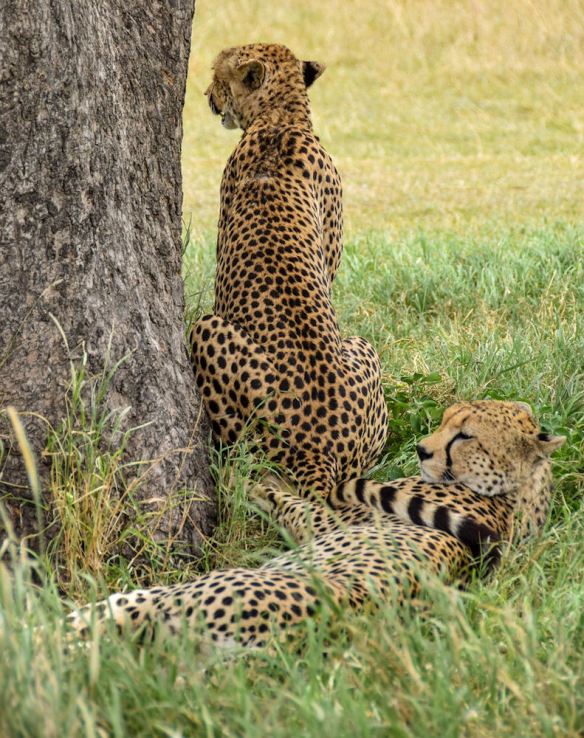
It’s important to stay alert. You never know when the next meal might come along.
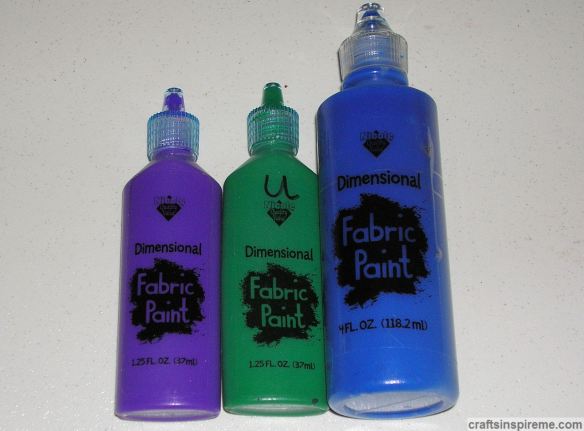
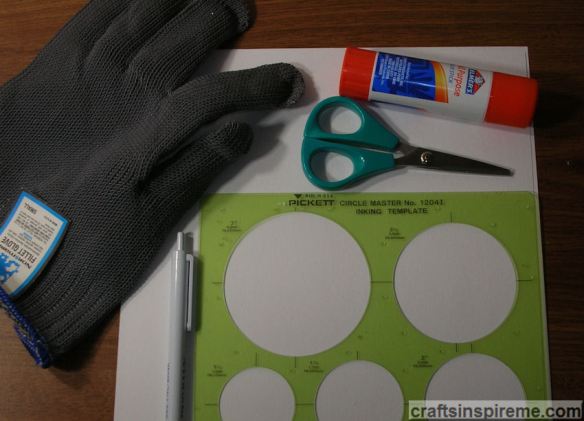
Supplies:
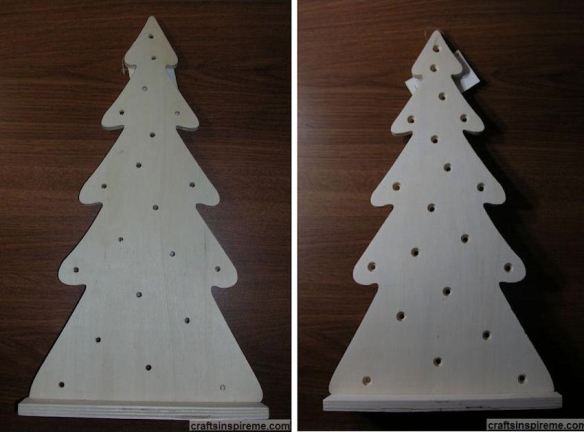
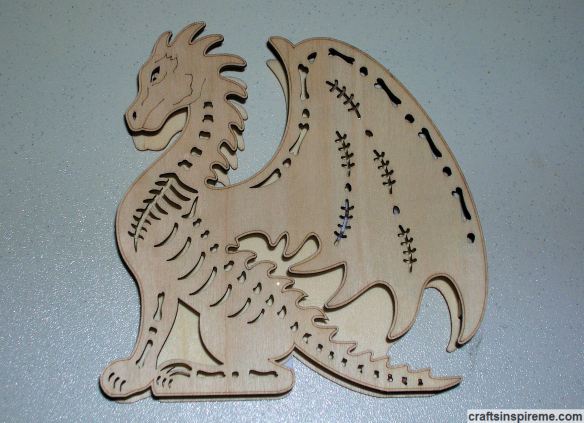
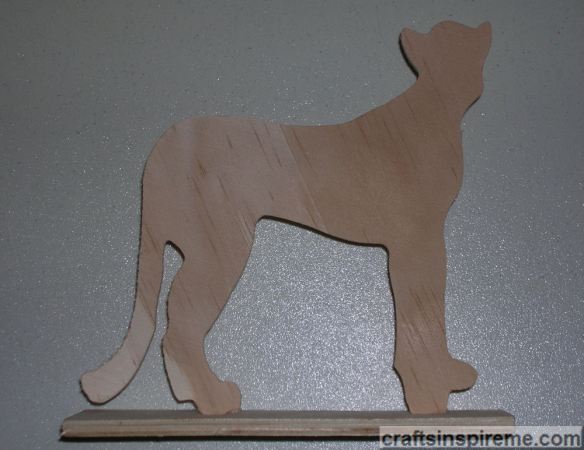
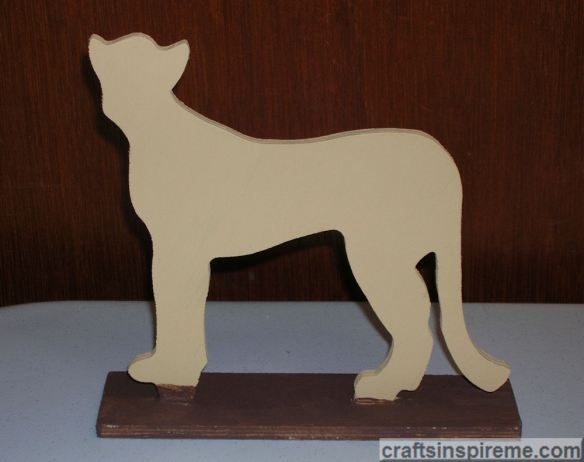
Raw Wood Cheetah
Closeup – Raw Wood Cheetah’s Feet
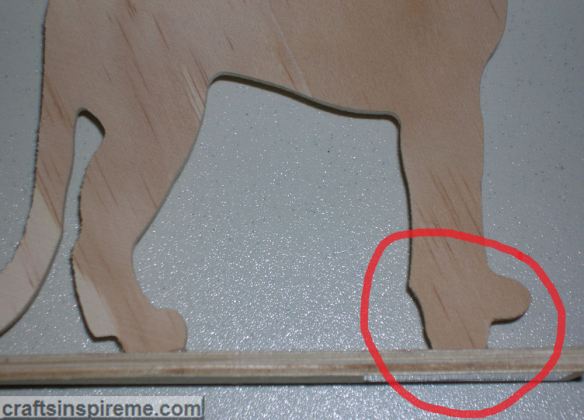
Do you notice the problem with his front feet? If you are familiar with music from the 1970’s, you’ll know the rock group Kiss. Their costumes always included platform boots and apparently this cheetah is a fan! lol This odd design choice will be corrected in a later step.
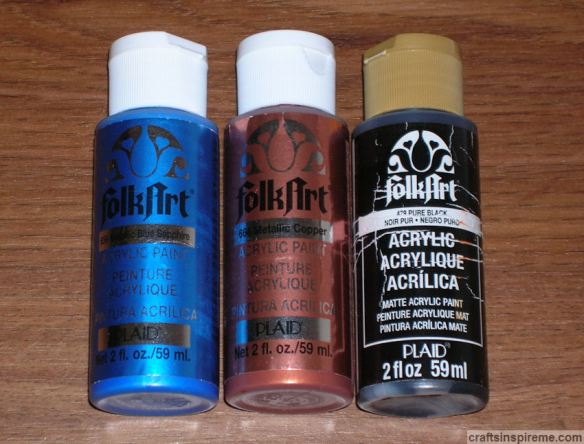
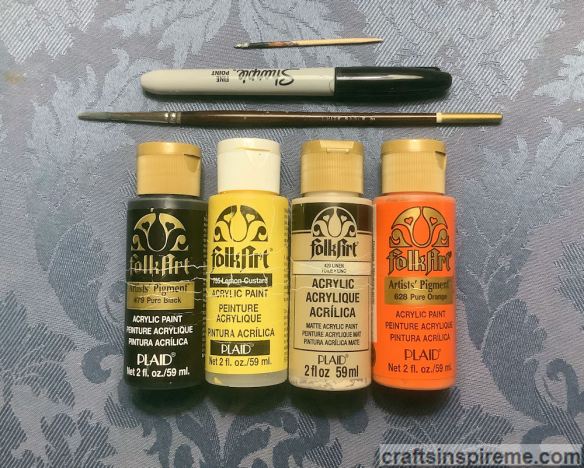
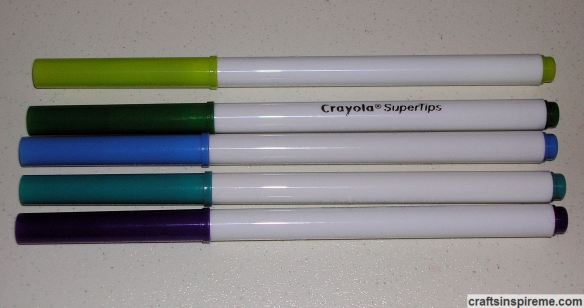
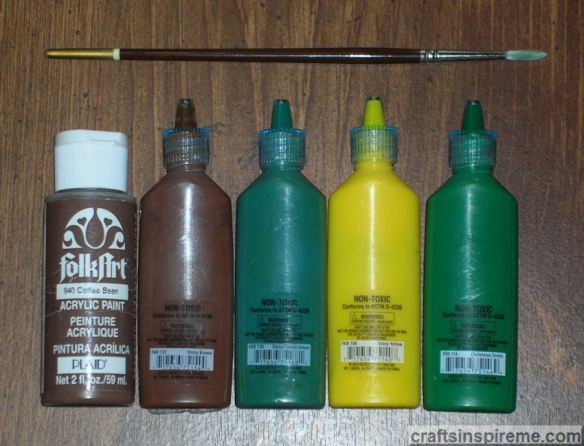
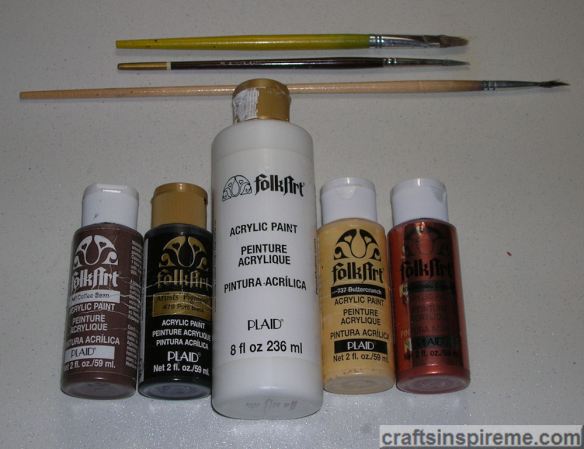
Acrylic Paints
How to Paint a Wooden Cheetah:
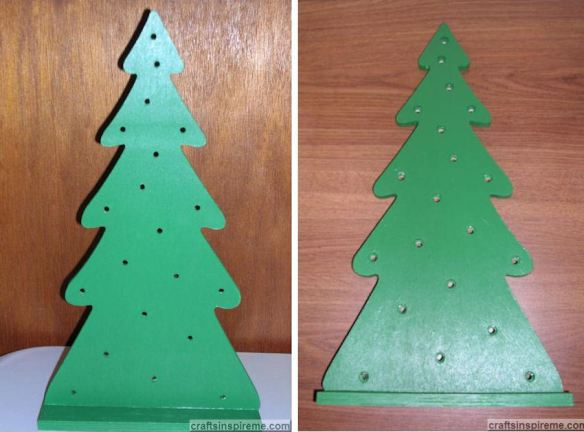
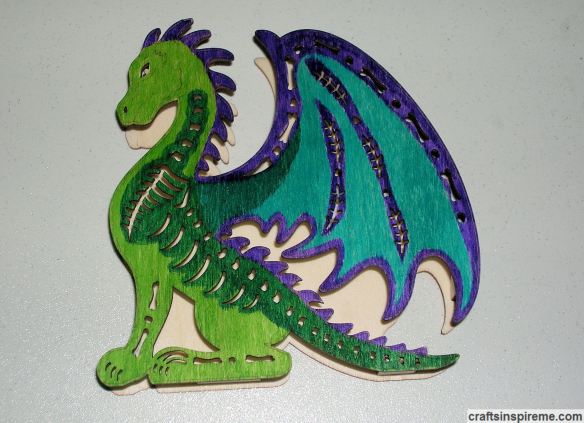
Paint Base Coats on Cheetah & Stand – Front View
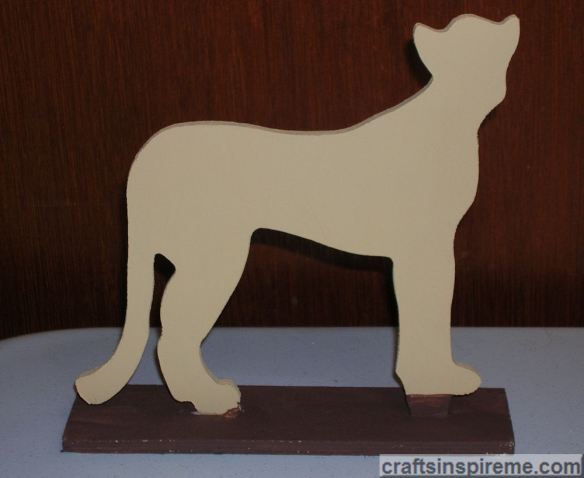
Be sure to paint all surfaces, including the edges.
Paint Base Coats on Cheetah & Stand – Back View
Draw Details on the Body and Face
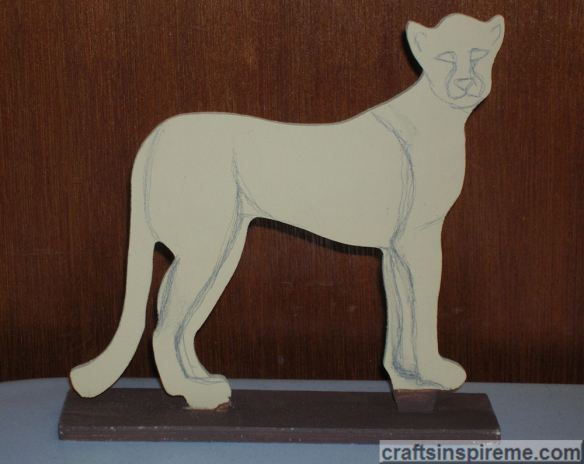
Defining the legs on the front and back is a bit of a challenge. You’ll notice there is extra wood at the edges, which should have been trimmed off. Instead, we will paint it brown in a later step so that it is less noticeable. Add the facial details too.
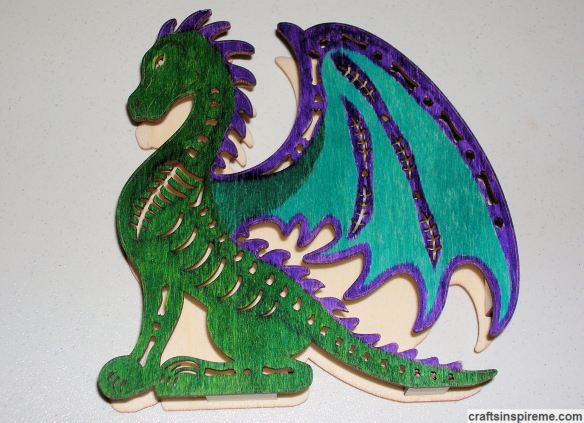
Paint the Details – Front View
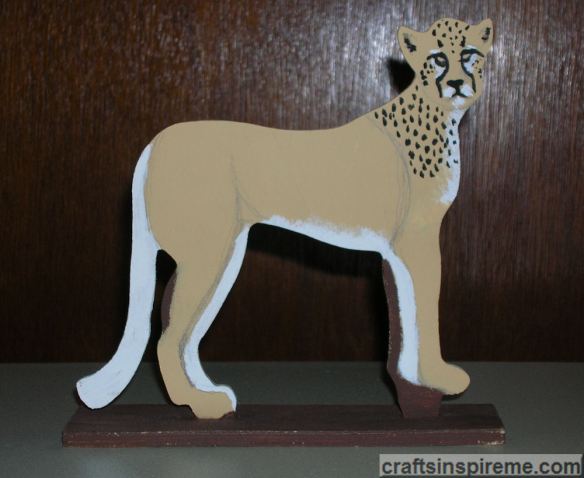
The tail, belly, inner side of each leg, and areas on chest and face are white with black spots. The rest of the coat is tan or golden with black spots. The facial details bring this figure to life.
Closeup – Legs
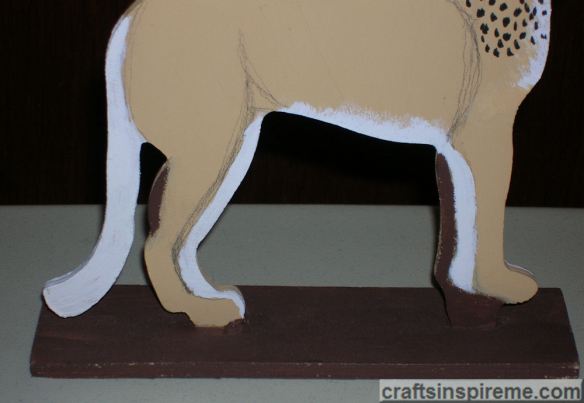
As noted previously, the excess wood on the legs is painted brown to blend into the background.
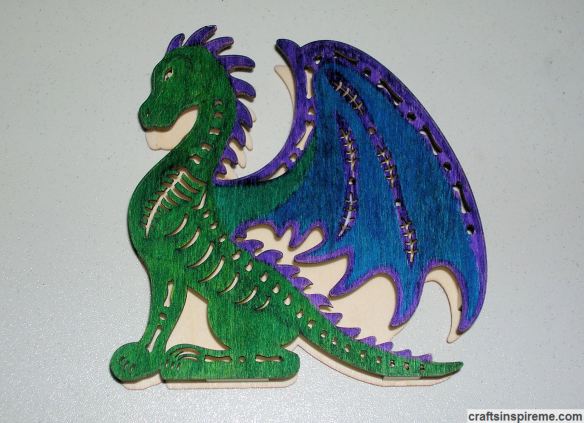
Paint the Details – Back View

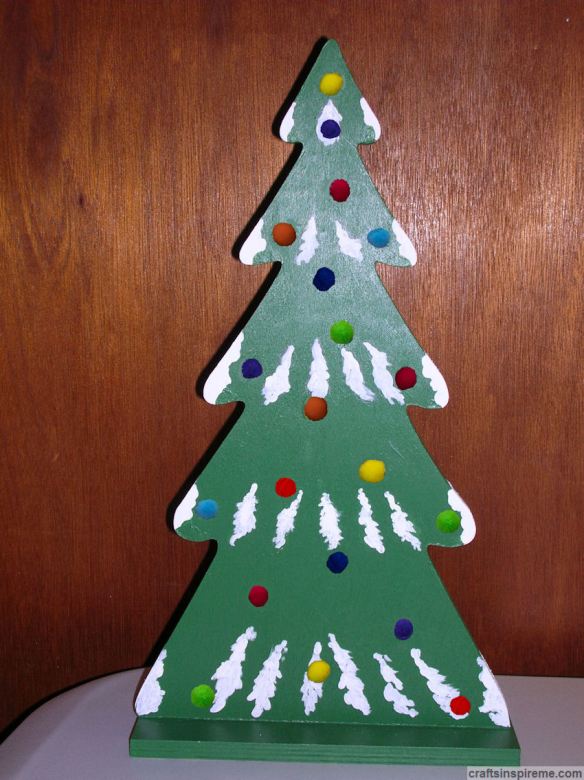
Paint the Spotted Coat – Front View
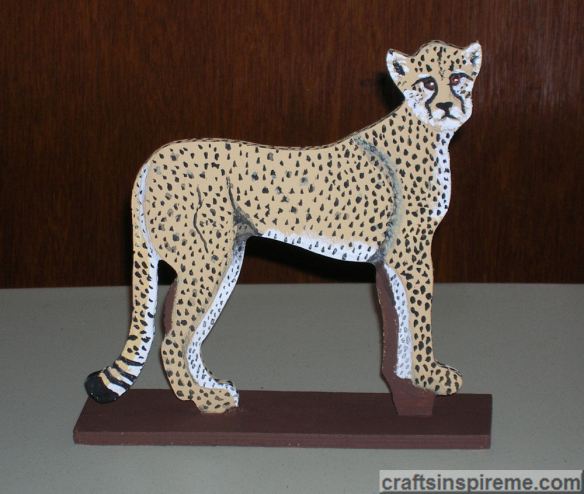
The tip of the tail is solid black with a few stripes above it. Spots cover the remainder of the body.
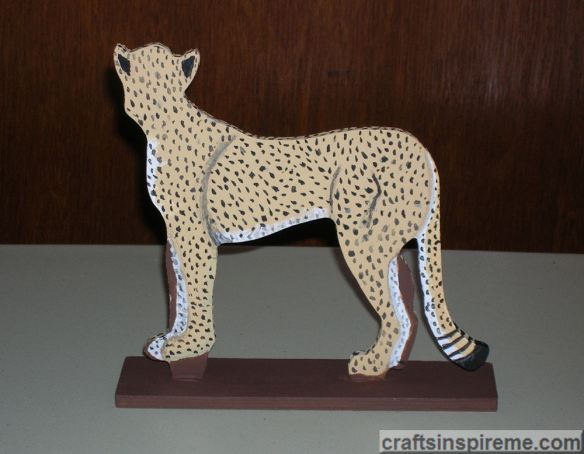
Paint the Spotted Coat – Back View
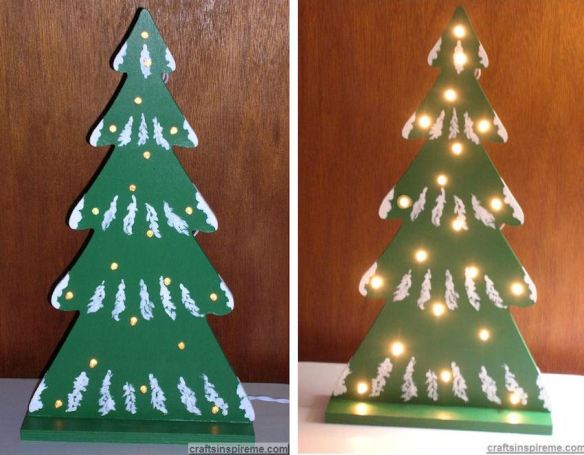
Completed Cheetah – Front View
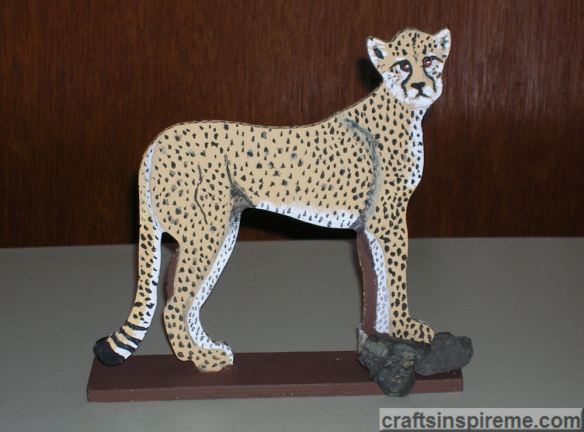
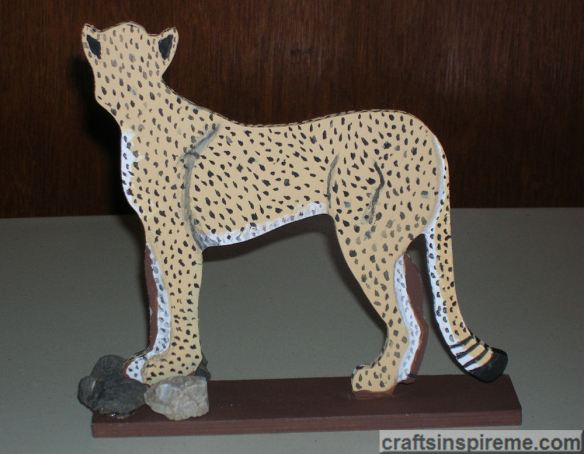
Glue stones to the base, beneath the front feet, to correct the issue noted in the sixth photo and to create the illusion the cheetah is scoping out his surroundings.
Completed Cheetah – Back View
I hope you enjoyed this post and are inspired to begin your next creative project.
Thanks for Reading & Happy Crafting!