Those of you who follow this blog are familiar with a recent crochet project called Beach Bear Rita. Well, guess what? Rita now has a twin sister! Wouldn’t it be nice to simply use a crochet needle to bring a new sibling into your life? And here she is…

She’s feistier than the original and loves red, making her the center of attention wherever she goes. Please check out the photos below to see how this little lady came together.
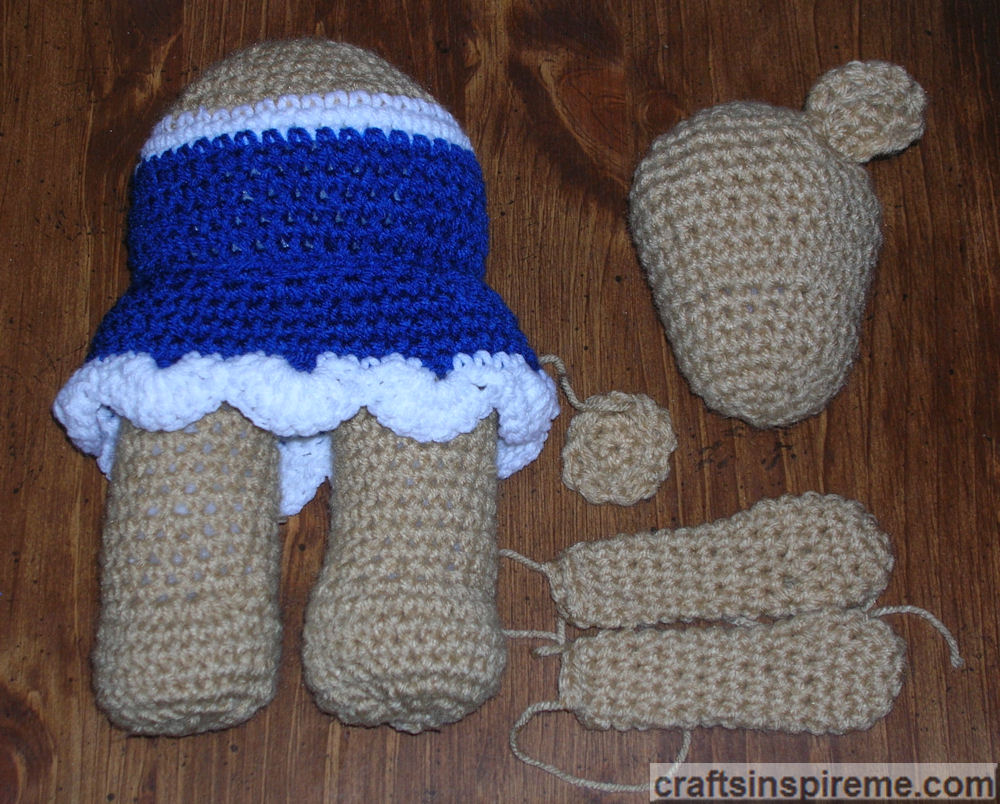
In Progress: Body with Swimsuit, Arms, Head, Ears & Skirt

Rita II has a red and white swimsuit with matching bracelets. The white skirt will have a red scalloped edge in a later step.
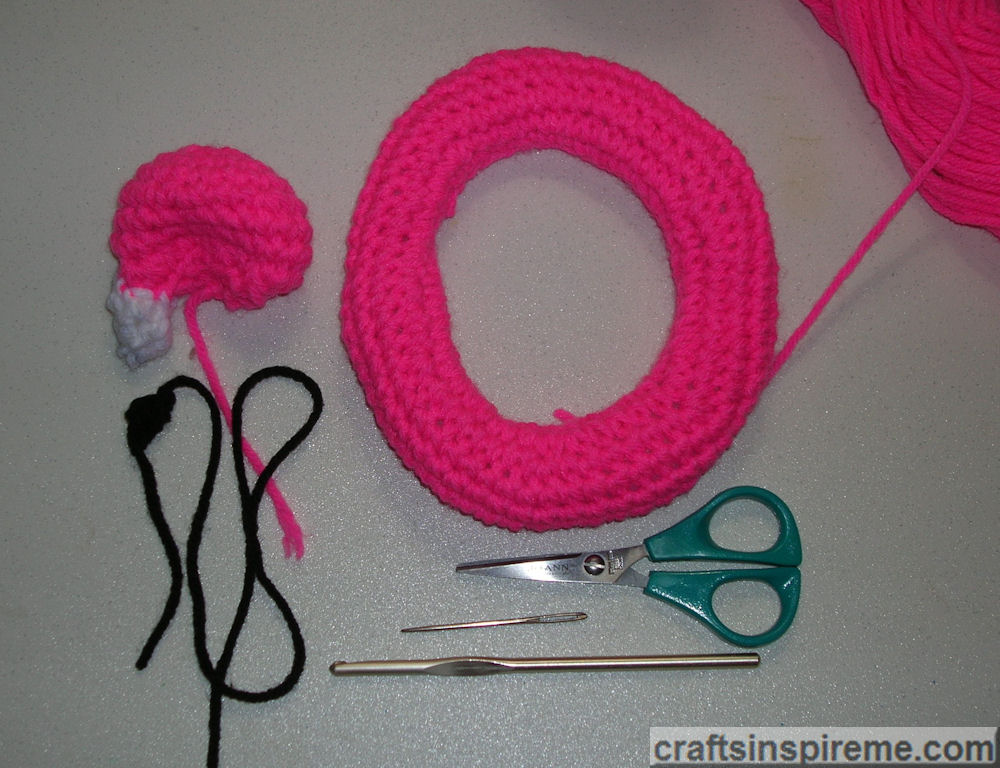
In Progress: Cardinal Inner Tube, Fish & Pail

The fish needs a white dot in the eyes and the cardinal inner tube needs to be assembled.
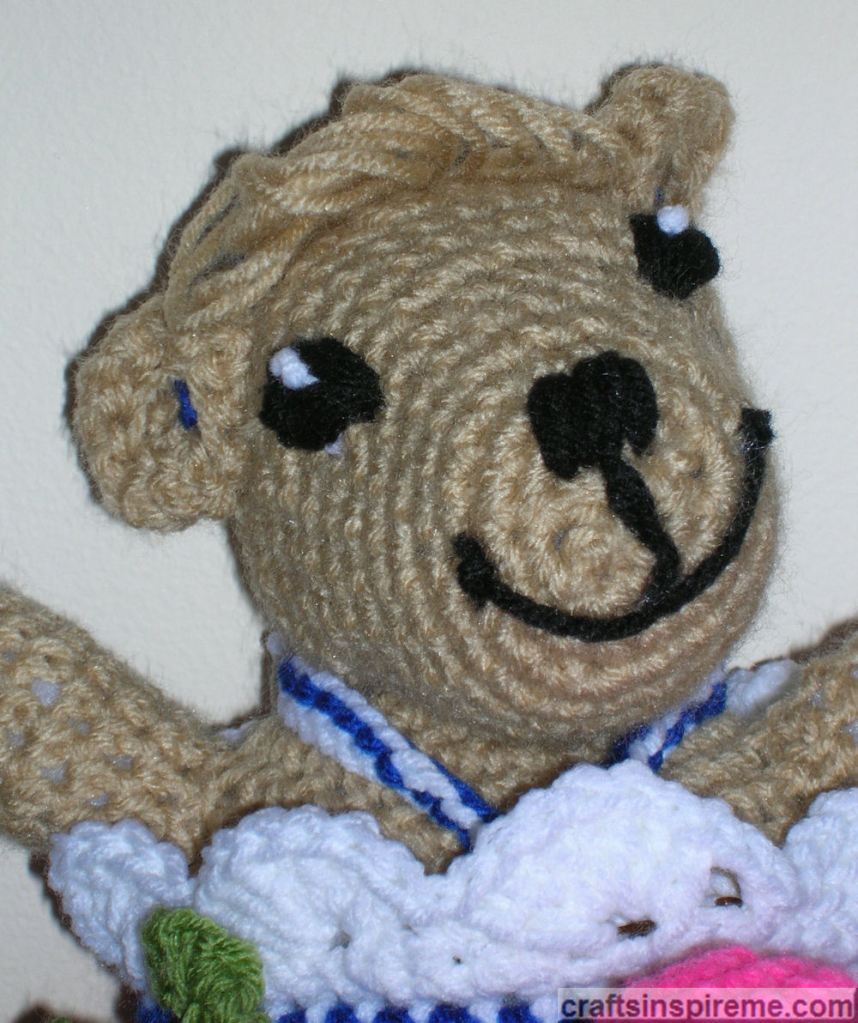
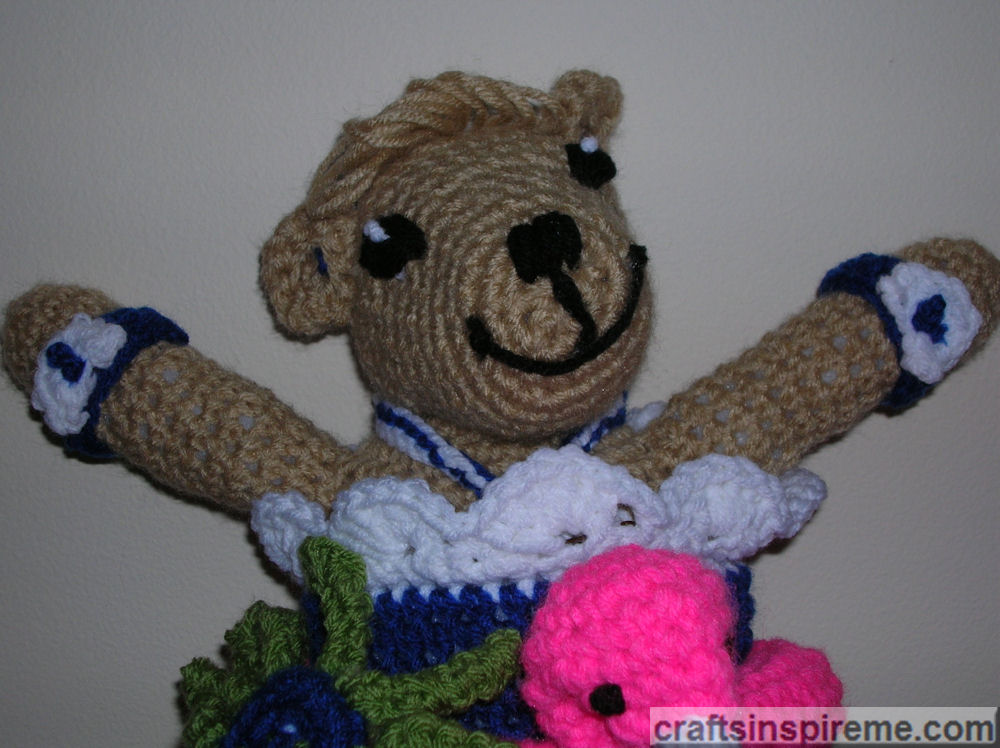
In Progress: Completed Body, Swimsuit & Inner Tube but Needs a Hairdo

Rita II is close to completion. The arms, ears and head have been sewn on as well as the facial details. The swimsuit has red scalloped edges at the top and bottom. Red earrings and a red tie for the swimsuit have been added. The skirt and inner tube may need to be tacked in place. The next decision is what type of hairdo would she like?
A New Up Hairdo
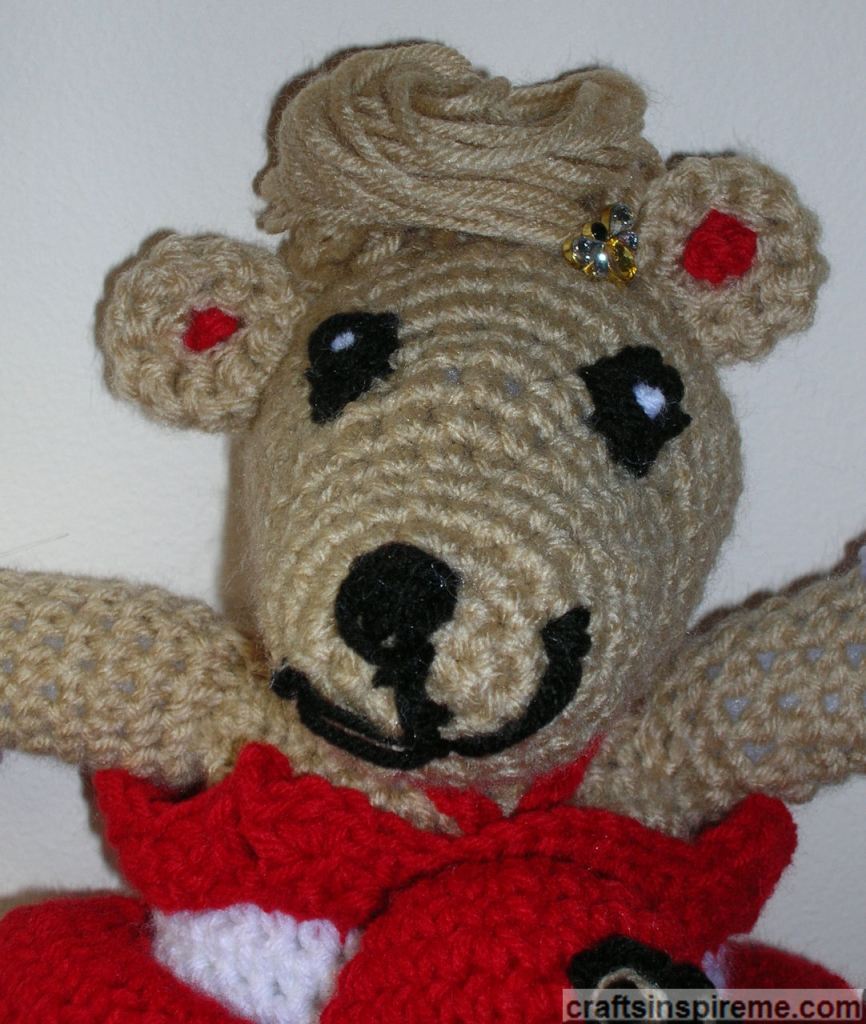
She may be a twin, but she has her own style, and an up-do seems to be a perfect choice. Bobby pins hold the style in place, while a vintage crystal bee pin tucked beside her ear provides the sparkle every fashionista craves.
Crocheted Bracelets & Scalloped Edge on Swimsuit Top

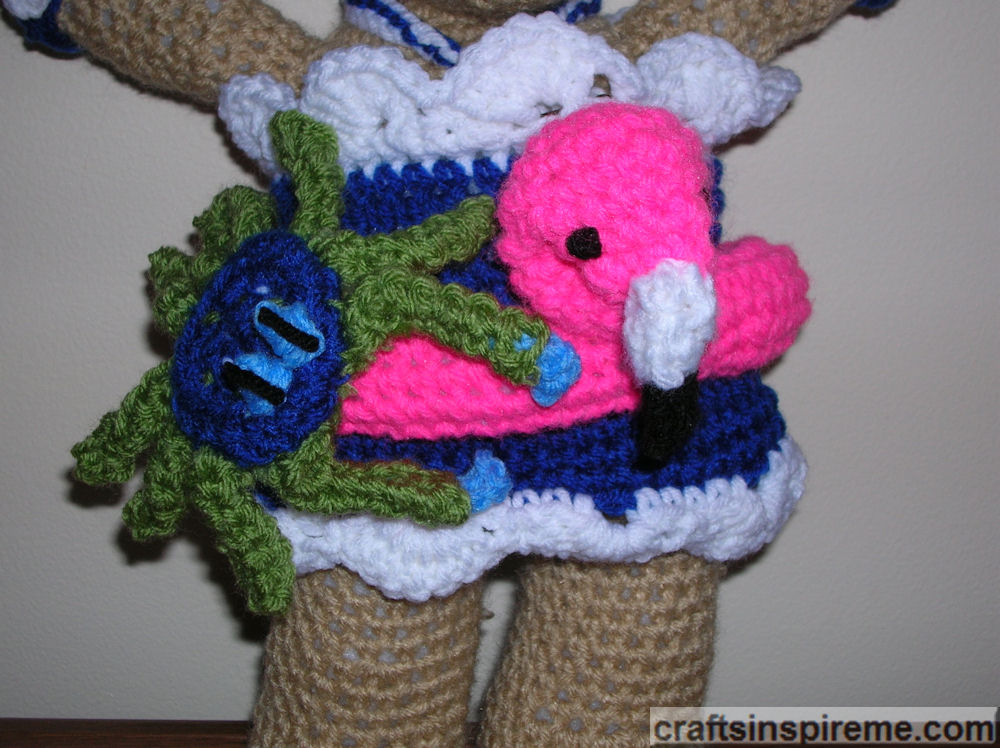
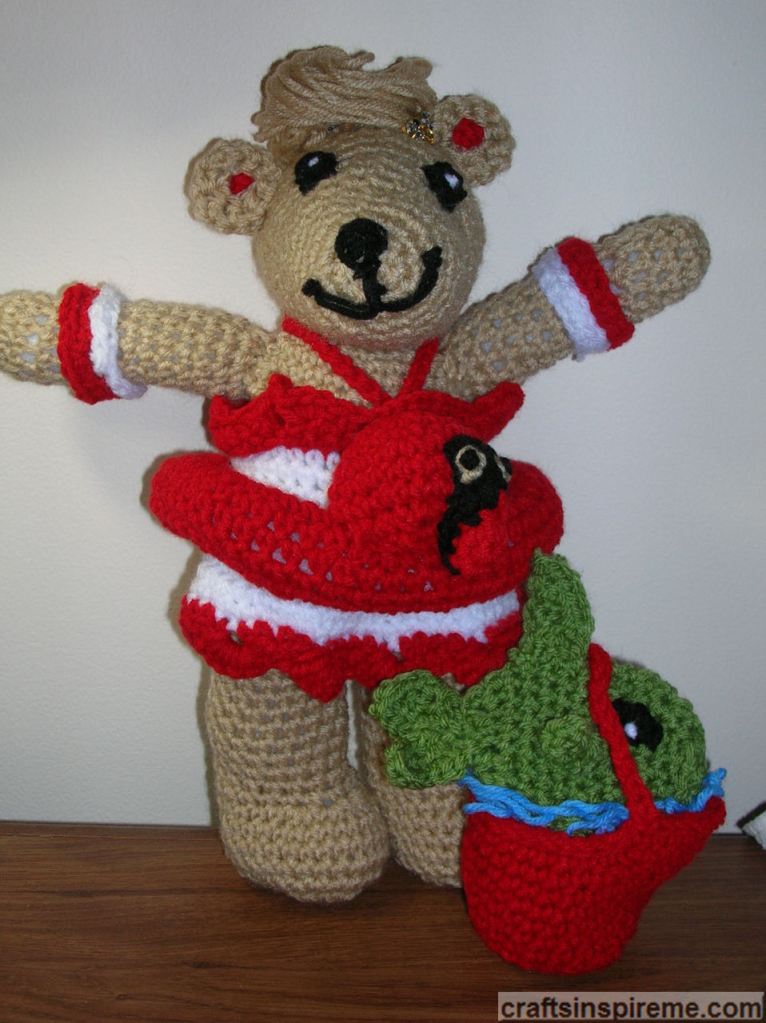
Cardinal Inner Tube
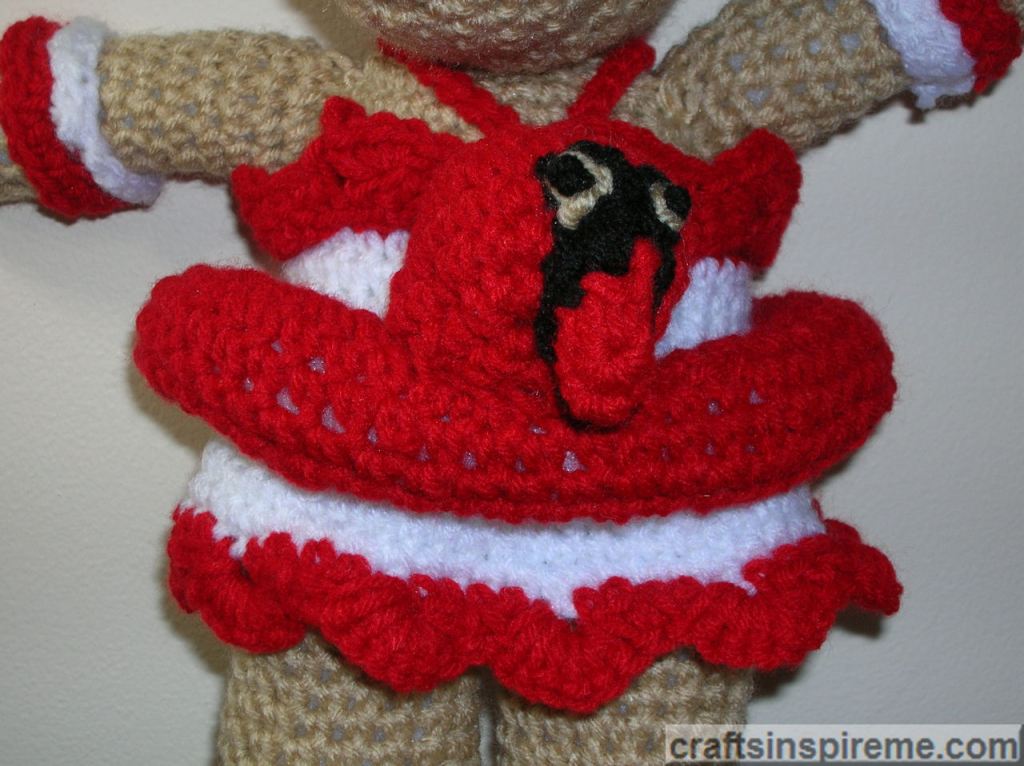
Unlike her sister, Rita II likes cardinals. You can easily adjust the pattern to resemble any bird.
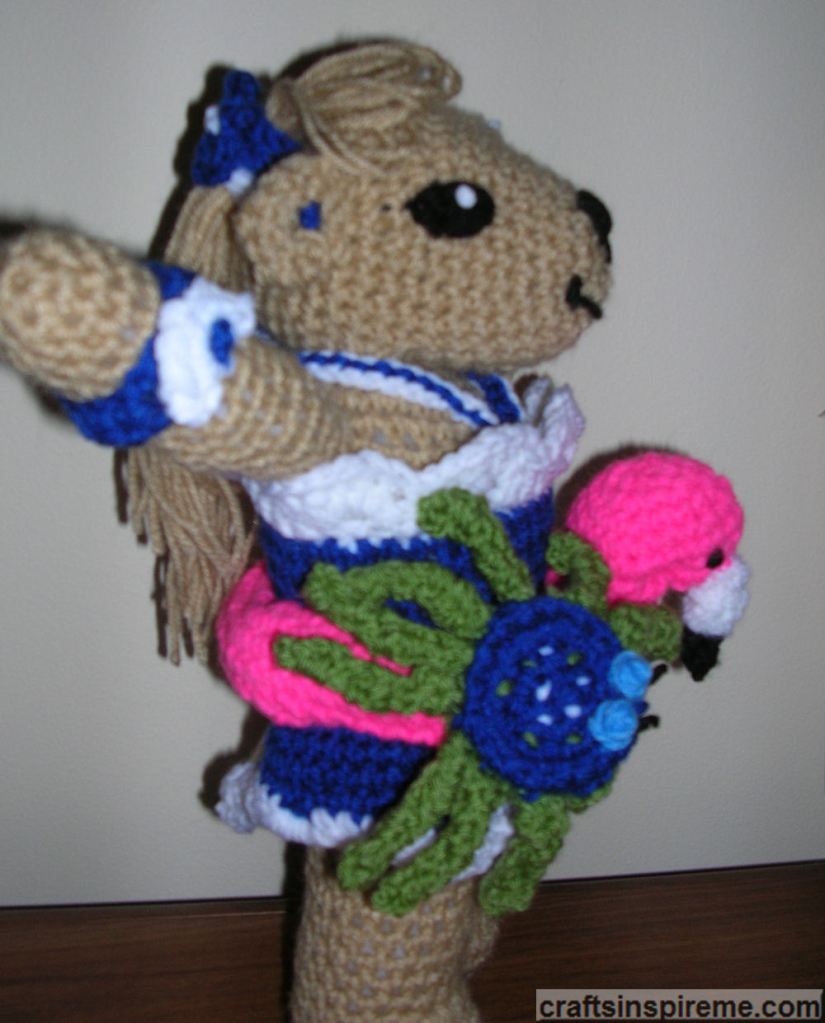
Side View

Back View

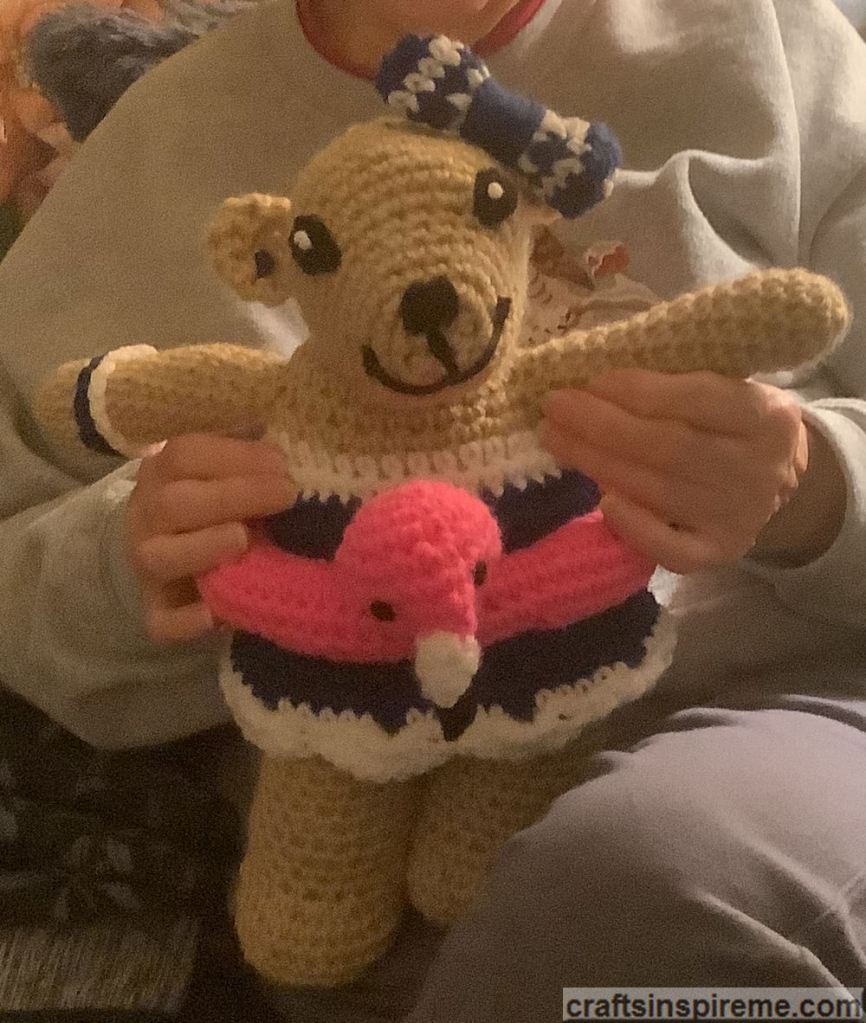
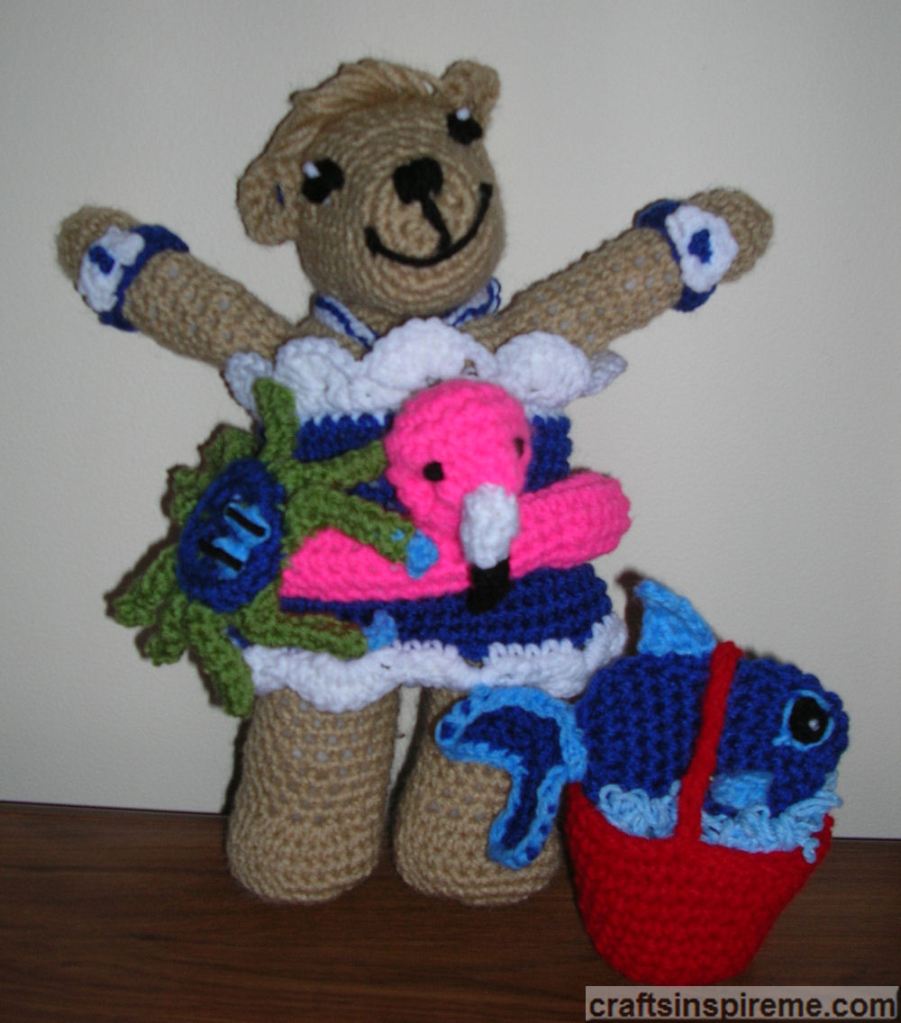
Finished Bear with Fish in Pail
Beach Bear Rita Twin Sisters
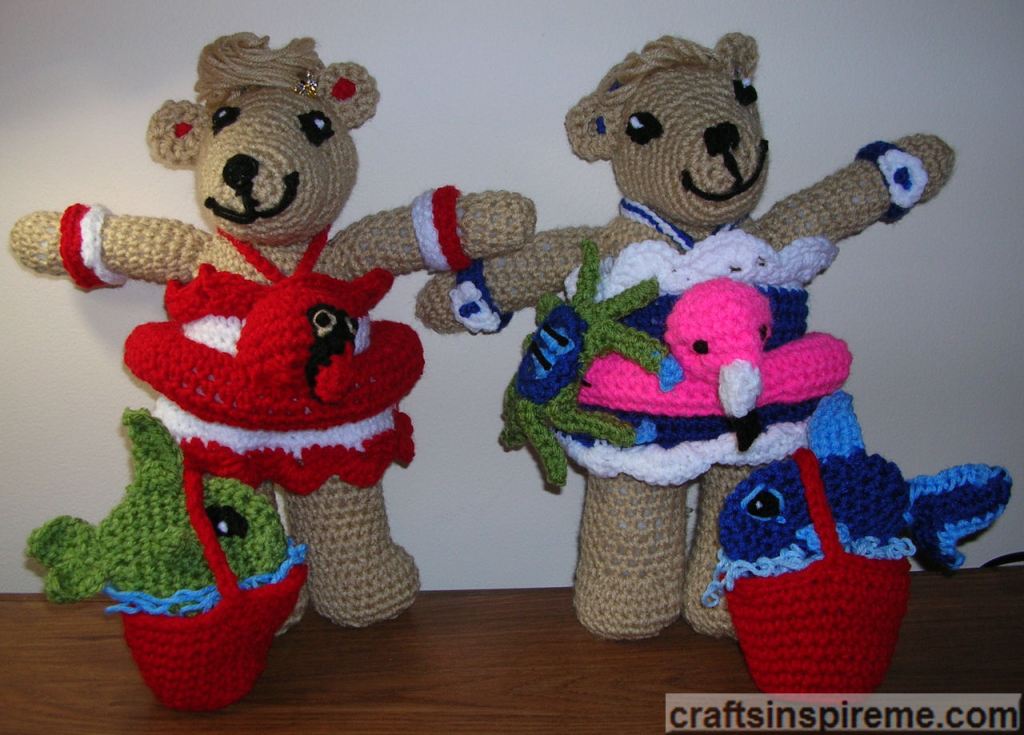
Just like their human counterparts, these two may have their differences, but they will forever be sisters!
I hope you like this adorable, crocheted bear. For additional information, please see my first post by clicking this link: “Beach Bear Rita.” The pattern can be easily found online. These bears make great gifts, which can be personalized for each recipient and they’re a lot of fun to make. Good luck with your future craft projects.
Thanks for Reading & Happy Crafting!