

The solstice officially marked the start of winter. The long range forecast here in the northeastern U.S. calls for cold temperatures, but less snow. That could be a problem for those outdoor-enthusiasts, who love cross-country skiing, ice skating or simply building a snow fort in the backyard. It wouldn’t be winter without a snowman or two. Why not build a snowman that will never melt? This is a simple, inexpensive project for the whole family. I made two snowmen to display in my living room windows.
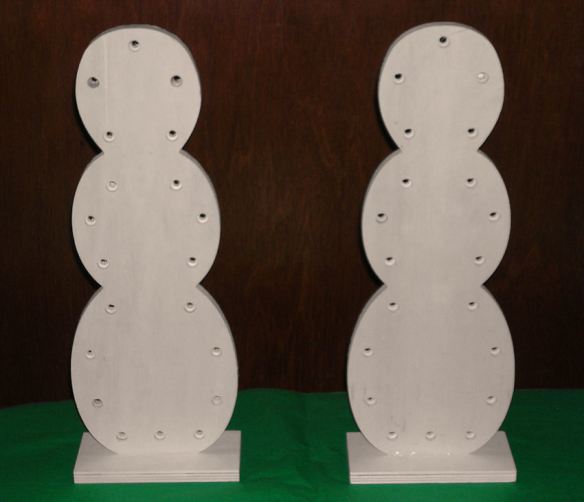
It all starts with unfinished wood snowmen, purchased at AC Moore. The perimeter holes are for lights in a later step.

Spray paint all sides, edges and base with white paint.
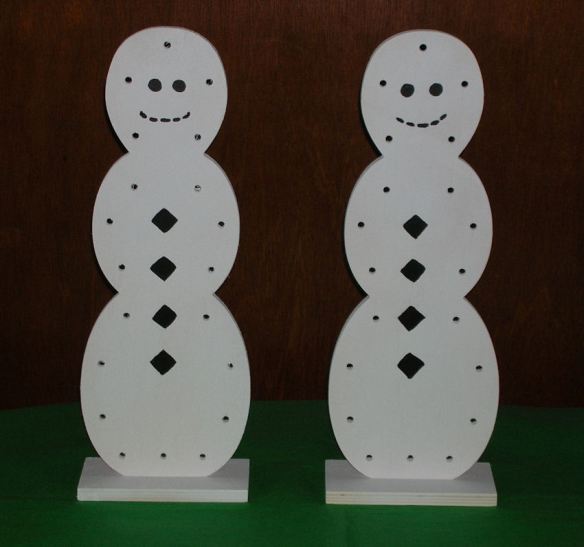
With an artist’s paintbrush, add the details (buttons, eyes, and a smile) with black paint. Instead of painting the details, you could hot glue round and square plastic buttons, and draw the smile with a Sharpie marker.

Accessorize with hats and scarves. If you enjoy crocheting, you can quickly create this fashionable look with whatever color yarn you have on hand. Bright red is a great seasonal color, and reads well from a distance. If needlework is not your thing, craft stores have snowman building kits and accessories. For the nose, I created the look of a carrot by squeezing a foam, packing peanut into the correct shape, and painting it with bright orange acrylic paint. Use hot glue to attach carrot nose.
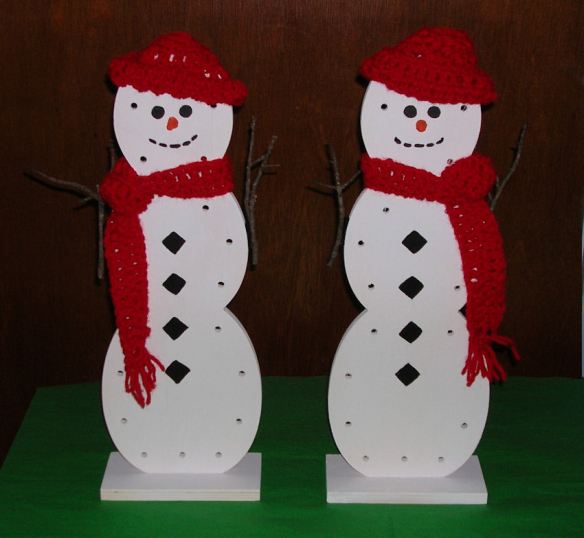
Making the arms is as easy as collecting a few sticks from your yard, and attaching them to the sides. You could glue them in place. I decided to use self-stick Velcro instead, because I wanted the arms to be removable for easy storage.
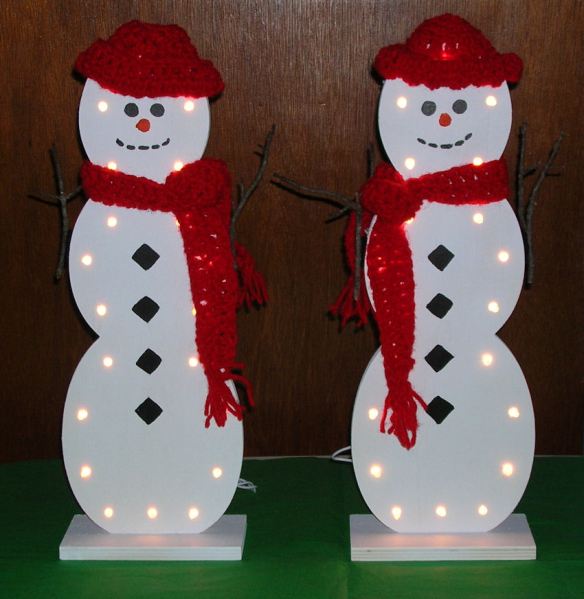
Those pre-drilled holes around the perimeter were made to hold a strand of twenty white lights, also available at AC Moore. Crafter Tip: The lights can only be pushed through from one side of the wood frame. You may need to secure the last light at the bottom with a piece of tape to keep it from pulling out from the weight of the electrical cord.
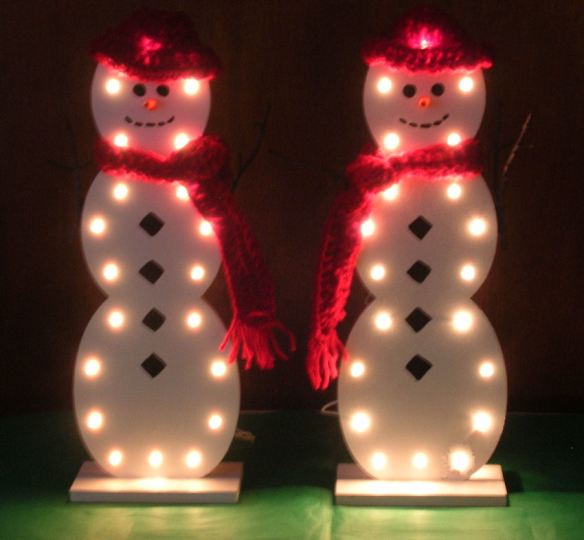
I turned off the flash on my camera to give you an idea of how these cute little snowmen look when lit at night. When the holidays are over, these snowmen can remain on display throughout the winter to bring a little whimsy to your home’s decor. The lights are very bright, and can be easily seen by passersby.
As an additional aside, I made these snowmen two-sided. Because they are standing on a windowsill, they can be seen from inside and outside. The lights can only be seen from the front, but seeing that smiling face when I walk by the window makes me smile too.
Happy Crafting!


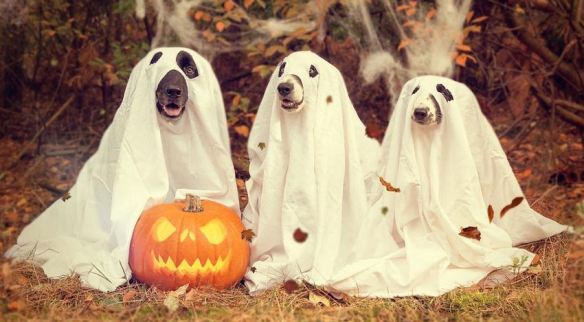


 One of my favorite holidays is Halloween. It brings back such happy memories of dressing up as a child, and the excitement has continued as an adult. Apparently many people agree, because Halloween has become the second biggest holiday of the year. Decorating your home is a fun activity for the whole family. Here are a few ideas for inspiration:
 Greet your guests at the front door with a boldly decorated Halloween wreath. The humorous witch’s legs were the inspiration for the purple and black color scheme with accents of orange and white. The wire wreath frame was wrapped first with tissue paper to add bulk, and then fabric for color and texture. The witch’s legs came mounted on a dowel, which was secured to the frame. A metallic garland conceals the dowel and an owl was tied in the center using matching ribbon. The witch’s hat, ghosts, pumpkins, and spiders complete the design.
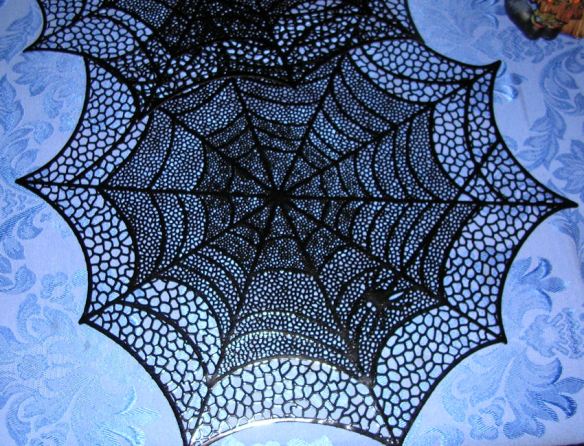
 Setting a Spooky Table – Whether you are having a Halloween party, or want to spice up your breakfast table, an inexpensive solution is layering placemats. Laser cutting technology has produced beautifully detailed, lace-like products with both style and durability. A Spider Web placemat (from Wegmans) was layered with a Metallic Finish Pumpkin placemat (from AC Moore) to create this lively place setting. The blue tablecloth peeks out from underneath like a midnight sky and creates great contrast to the orange and black. As alternatives, you could use a yellow tablecloth (think full moon) or green tablecloth (think forest).
 Halloween themed tablecloths can be difficult to find and pricey, especially for large dining room tables. There’s an easy alternative. Measure your table, and go to a fabric store, such as Jo Ann Crafts. It’s amazing to see some of the scary patterns that have been developed over the last several years. The semi-sheer fabric in the photo above is layered over a gold tablecloth I already had. If you prefer an opaque table cover, there are ghosts, skeletons and witches. Oh My! Some fabrics have entire haunted scenes emblazoned across the surface suitable for covering tables, or as wall hangings. There’s no need to hem the edges. It’s Halloween – a few ragged edges only adds to the haunted house vibe.
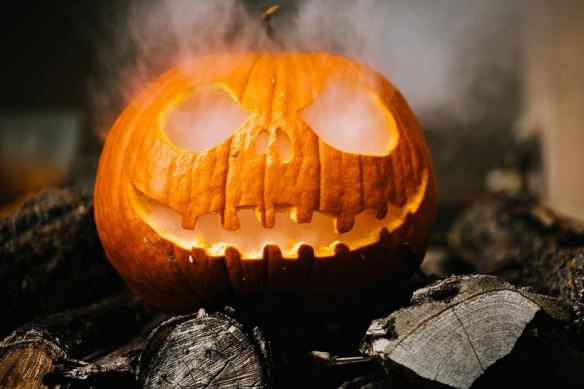
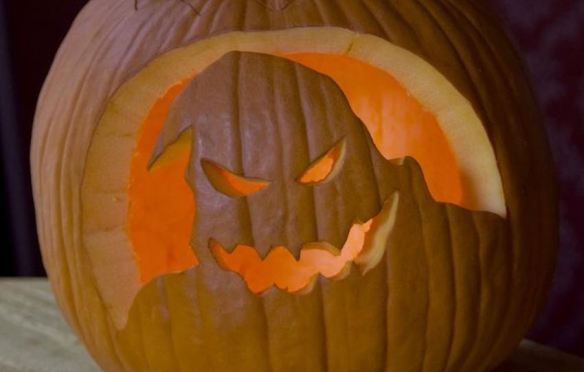
 Glowing Illusion Pumpkin – We are all accustomed to seeing the typical orange pumpkin with an interior that is either candlelit or dark & shadowy. That color scheme has been turned inside out by painting the outside black and the inside fluorescent orange. When placed near any light source (lamp, ceiling light, or sunlight), the result is a scary glowing pumpkin without the need for electricity or batteries. I can’t tell you how many times well-meaning co-workers have warned me about the company’s strict no candle burning policy, until they see for themselves that it’s completely empty. It’s easy to fool the eye with this illusion.
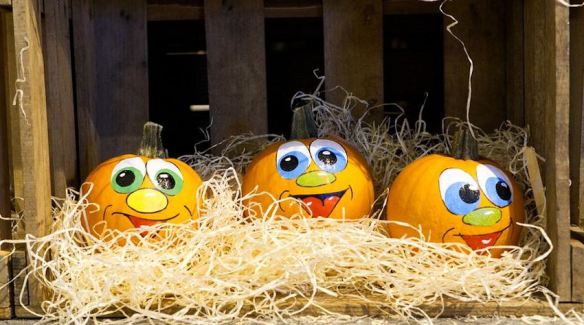
 Craft Pumpkins – If you have ever decorated your yard with live pumpkins, you probably lost a few, if not all, to squirrels, slugs or other hungry critters. Craft pumpkins look like the real thing, but are made of foam or resin, which is not on the menu for wildlife. These pumpkins are ready to display as is, or they can be carved or painted with exterior paint. Craft pumpkins are for indoor and outdoor use, inexpensive, will last years, and are nice for Thanksgiving too.
 Bats – A cluster of bats hanging over your table will surprise and delight party guests. The faux fur bodies are a simple tube shape with a slightly larger, rounded end and ears for the head. The owl in the center is from Pier 1, and the pumpkin garland is from AC Moore.
 Make patterns for the body and wings as follows:
 Using the body pattern, cut out two pieces of faux fur for the front and back of each bat.


