Ah the tropics! I’m sure we all wish we could be basking in the sun on a tropical island -sand under your feet, a soft ocean breeze, and a cool fruity drink within reach. Our travel plans may be on hold for now, but we can dream. A tropical project may be just what we need to brighten the day and lift our spirits.
Inspiration

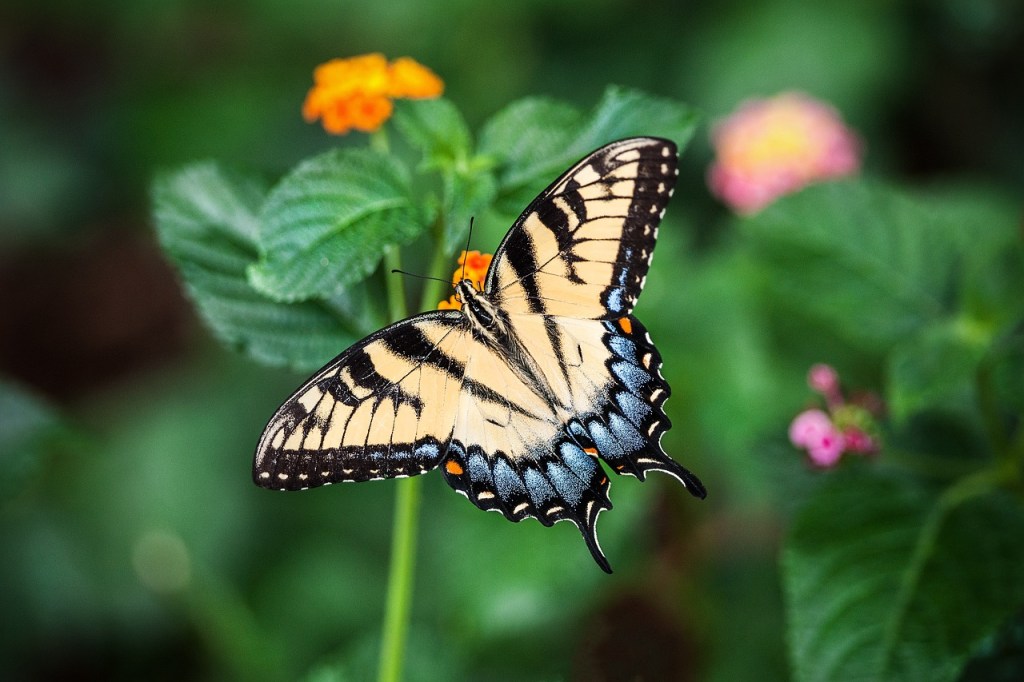
The thick vegetation and unusual wildlife is a constant reminder that this is a whole new world, and we are invited to come inside to explore.
Inspiration

There’s an infinite variety of foliage and tropical leaves provide many interesting shapes, intricate patterns and vibrant colors.
Original Metal Leaf Wall Sconces

In this project we will be refinishing these metal, leaf-shaped wall sconces. Purchased from an online home furnishing store, it was a great disappointment to open the box and discover their color schemes were completely mismatched. Because we liked the size and shape of these leaves, we decided to keep them anyway, with hopes of one day fixing the problem. That day is today!
Supplies

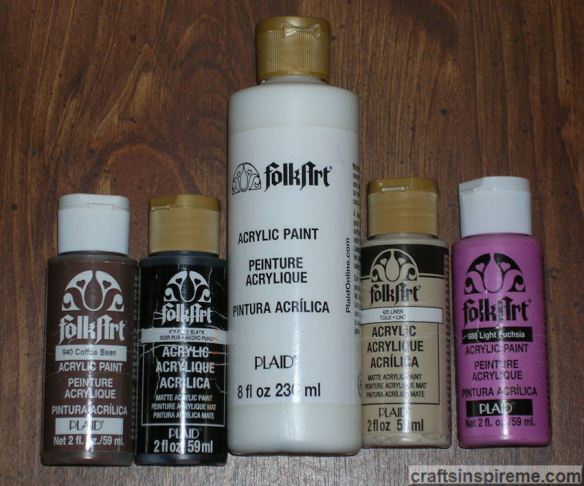
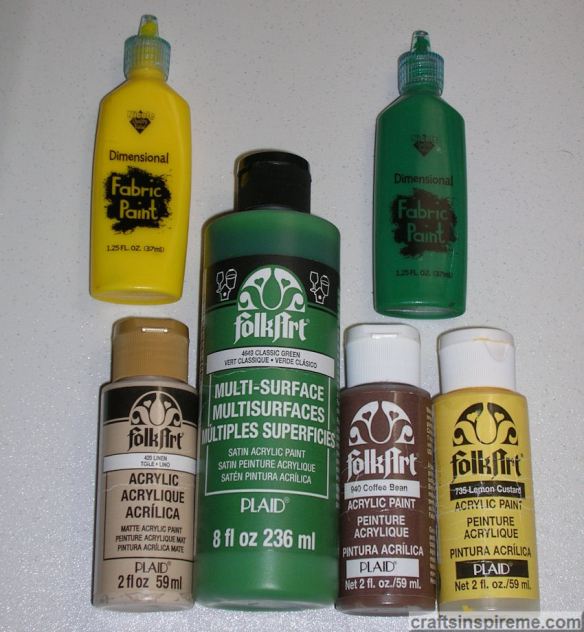
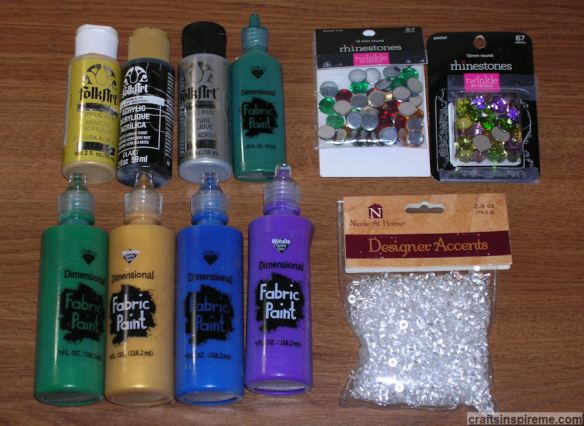
Supplies:
Metal Leaf Wall Sconces (18” high x 11-1/2” wide x 6-1/2” thick)
Acrylic Paint – medium green, dark green, yellow, and brilliant blue
Paintbrushes
Clear Spray Paint – gloss or matte finish
Paint the Base Coat

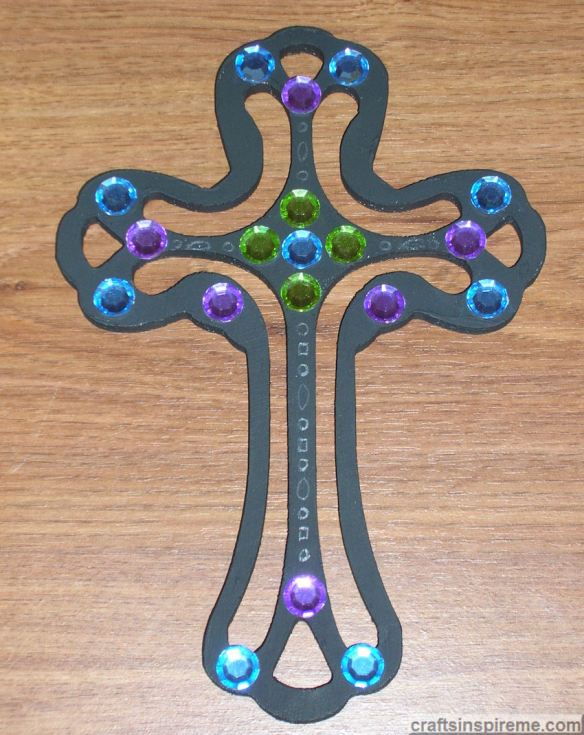
Step 1 – Paint each leaf medium green. They look better already. As you progress, remember this is your chance to experiment with colors as well as painting techniques. If you don’t like something, you can easily paint over it with another base coat and try again.
Choose your Color Scheme

Step 2 –On the left, a blue wash was applied over the surface, using very watered down blue paint. The right leaf has a blue stippled pattern, made by applying blue paint with short brushstrokes. I like the light and shadow effect of the wash technique on the left, which provides depth and richness in the color, while also helping to define the leaf’s structure. The texture on the right leaf is interesting, but visually breaks up the surface, making it appear to be clustered leaves as opposed to one large leaf.
Define Light & Shadow

Step 3 – The position of the sun in the sky creates the marvelous effects of light and shadow. I chose to have the light coming from above on the left. This means the left side of each leaf is lighter than the right. Washes of blue and green were applied, with the darker hues upon the right side of each leaf. The veins were given dimension with blue shadows beneath, which lighten gradually as they approach the next vein below. The leaf photo on the right has light yellow veins. Other shades were tested as well.
Veining details

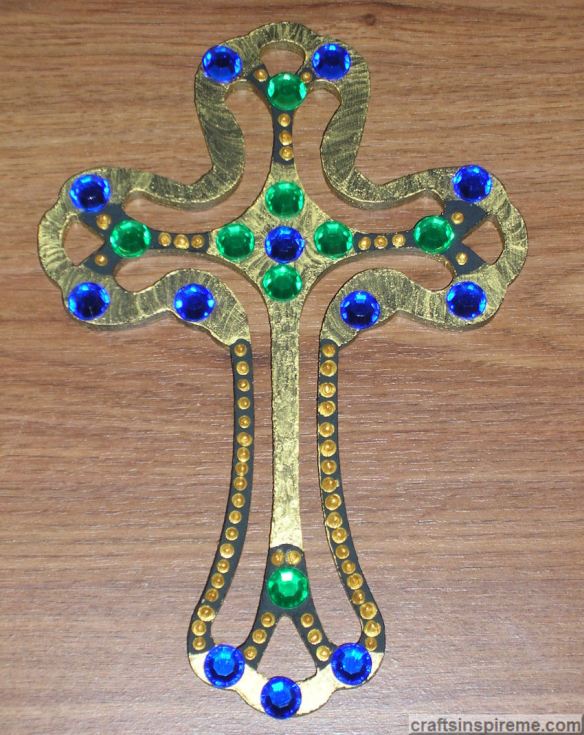
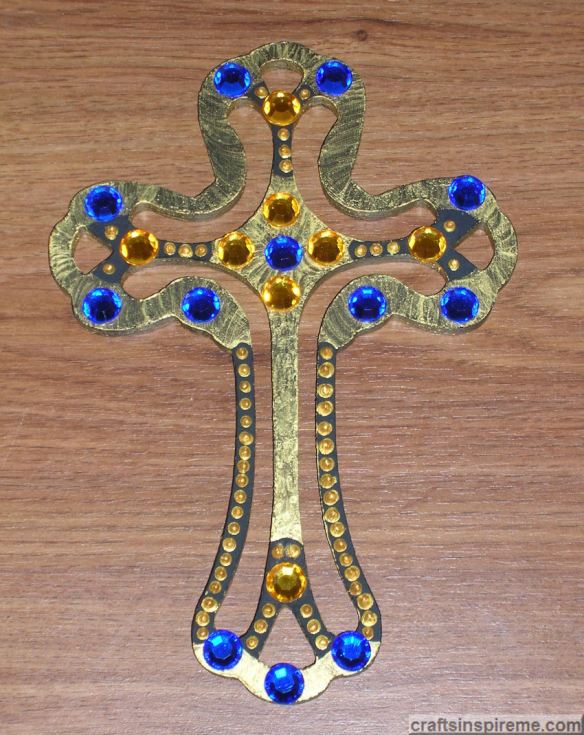
Step 4 – Bright green (a mixture of yellow and dark green) was applied to all the veins on both leaves. The beaded edge around the perimeter of each leaf was painted yellow.
Completed Flat Finish Leaves

Step 5 –At this point you could stop. I highly recommend spraying each leaf, front and back, with a matte finish clear spray paint to seal the paints. Before installing candles, please see the Crafter Tip below. For a gloss finish, please continue to Step 6.
Flat Finish versus Gloss

Step 6 – Tropical islands have high humidity and frequent rain. To achieve that wet-look, you will need to spray a few coats of glossy clear spray paint. This photo shows the dramatic difference between the flat and gloss finishes. Notice how much more vibrant the colors become with the gloss finish.
Completed Gloss Finish Leaves

These are the completed tropical leaves with new navy blue candles.
Crafter Tip: Each wall sconce has a metal spike to hold a candle. If you try to push a taper candle down onto the spike, it will inevitably split the candle. How do I know? I broke two! To avoid this, pre-drill a hole in the bottom of each candle using a very thin drill bit.
I hope you enjoyed this makeover process. These steps can be applied to all kinds of home décor. You don’t have to settle for anything. Take out your paints and let your imagination bring crafts to life in your own personal style.
Thanks for Reading & Happy Crafting!


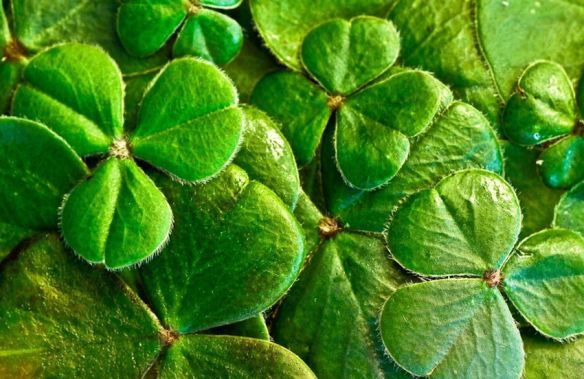
 Leprechauns and a pot of gold are certainly hallmarks of St. Patrick’s Day. Below are a few crafting ideas to help you get ready for this upcoming celebration of all things Irish.